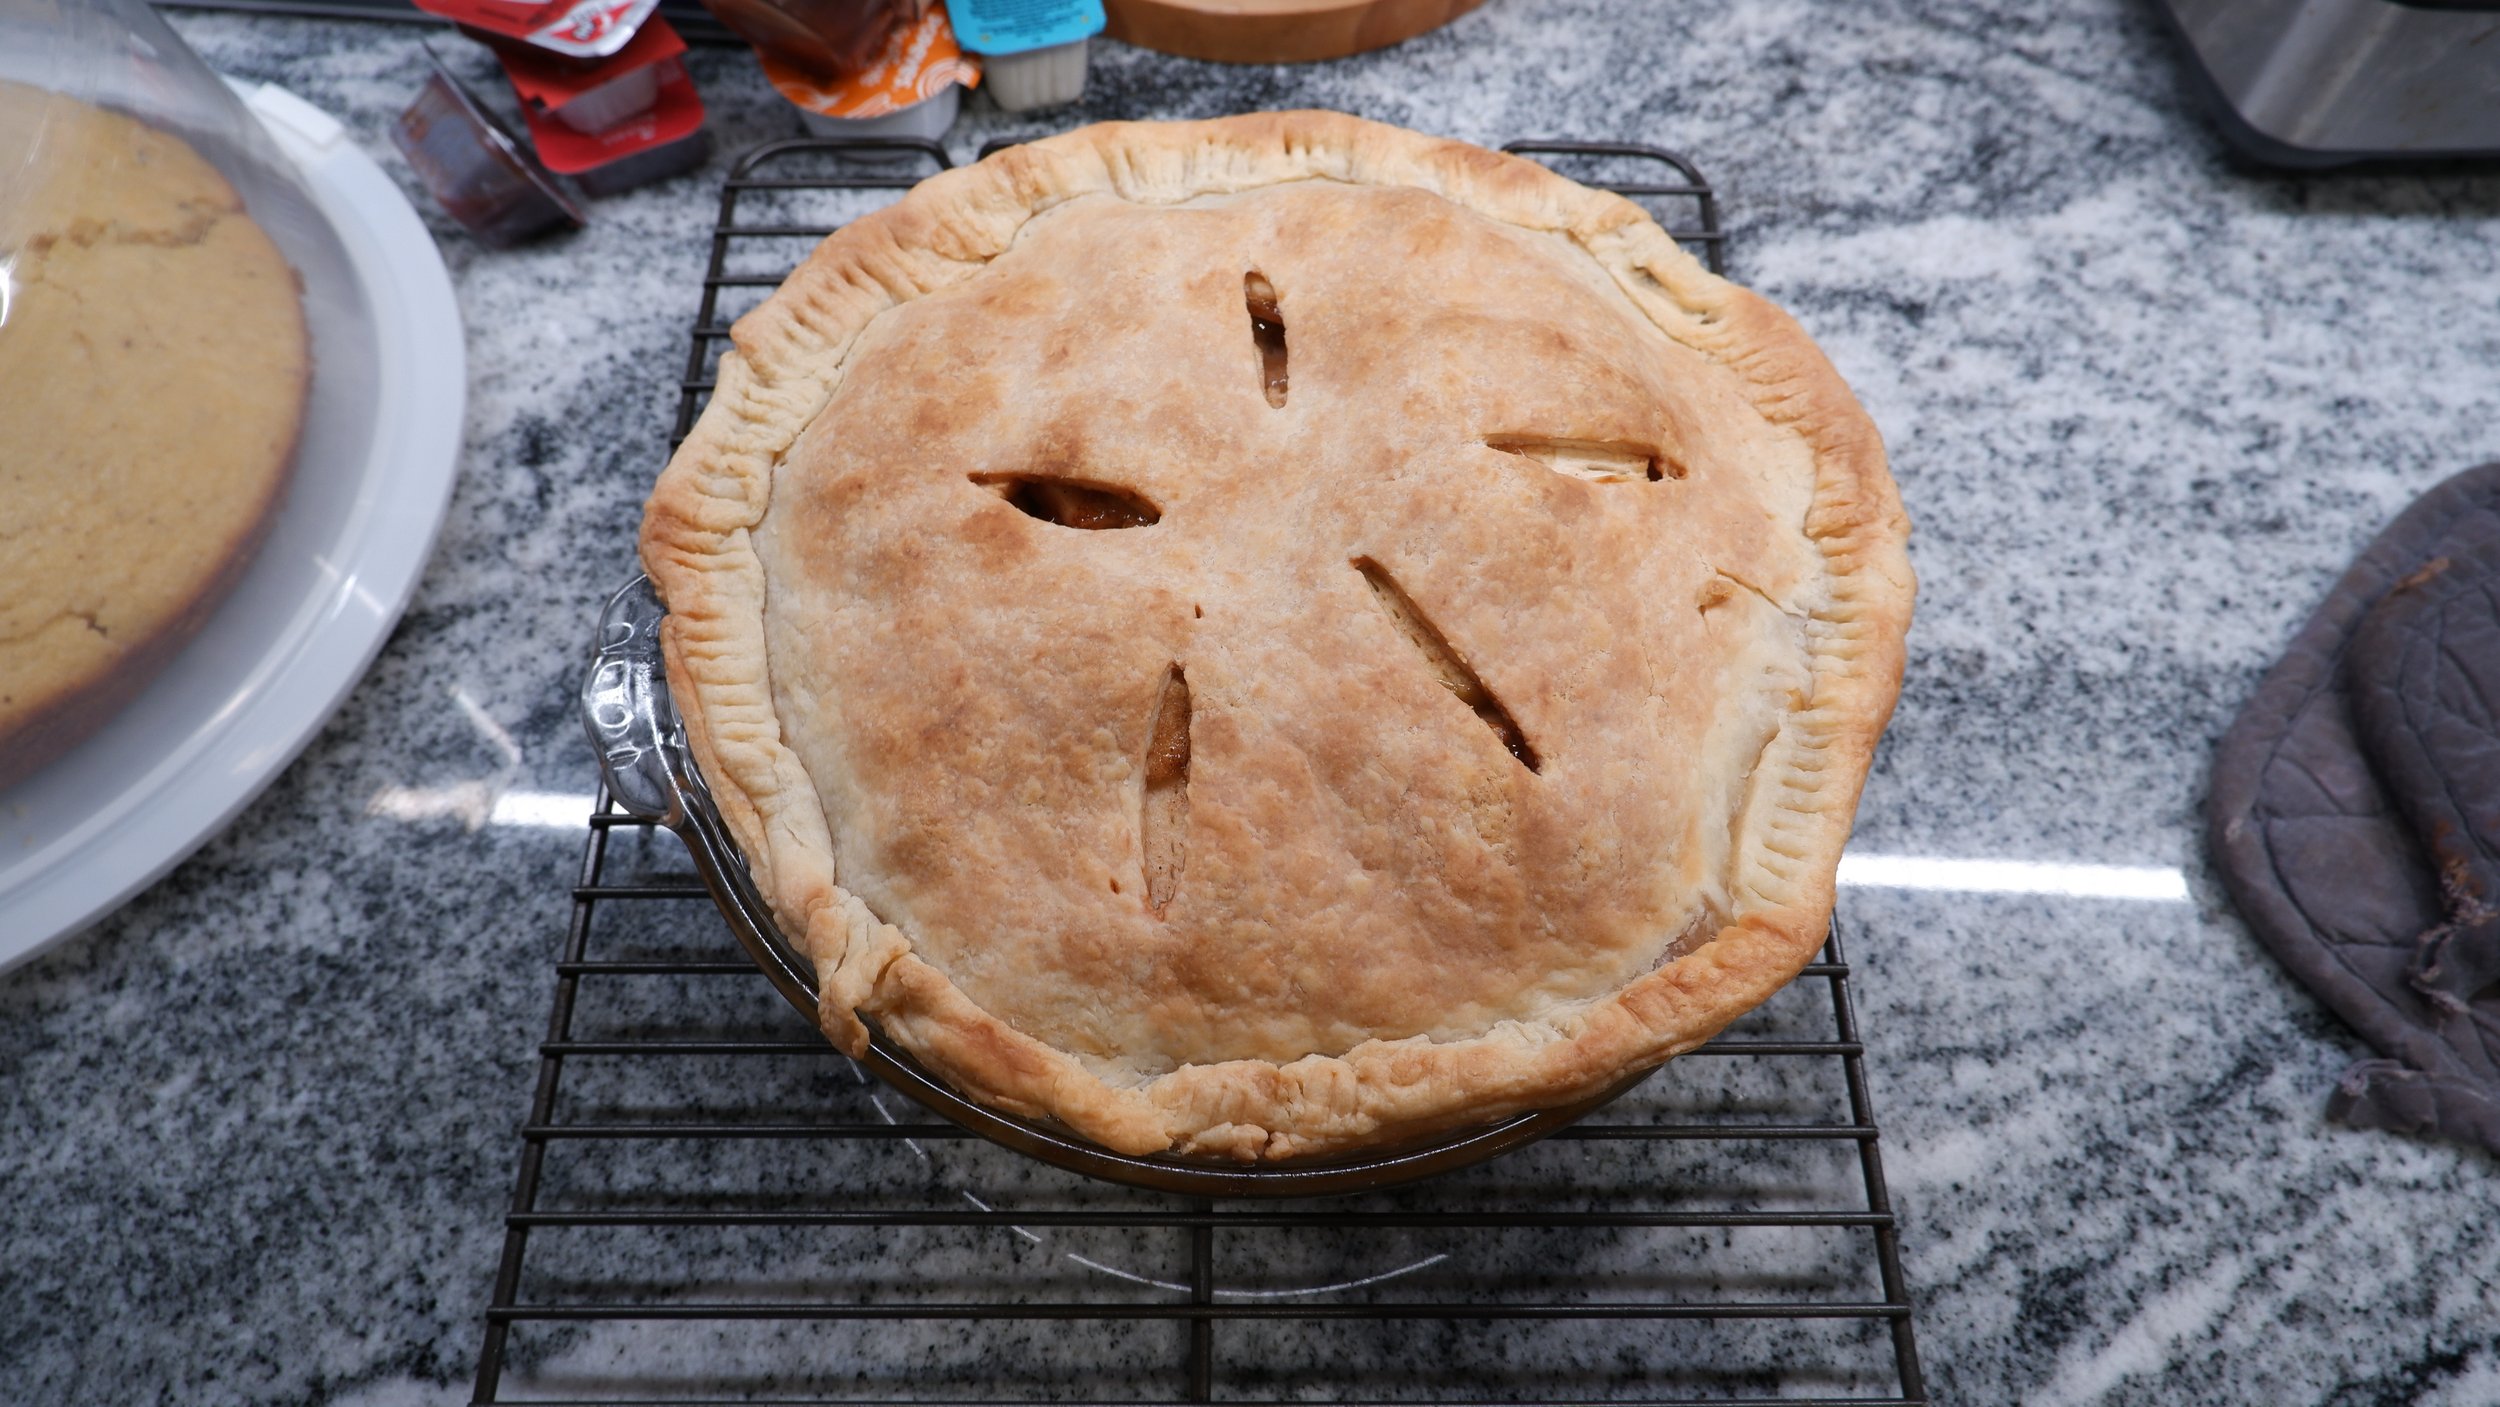
Luscious Apple Pie
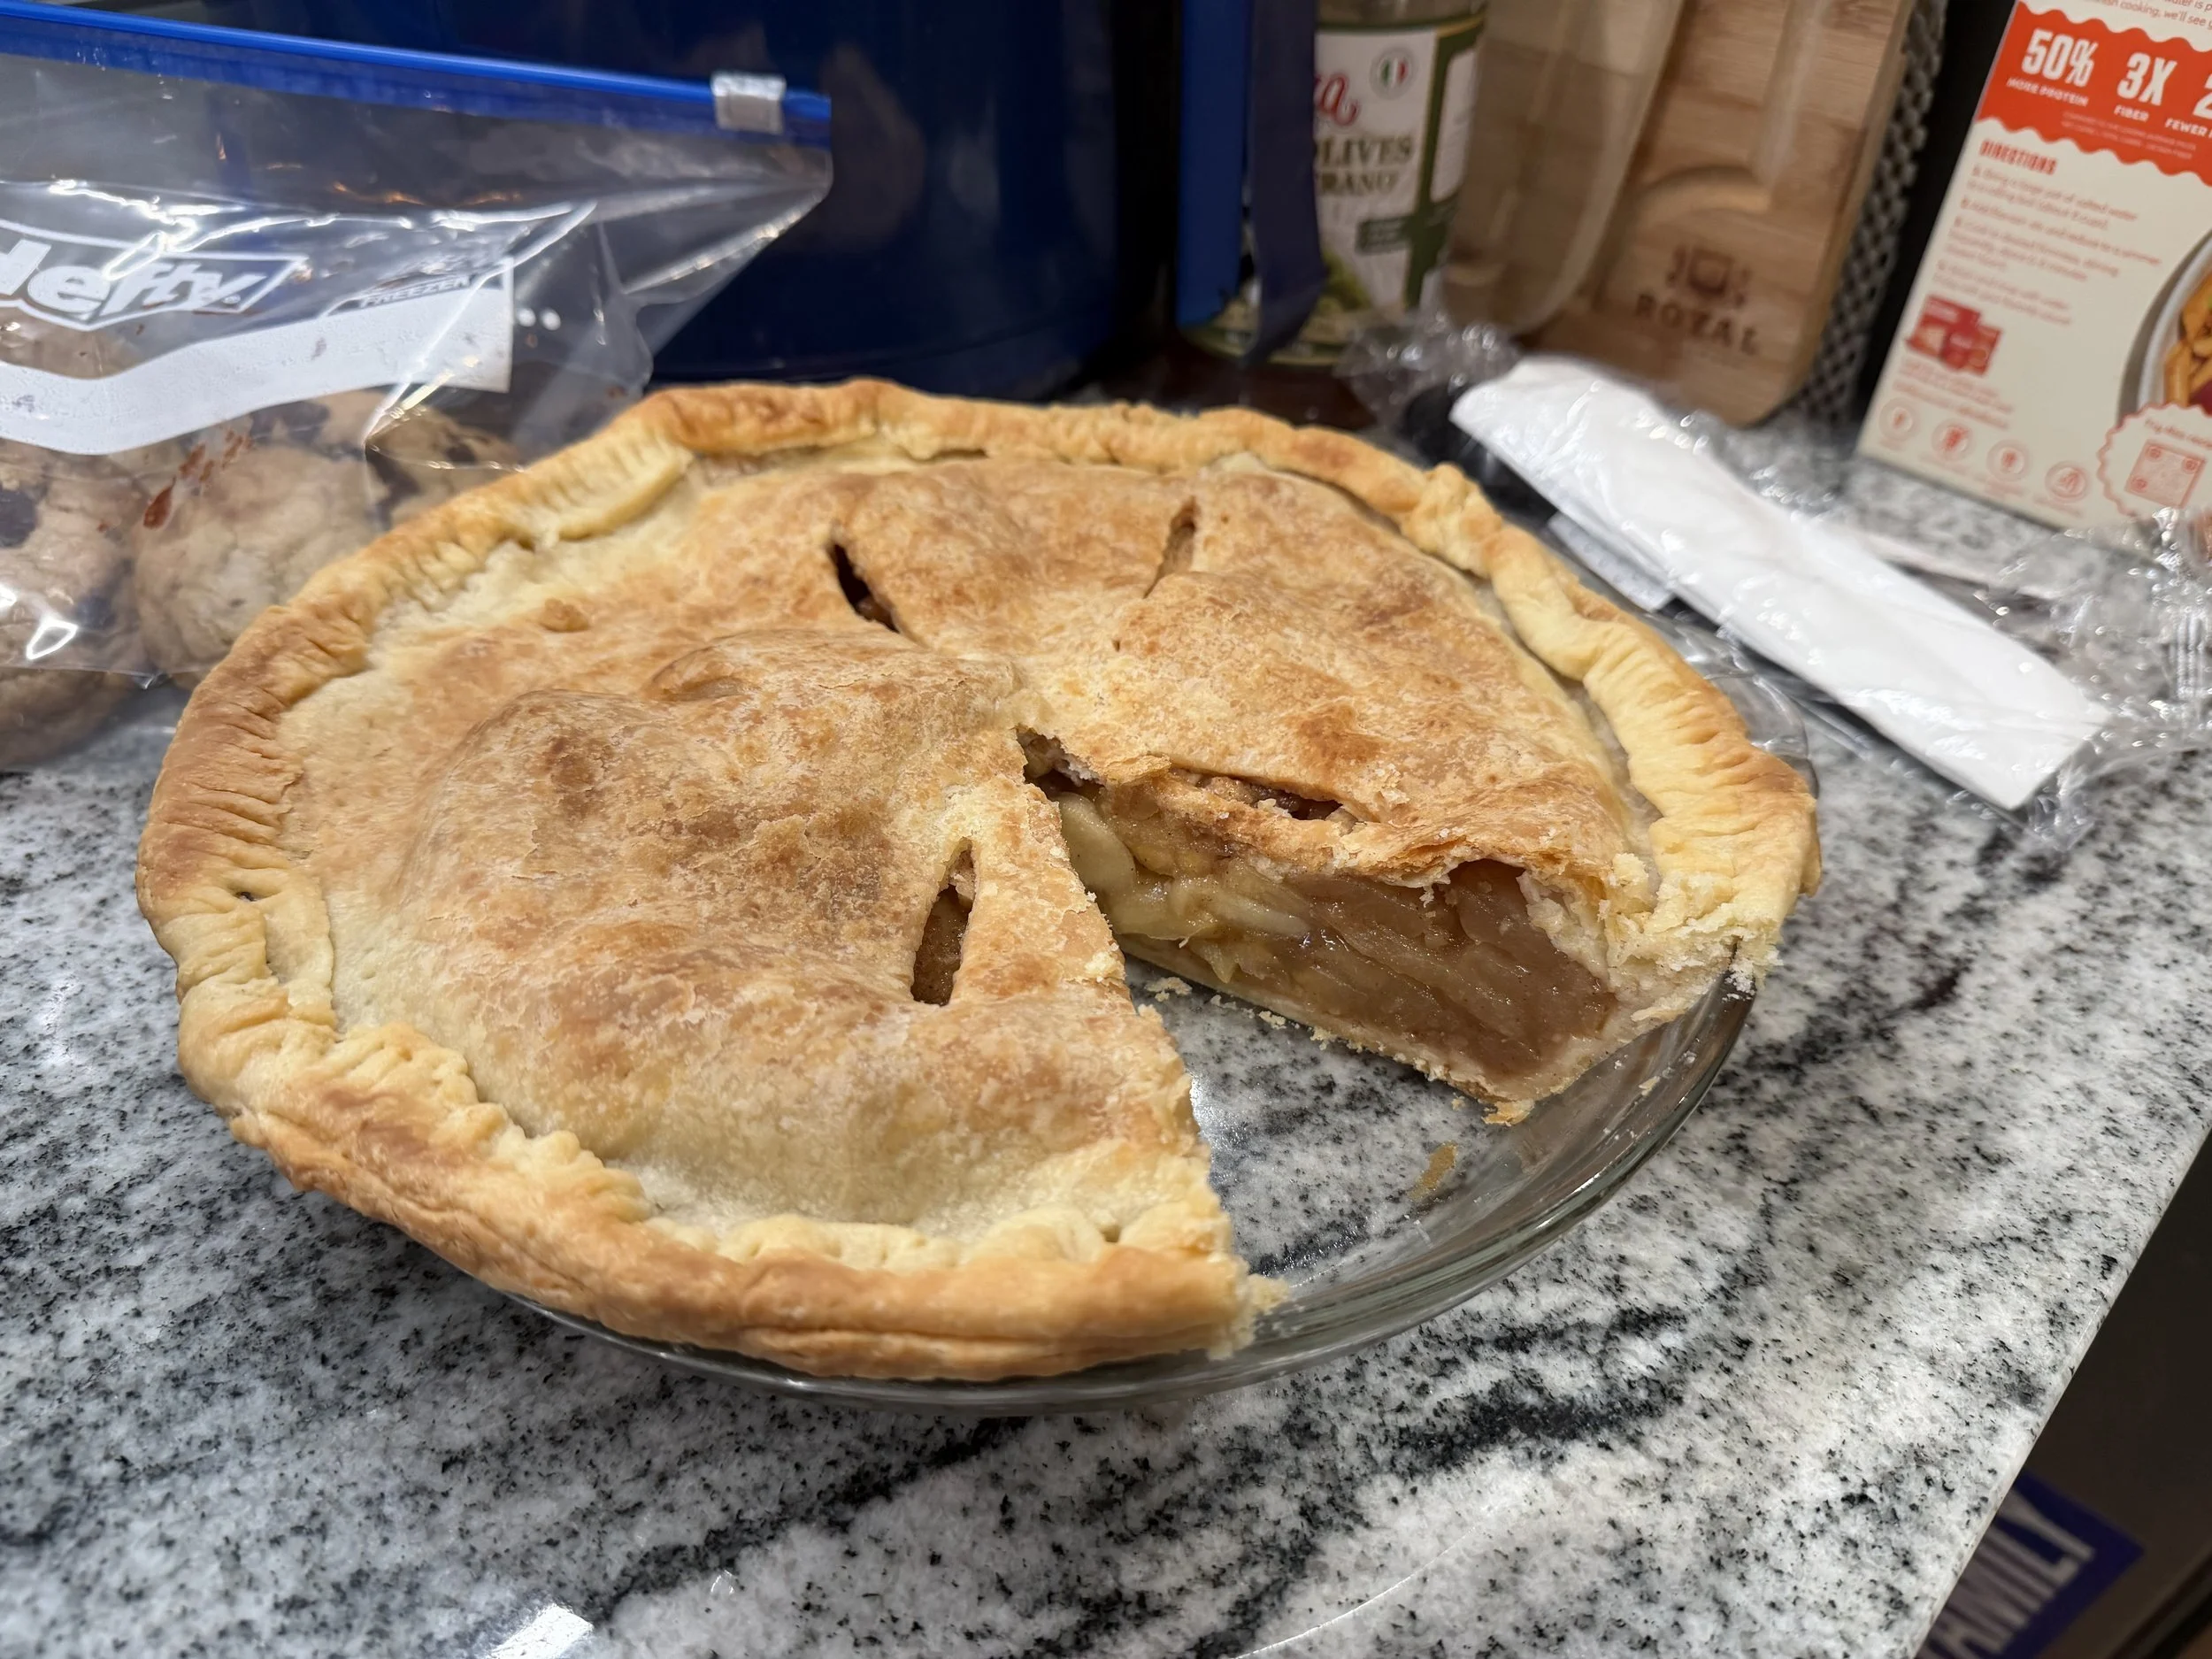
Probably one of my better looking Pies
Time: 4 hours 30 minutes
Ingredient Availability: 4/5
Difficulty: 2/5
Apple pie might not be the most popular holiday pie, but it is one of the more common fall pies. The warm spices just kind of go with the cool weather of fall and winter. Plus, a lot of apples are in season around the holidays. I decided to make this pie from The Baking Bible for thanksgiving, so I had high hopes it would hit the spot.
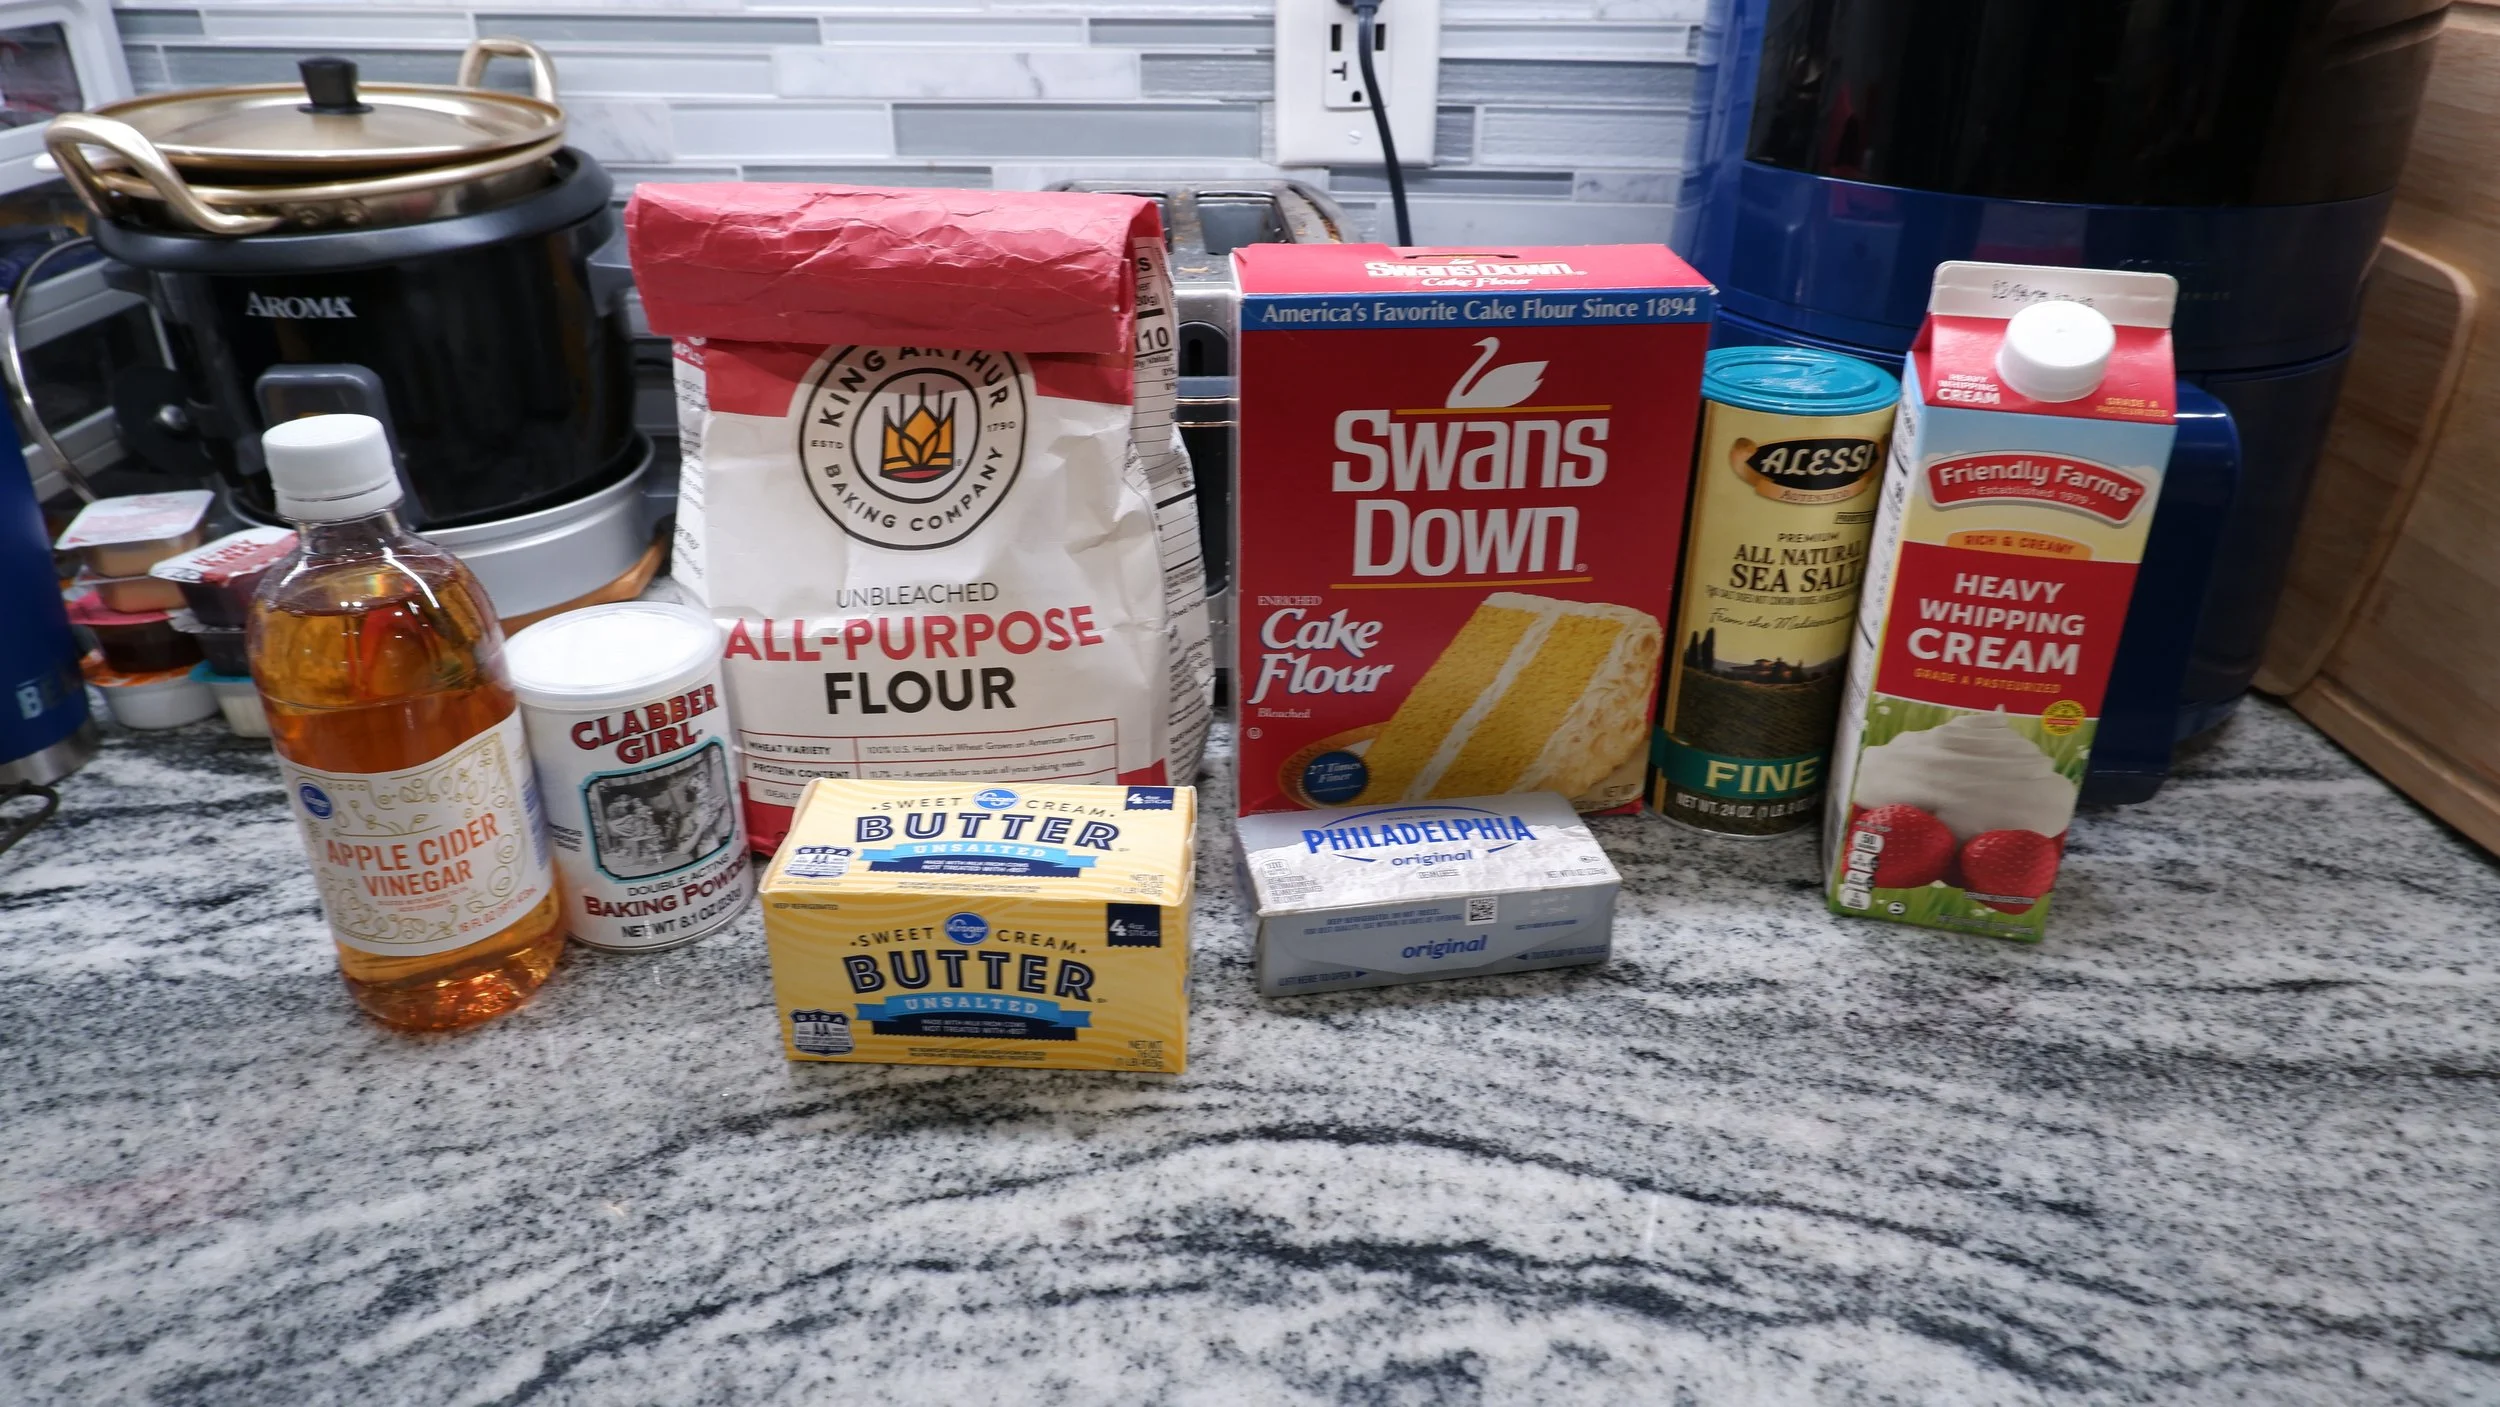
Key Ingredients & Omissions:
I forgot to take a picture of the filling ingredients
Of course, in an apple pie the apples are the most important part. The recipe gives a few options of apples you could use and I went with a combination of pink lady and granny smith apples. The only ingredient I had a problem finding was an unpasteurized, unsweetened apple cider, so I went with an unsweetened apple juice.
Tools:
Peeler
Sharp Knife
Collander
Large Bowls
9”Pie Plate
Cooking Review:
Pie Crust: 1 hour
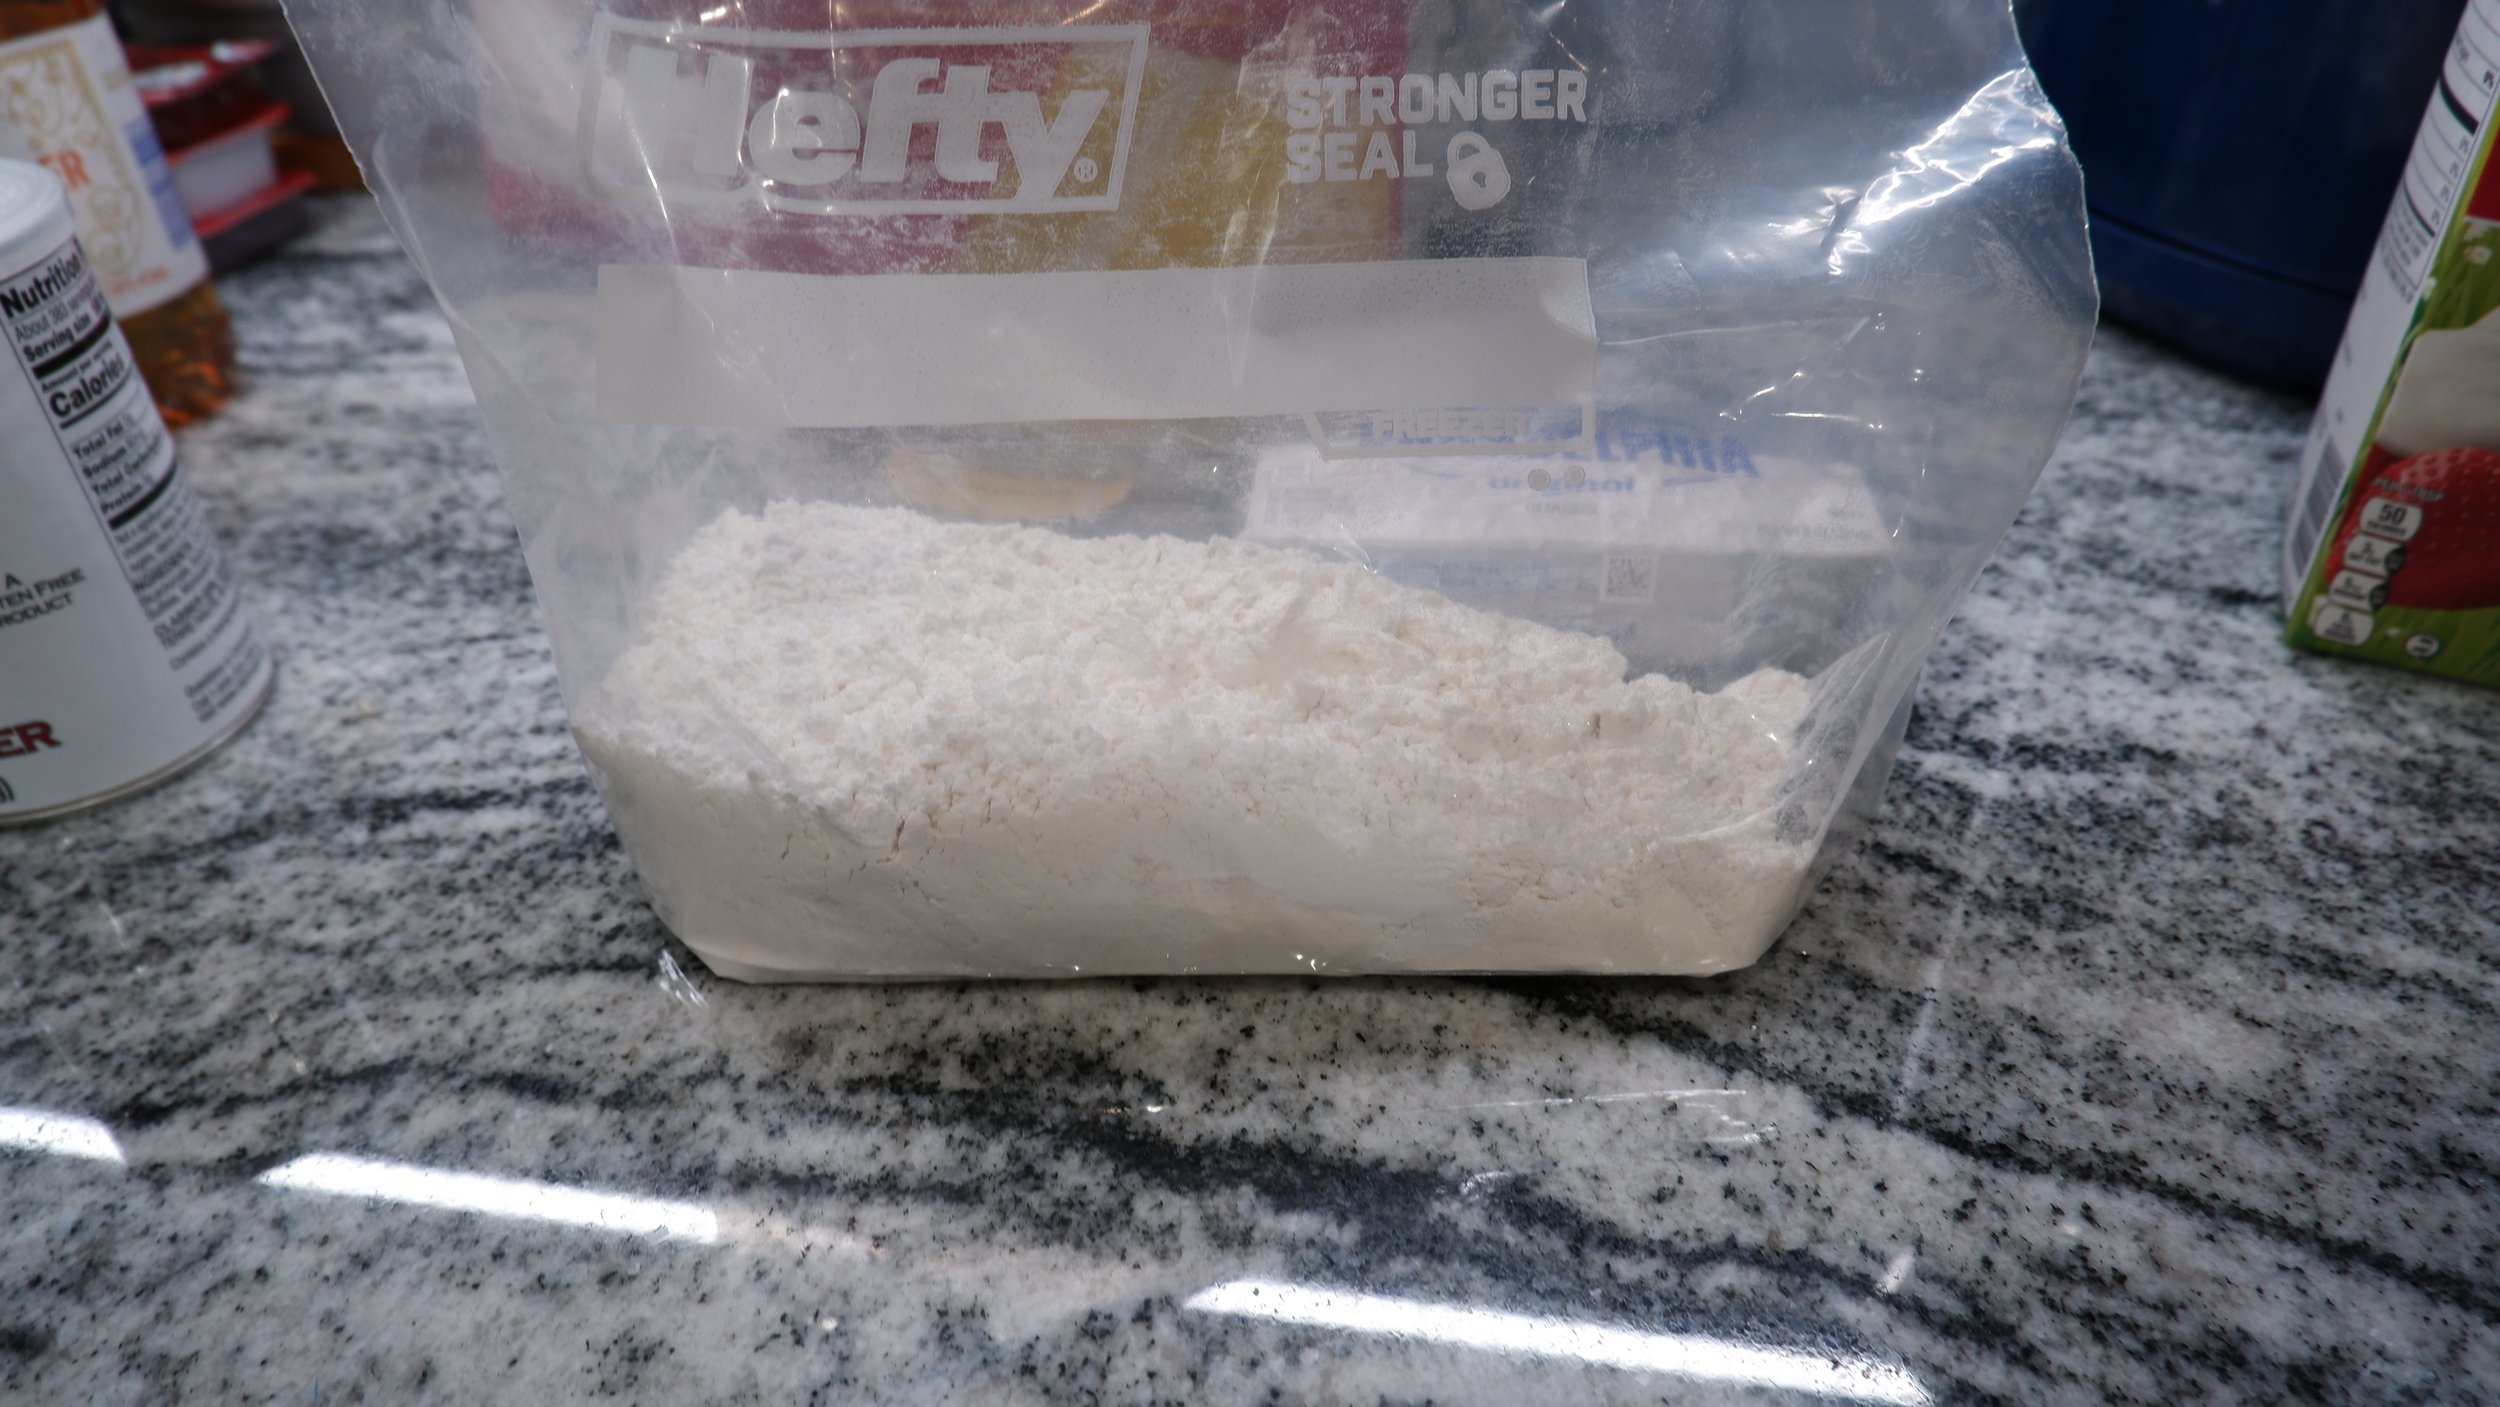
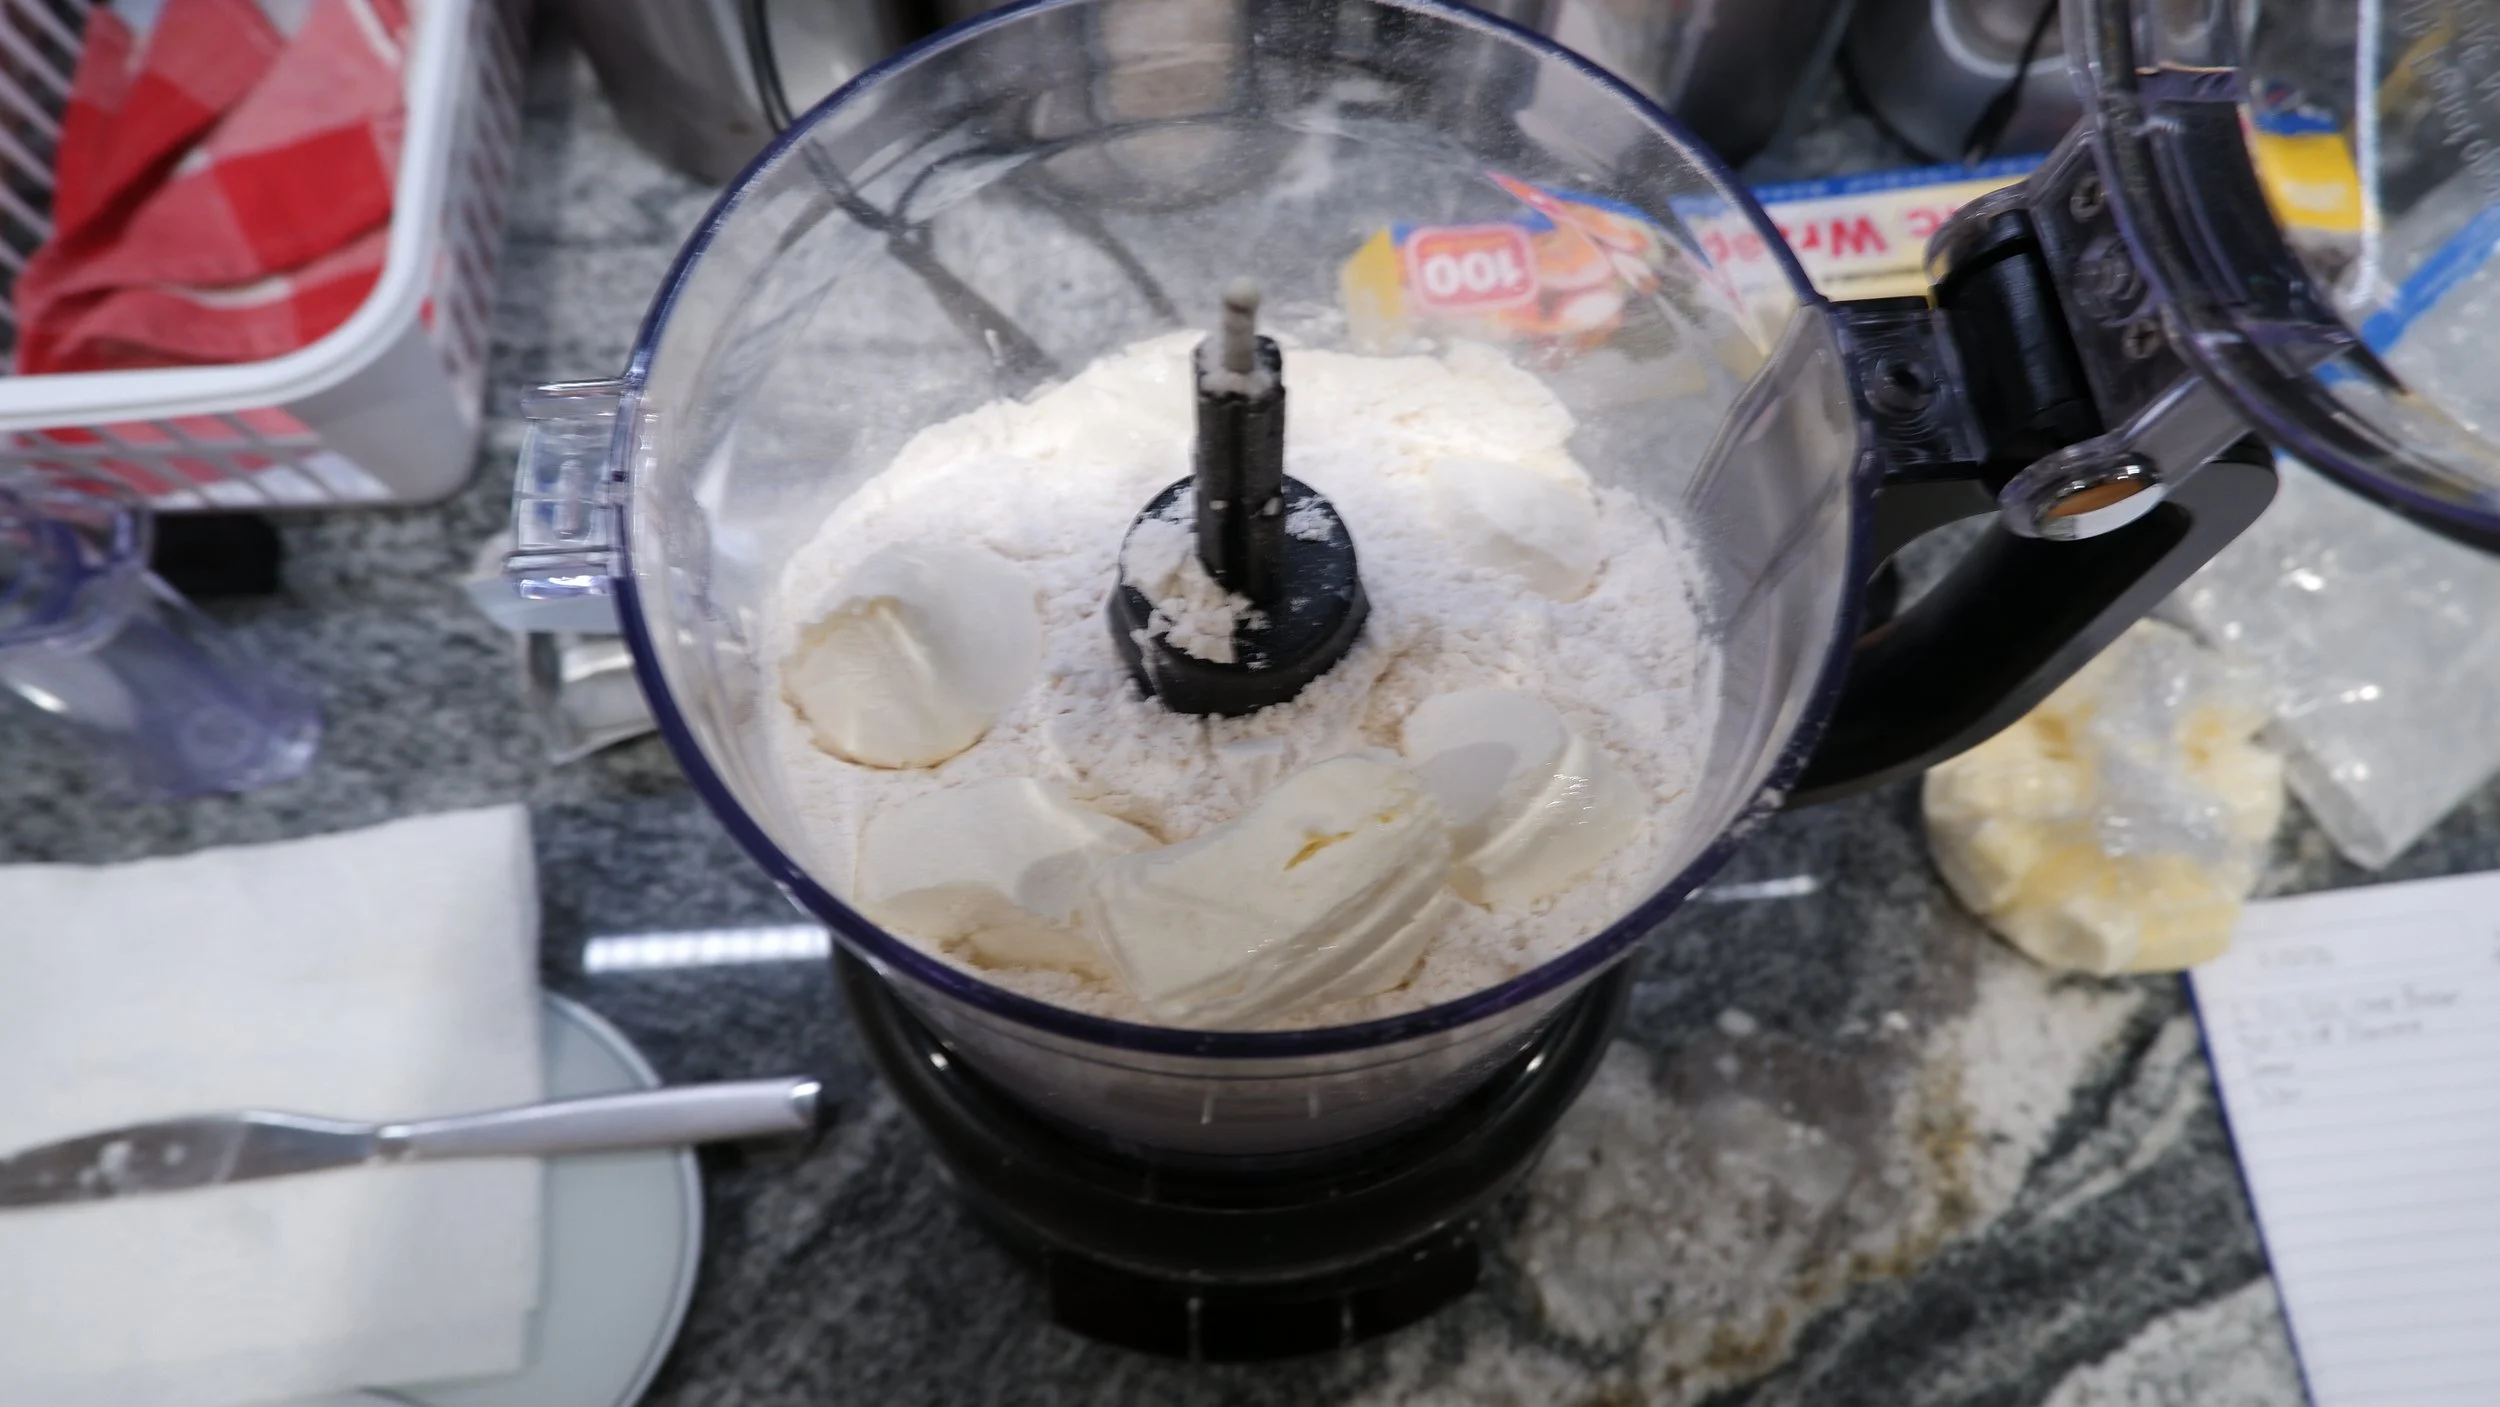
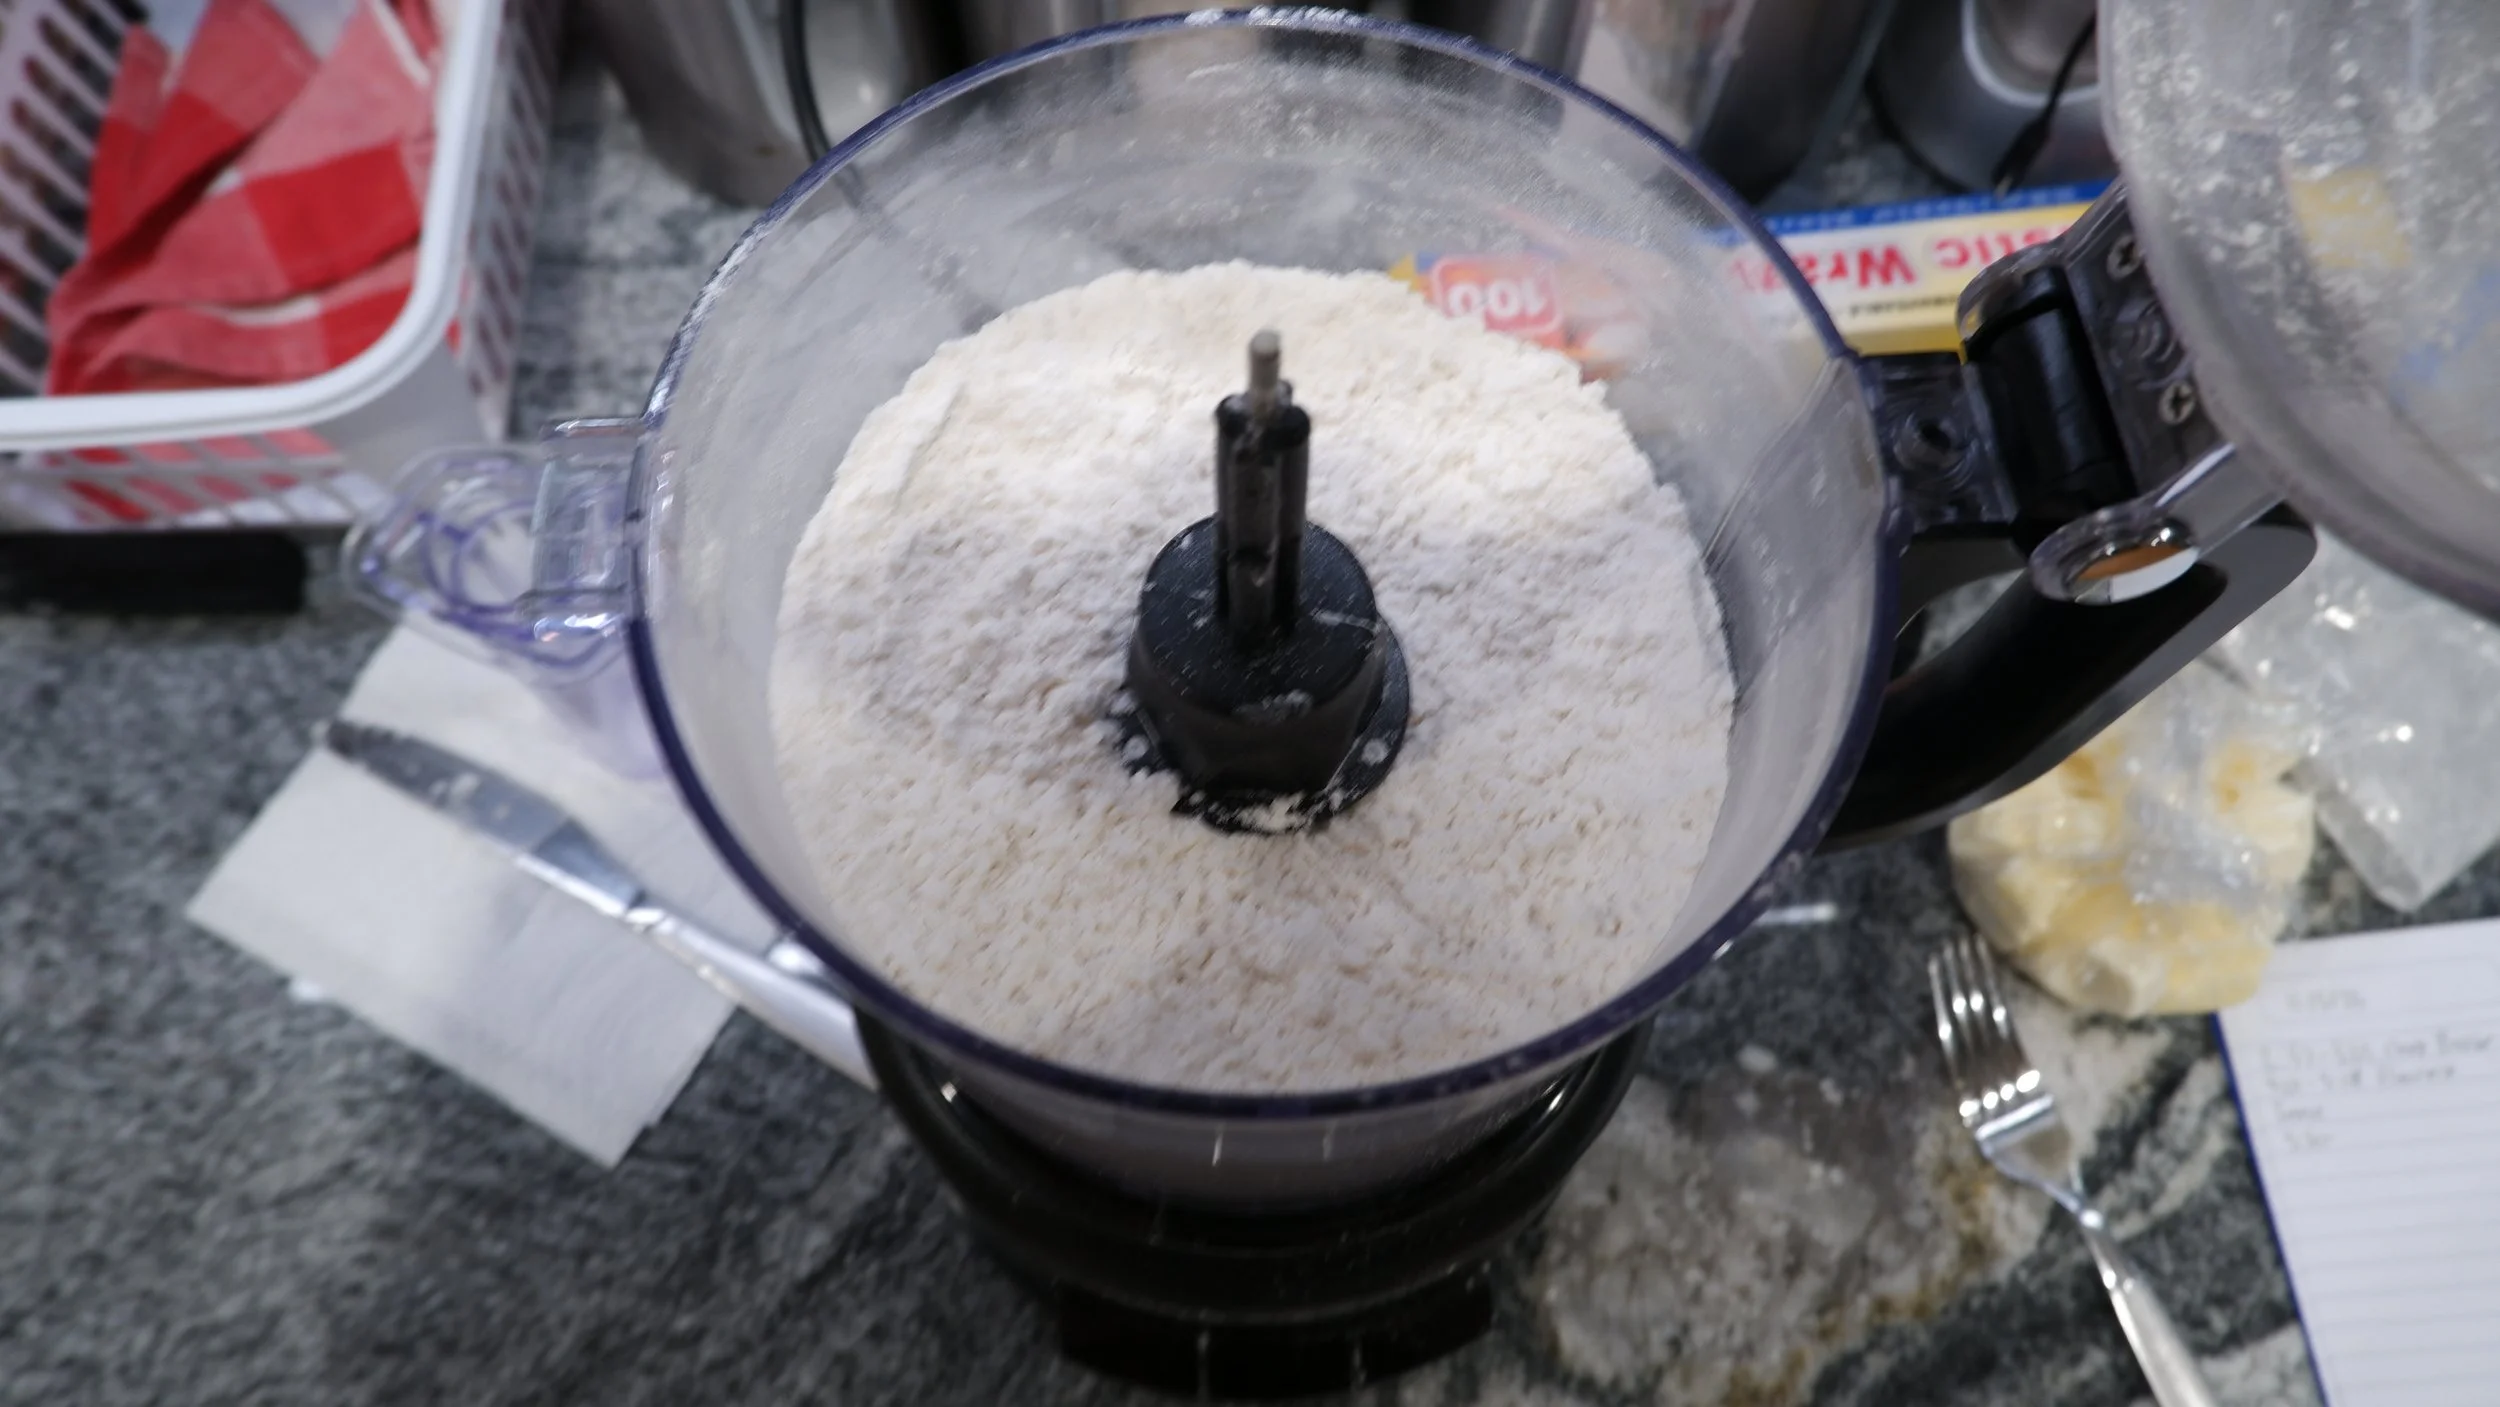
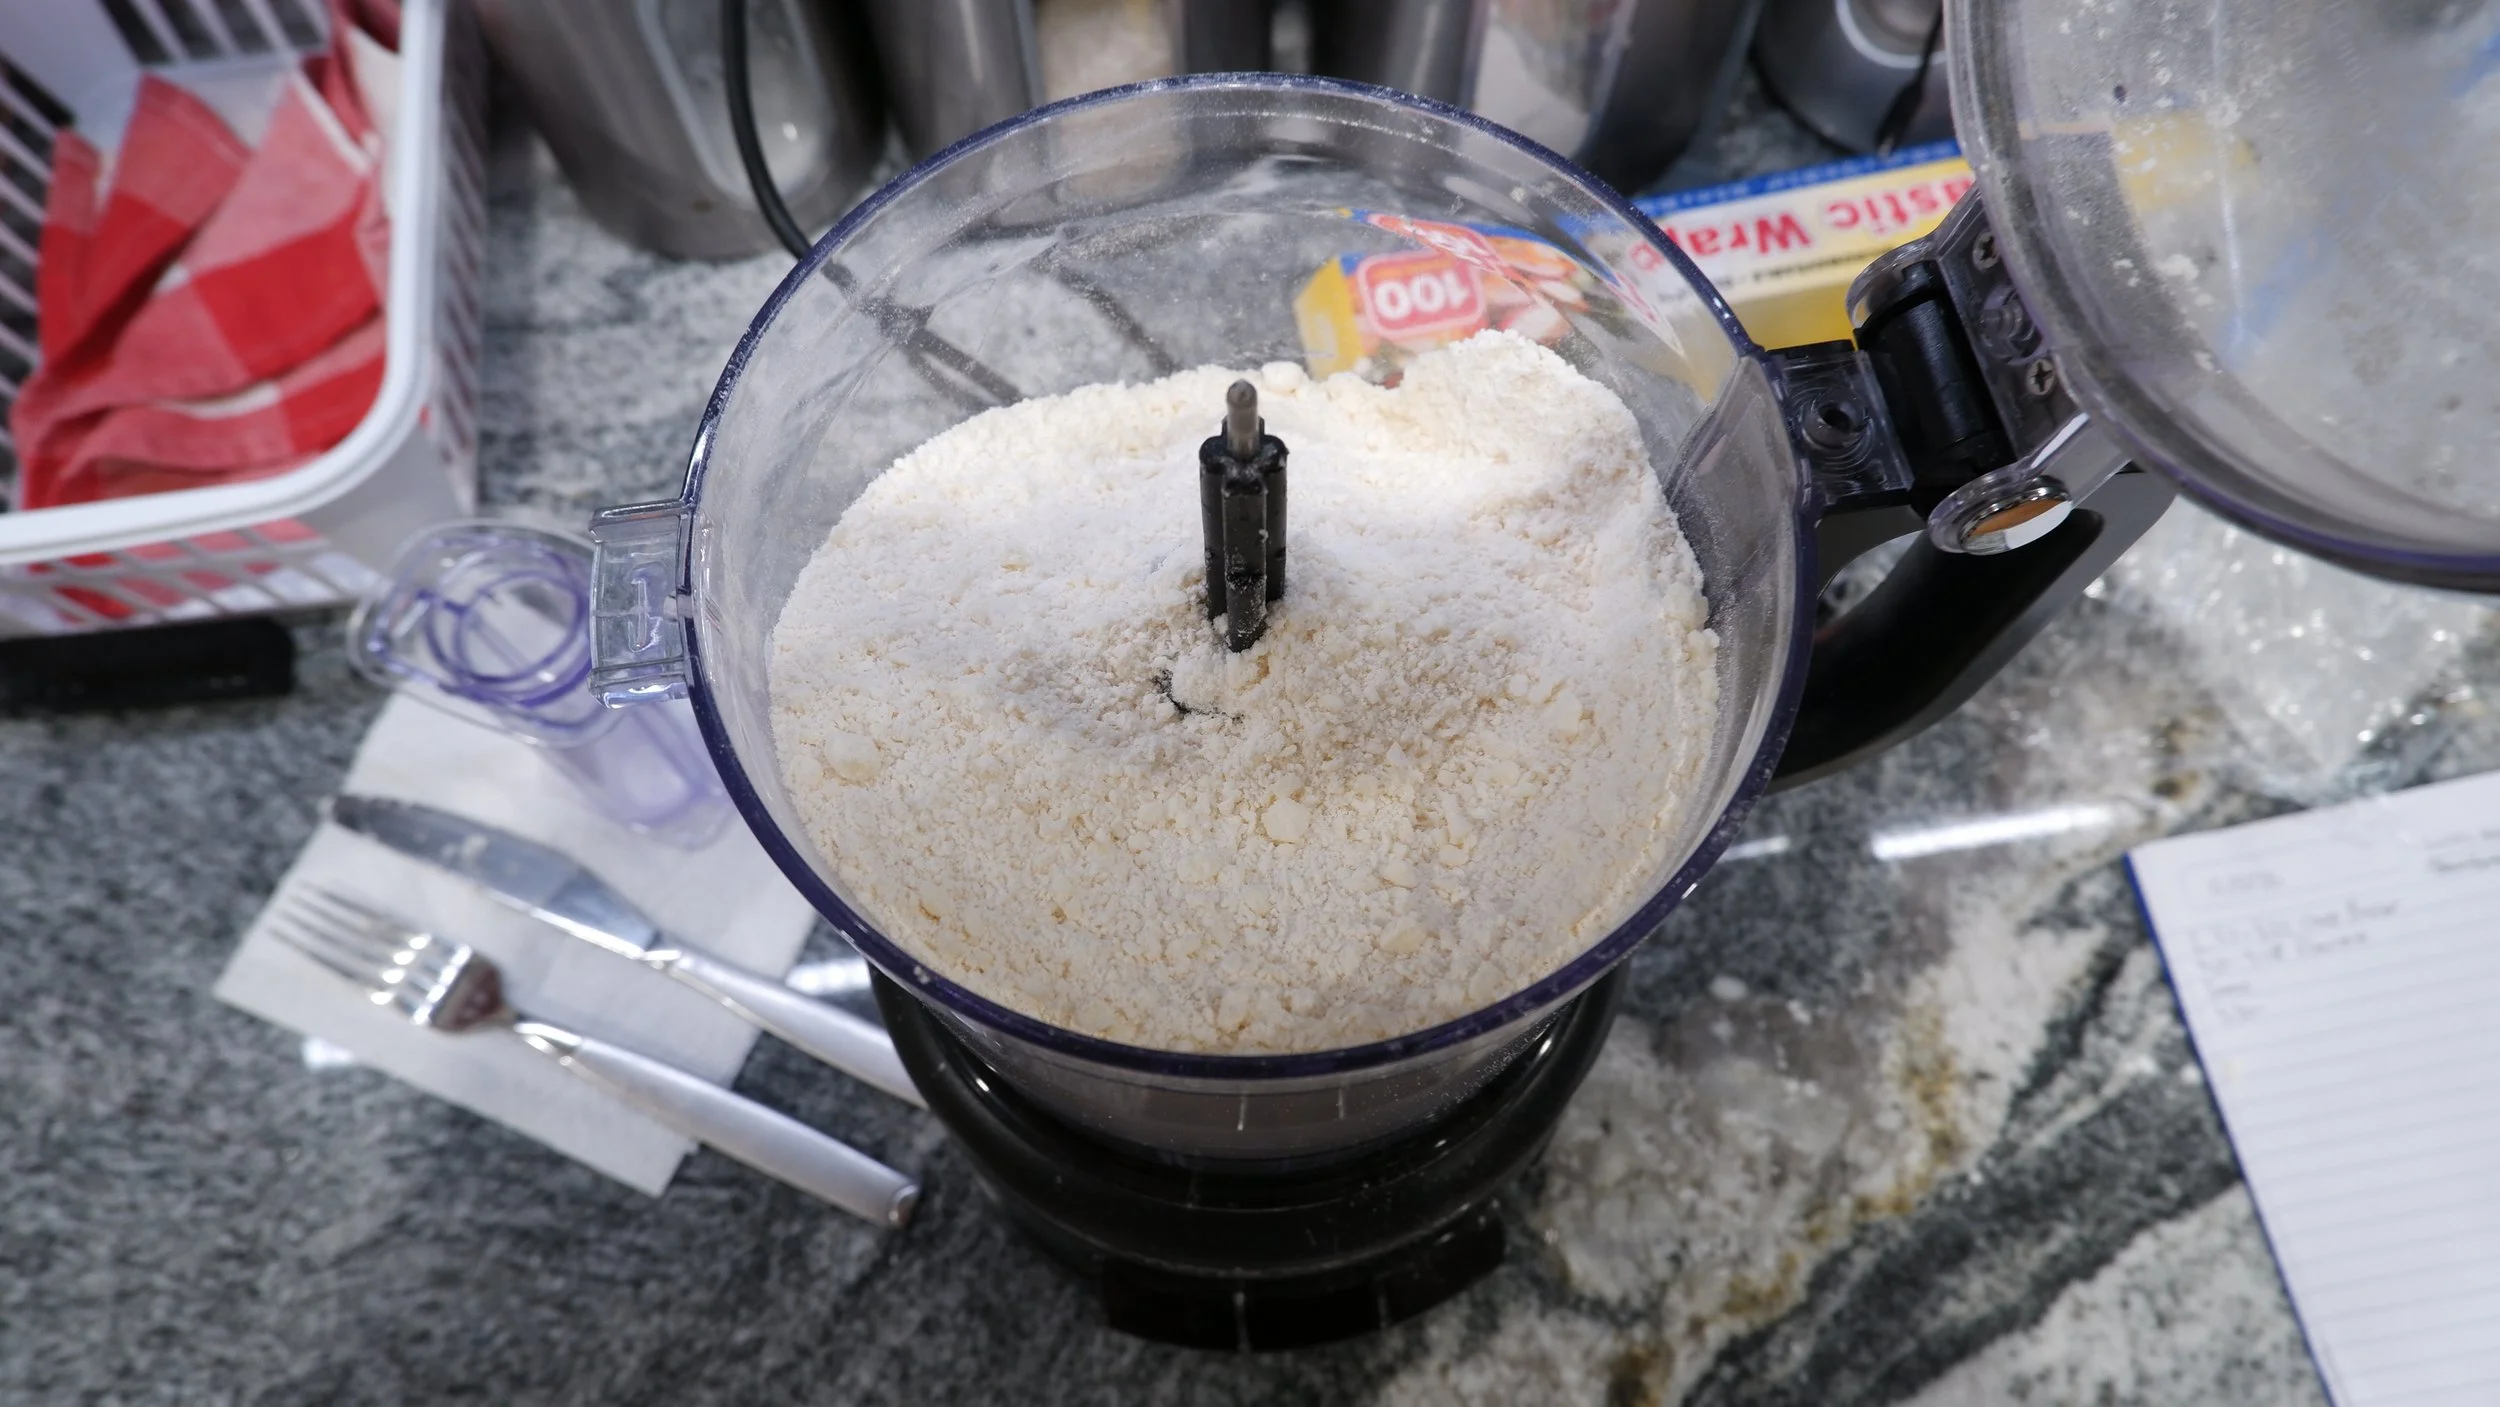
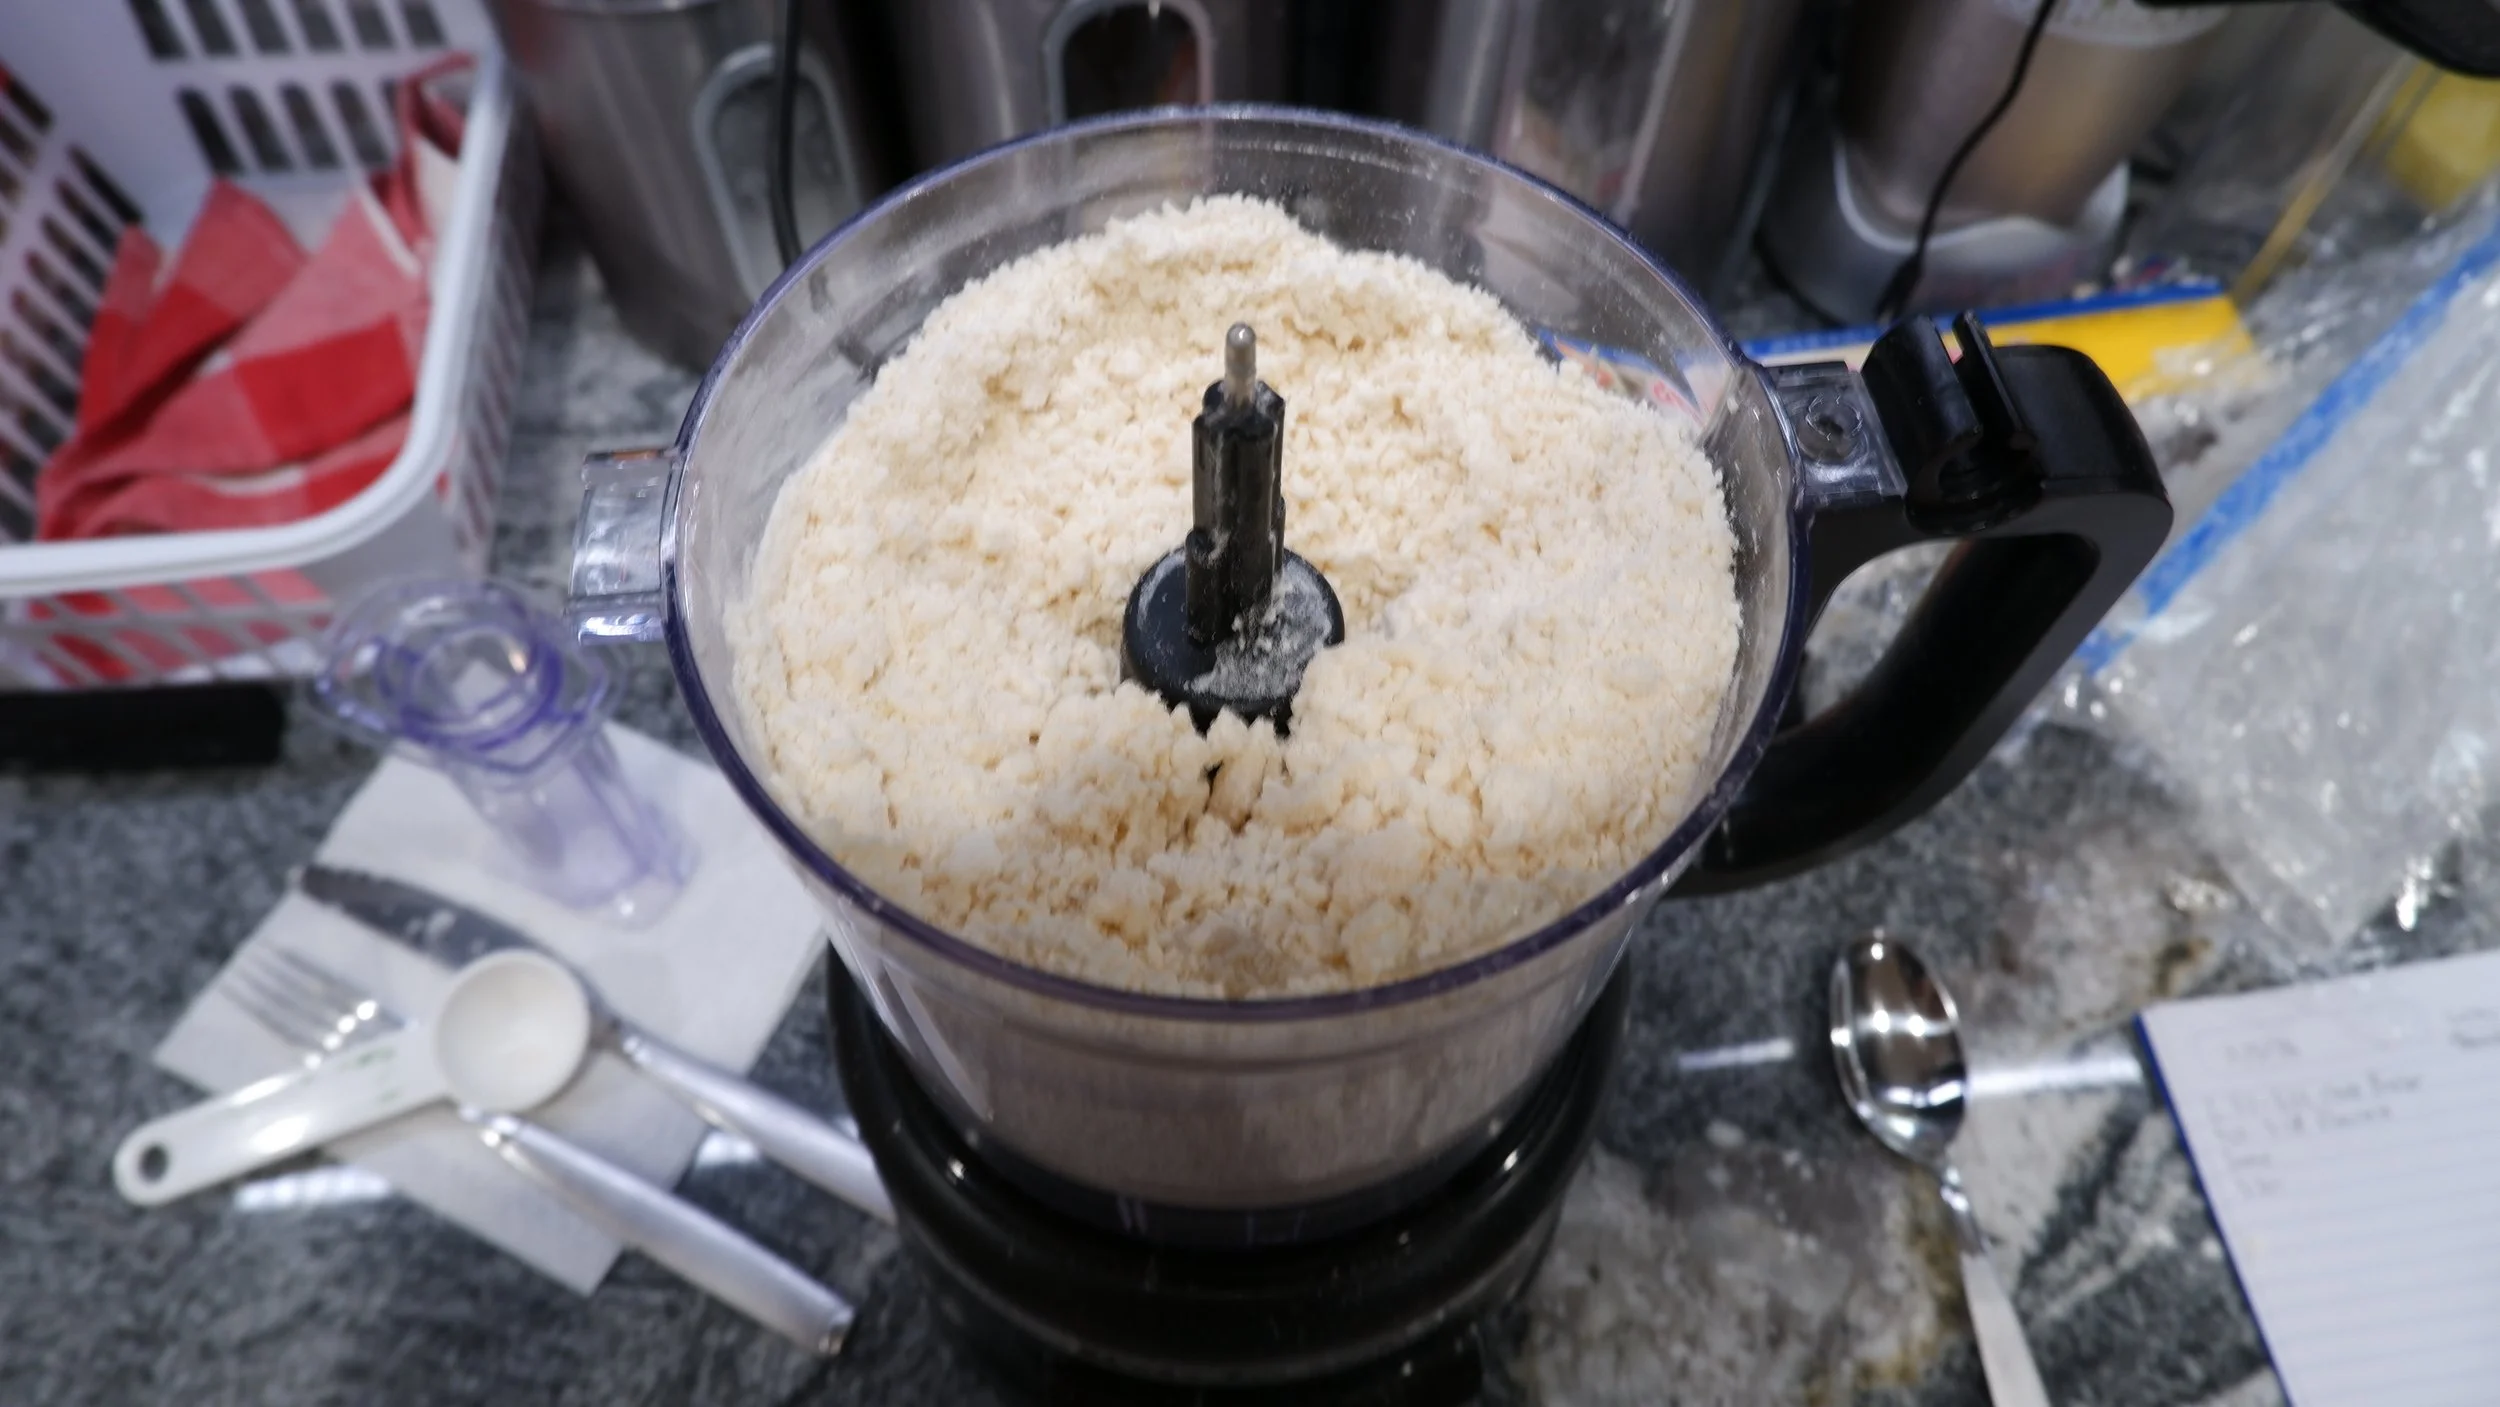
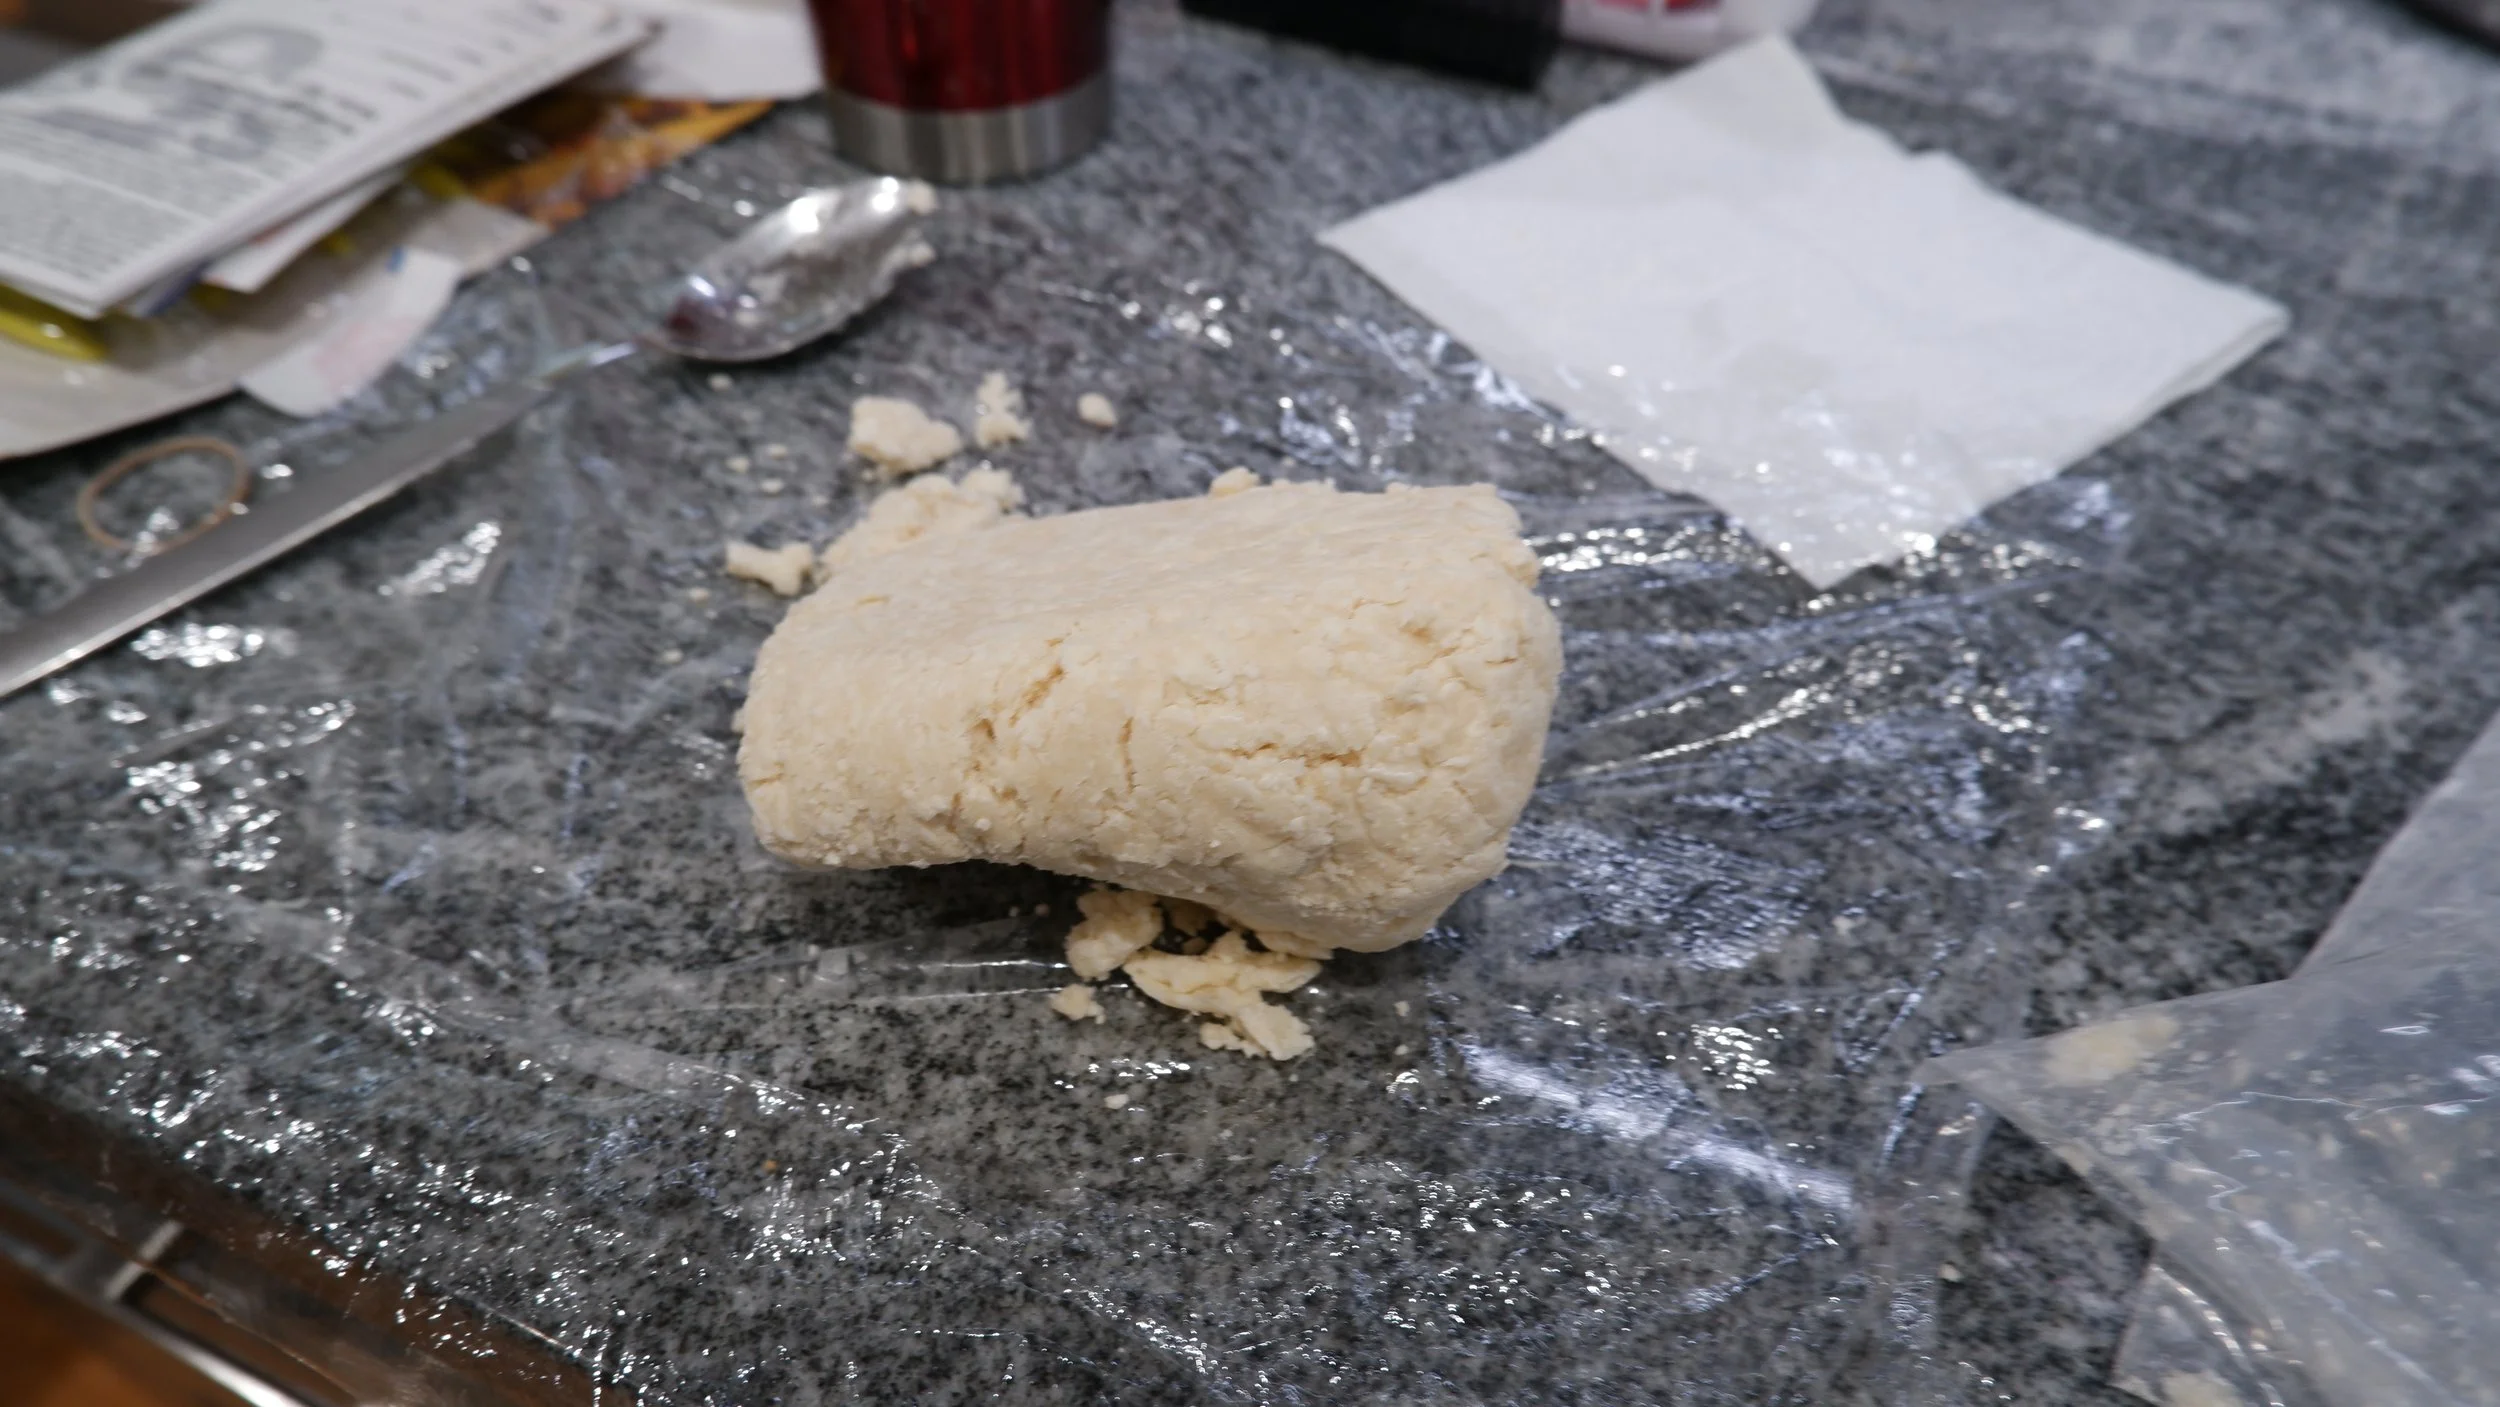
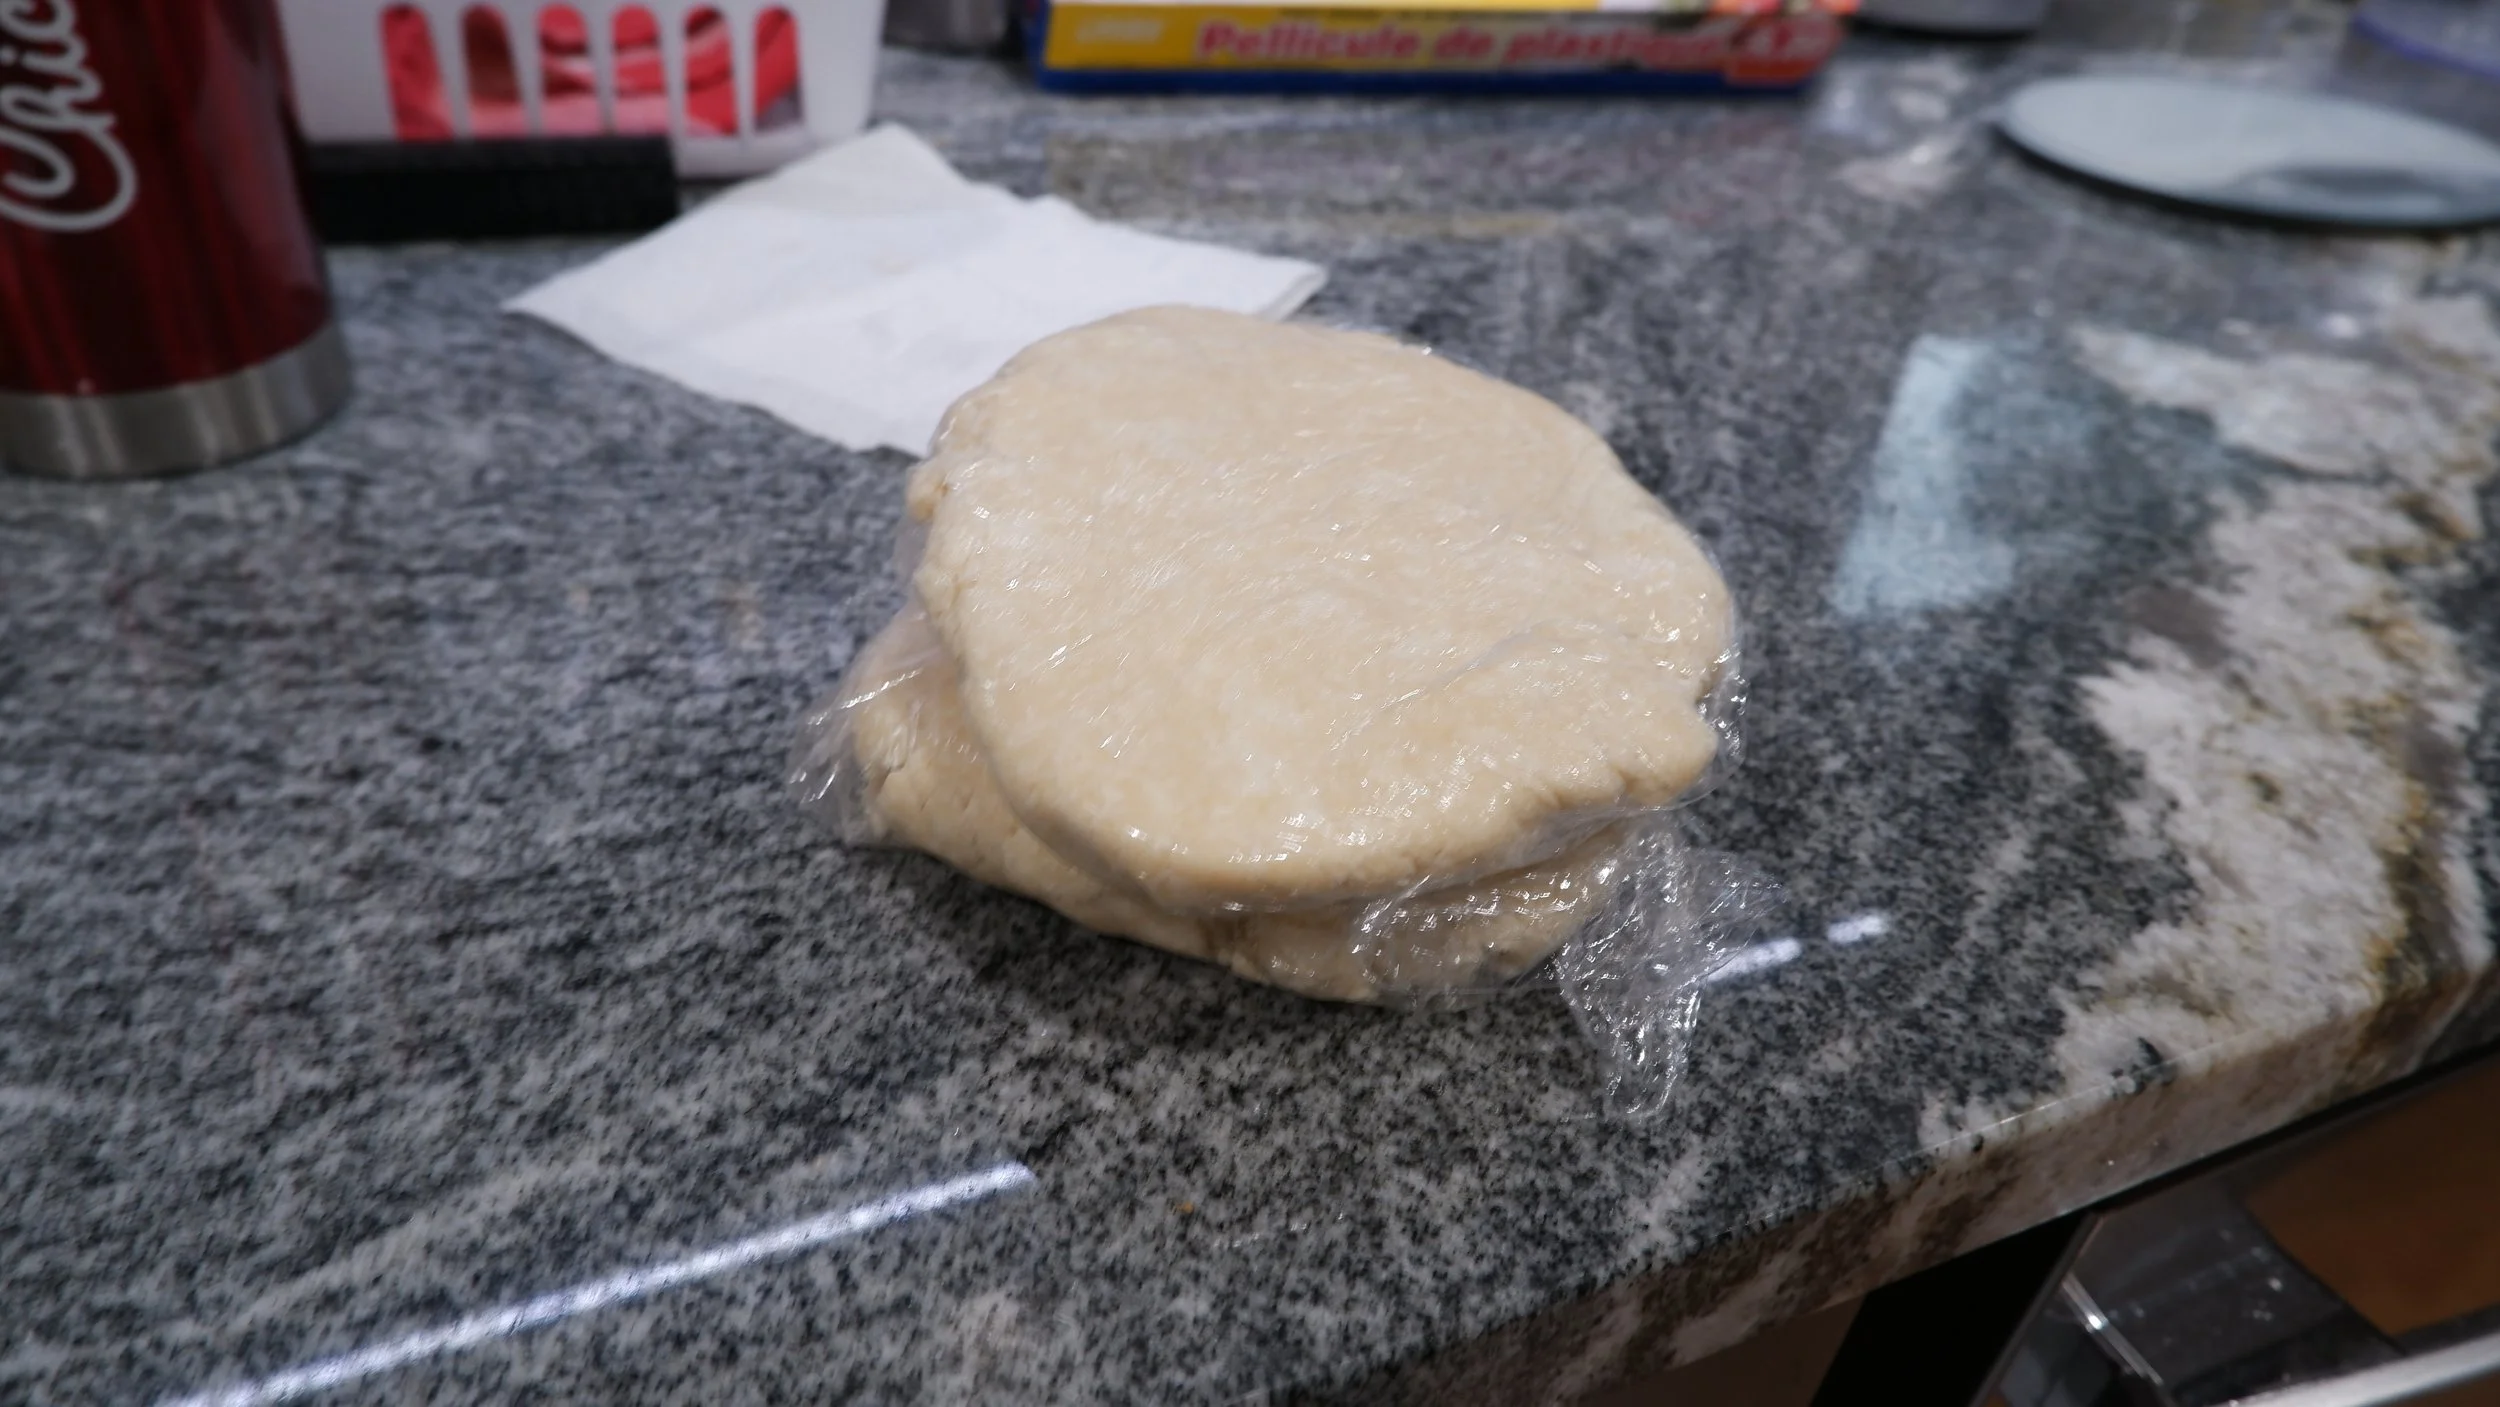
To make the pie crust, I started with chopping the butter into small cubes before wrapping it in plastic wrap and putting it into the freezer. Next, I combined the dry ingredients in a ziplock bag and put it in the freezer, as well. After about 30 minutes, I put the flour mixture into a food processor along with the cream cheese, which I cut up into smaller pieces. I pulsed them together until a coarse mixture formed. The butter was added next and pulsed until the butter was in pea sized pieces. The vinegar and heavy cream were added finally and pulsed until the butter broke up more and the flour was mostly moistened. I transferred half of the dough back into the ziplock bag and used it to knead it until it held together. I transferred it to plastic wrap and wrapped it up before repeating for the other half of the dough. I let the dough rest in the refrigerator overnight.

Bottom Crust: 20 minutes
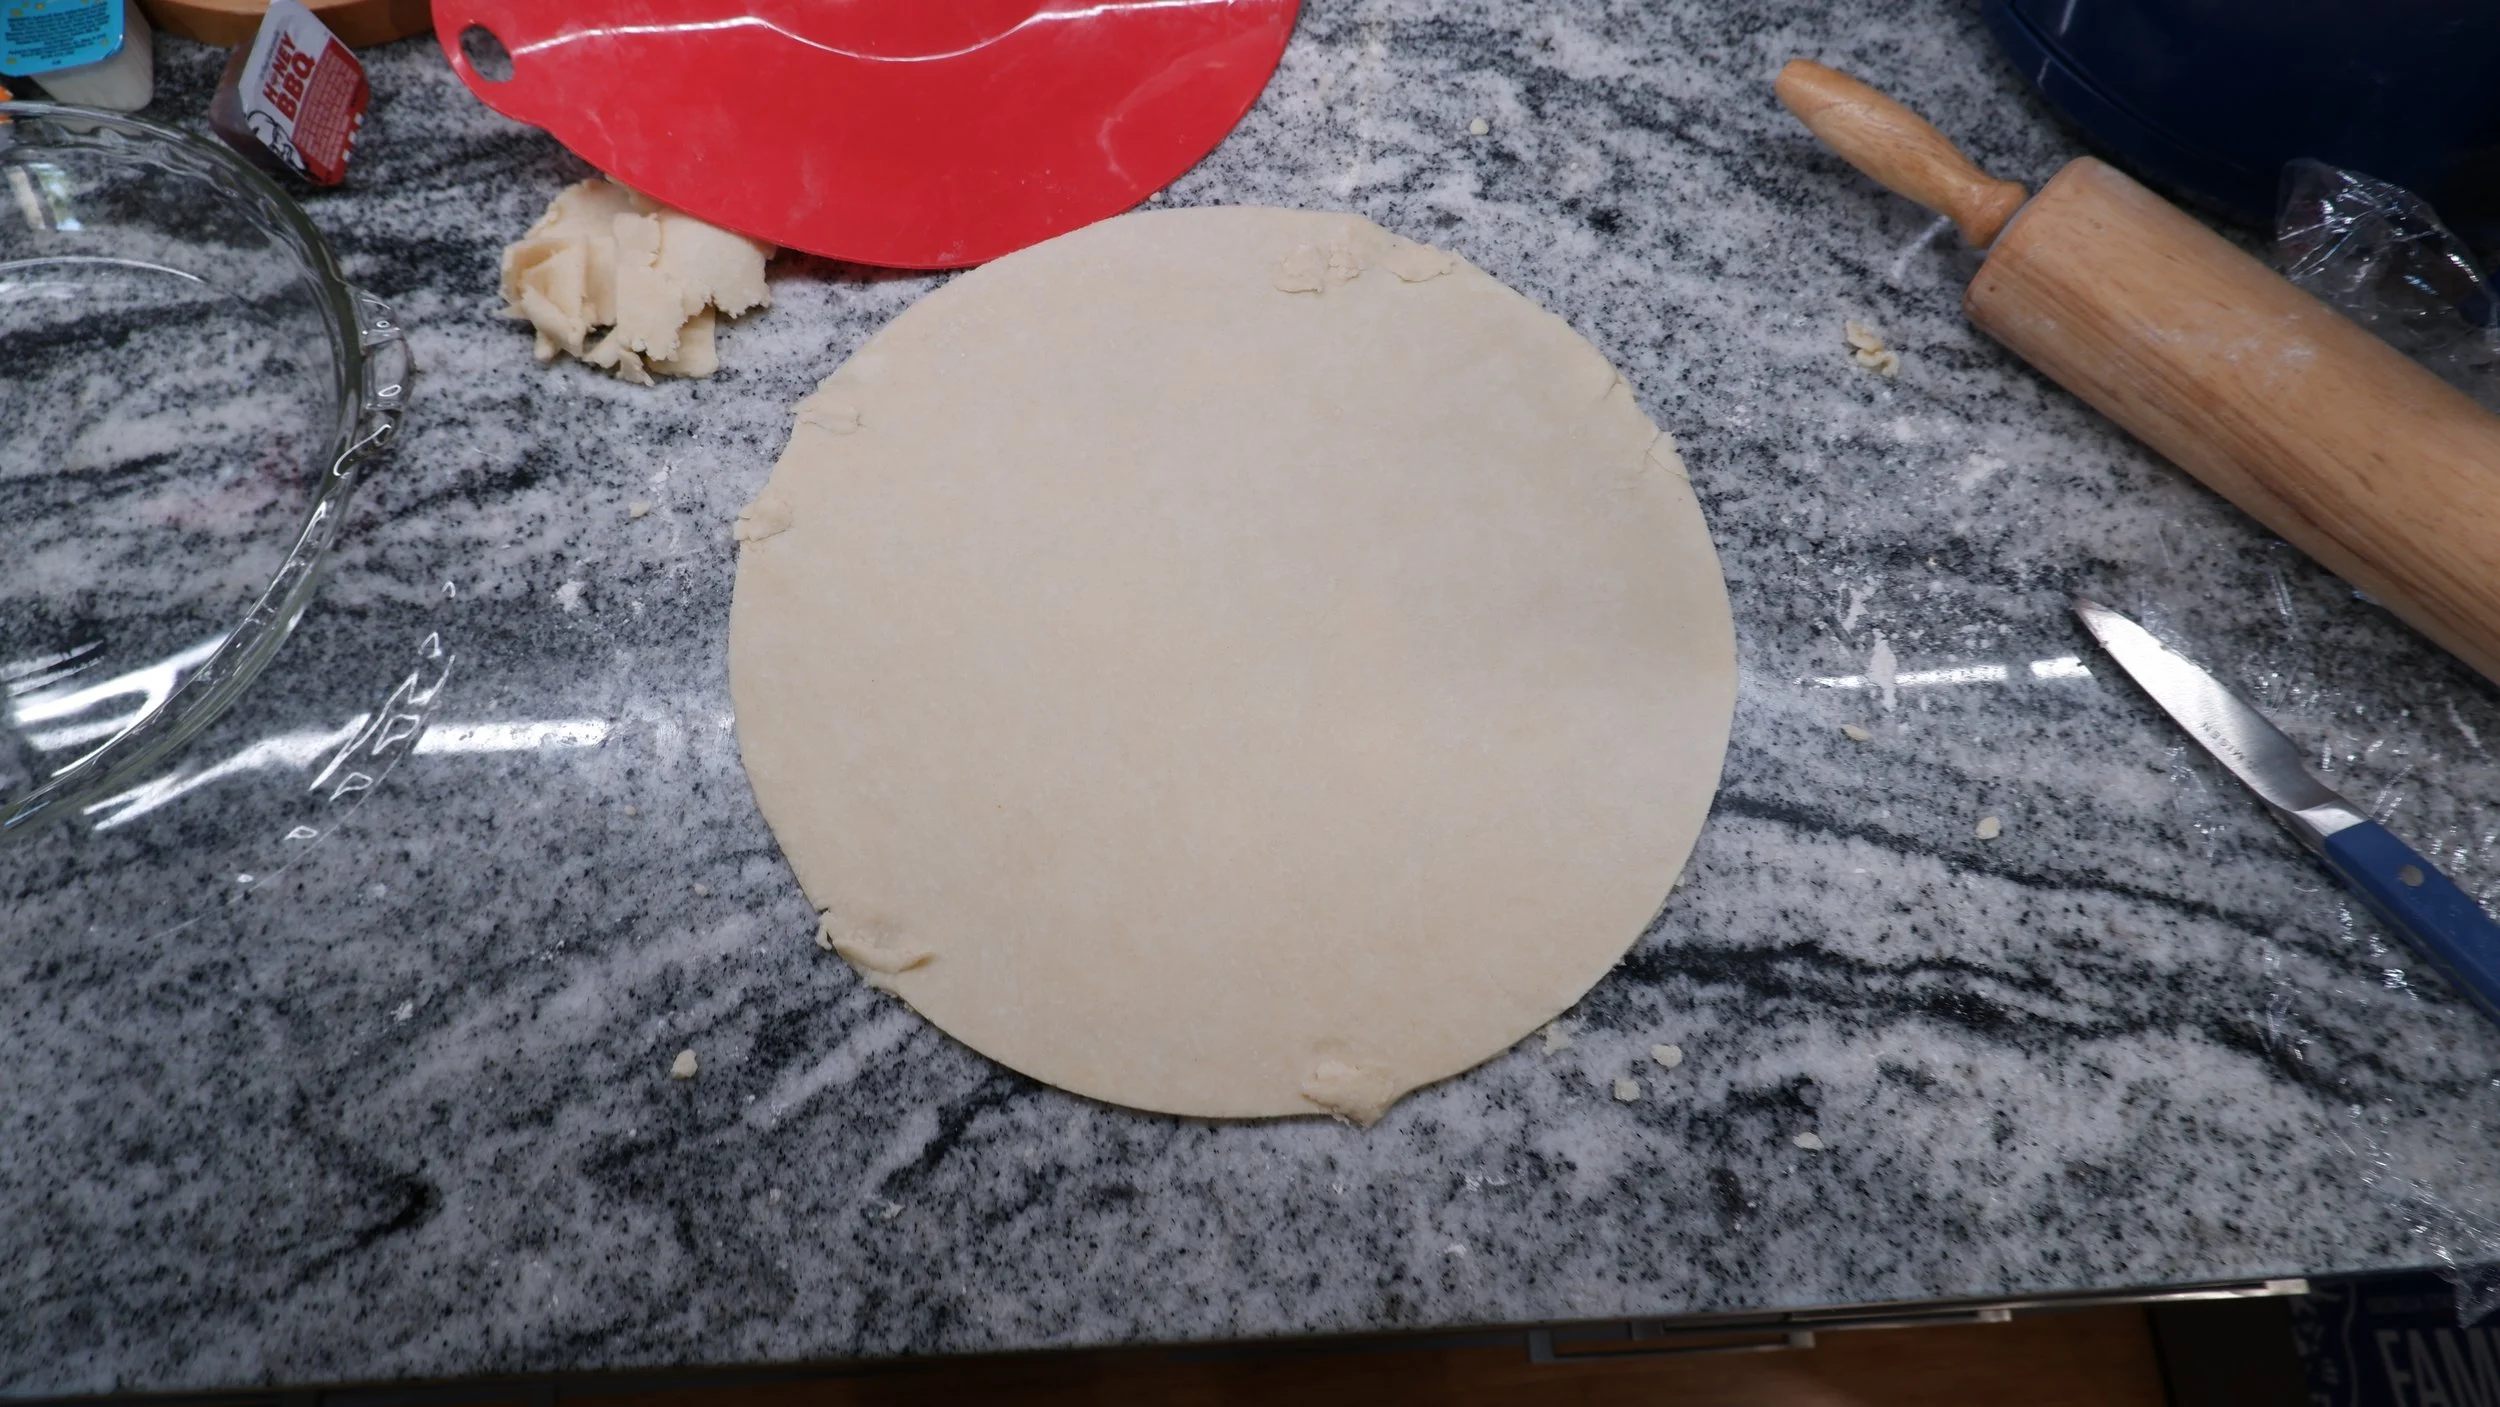
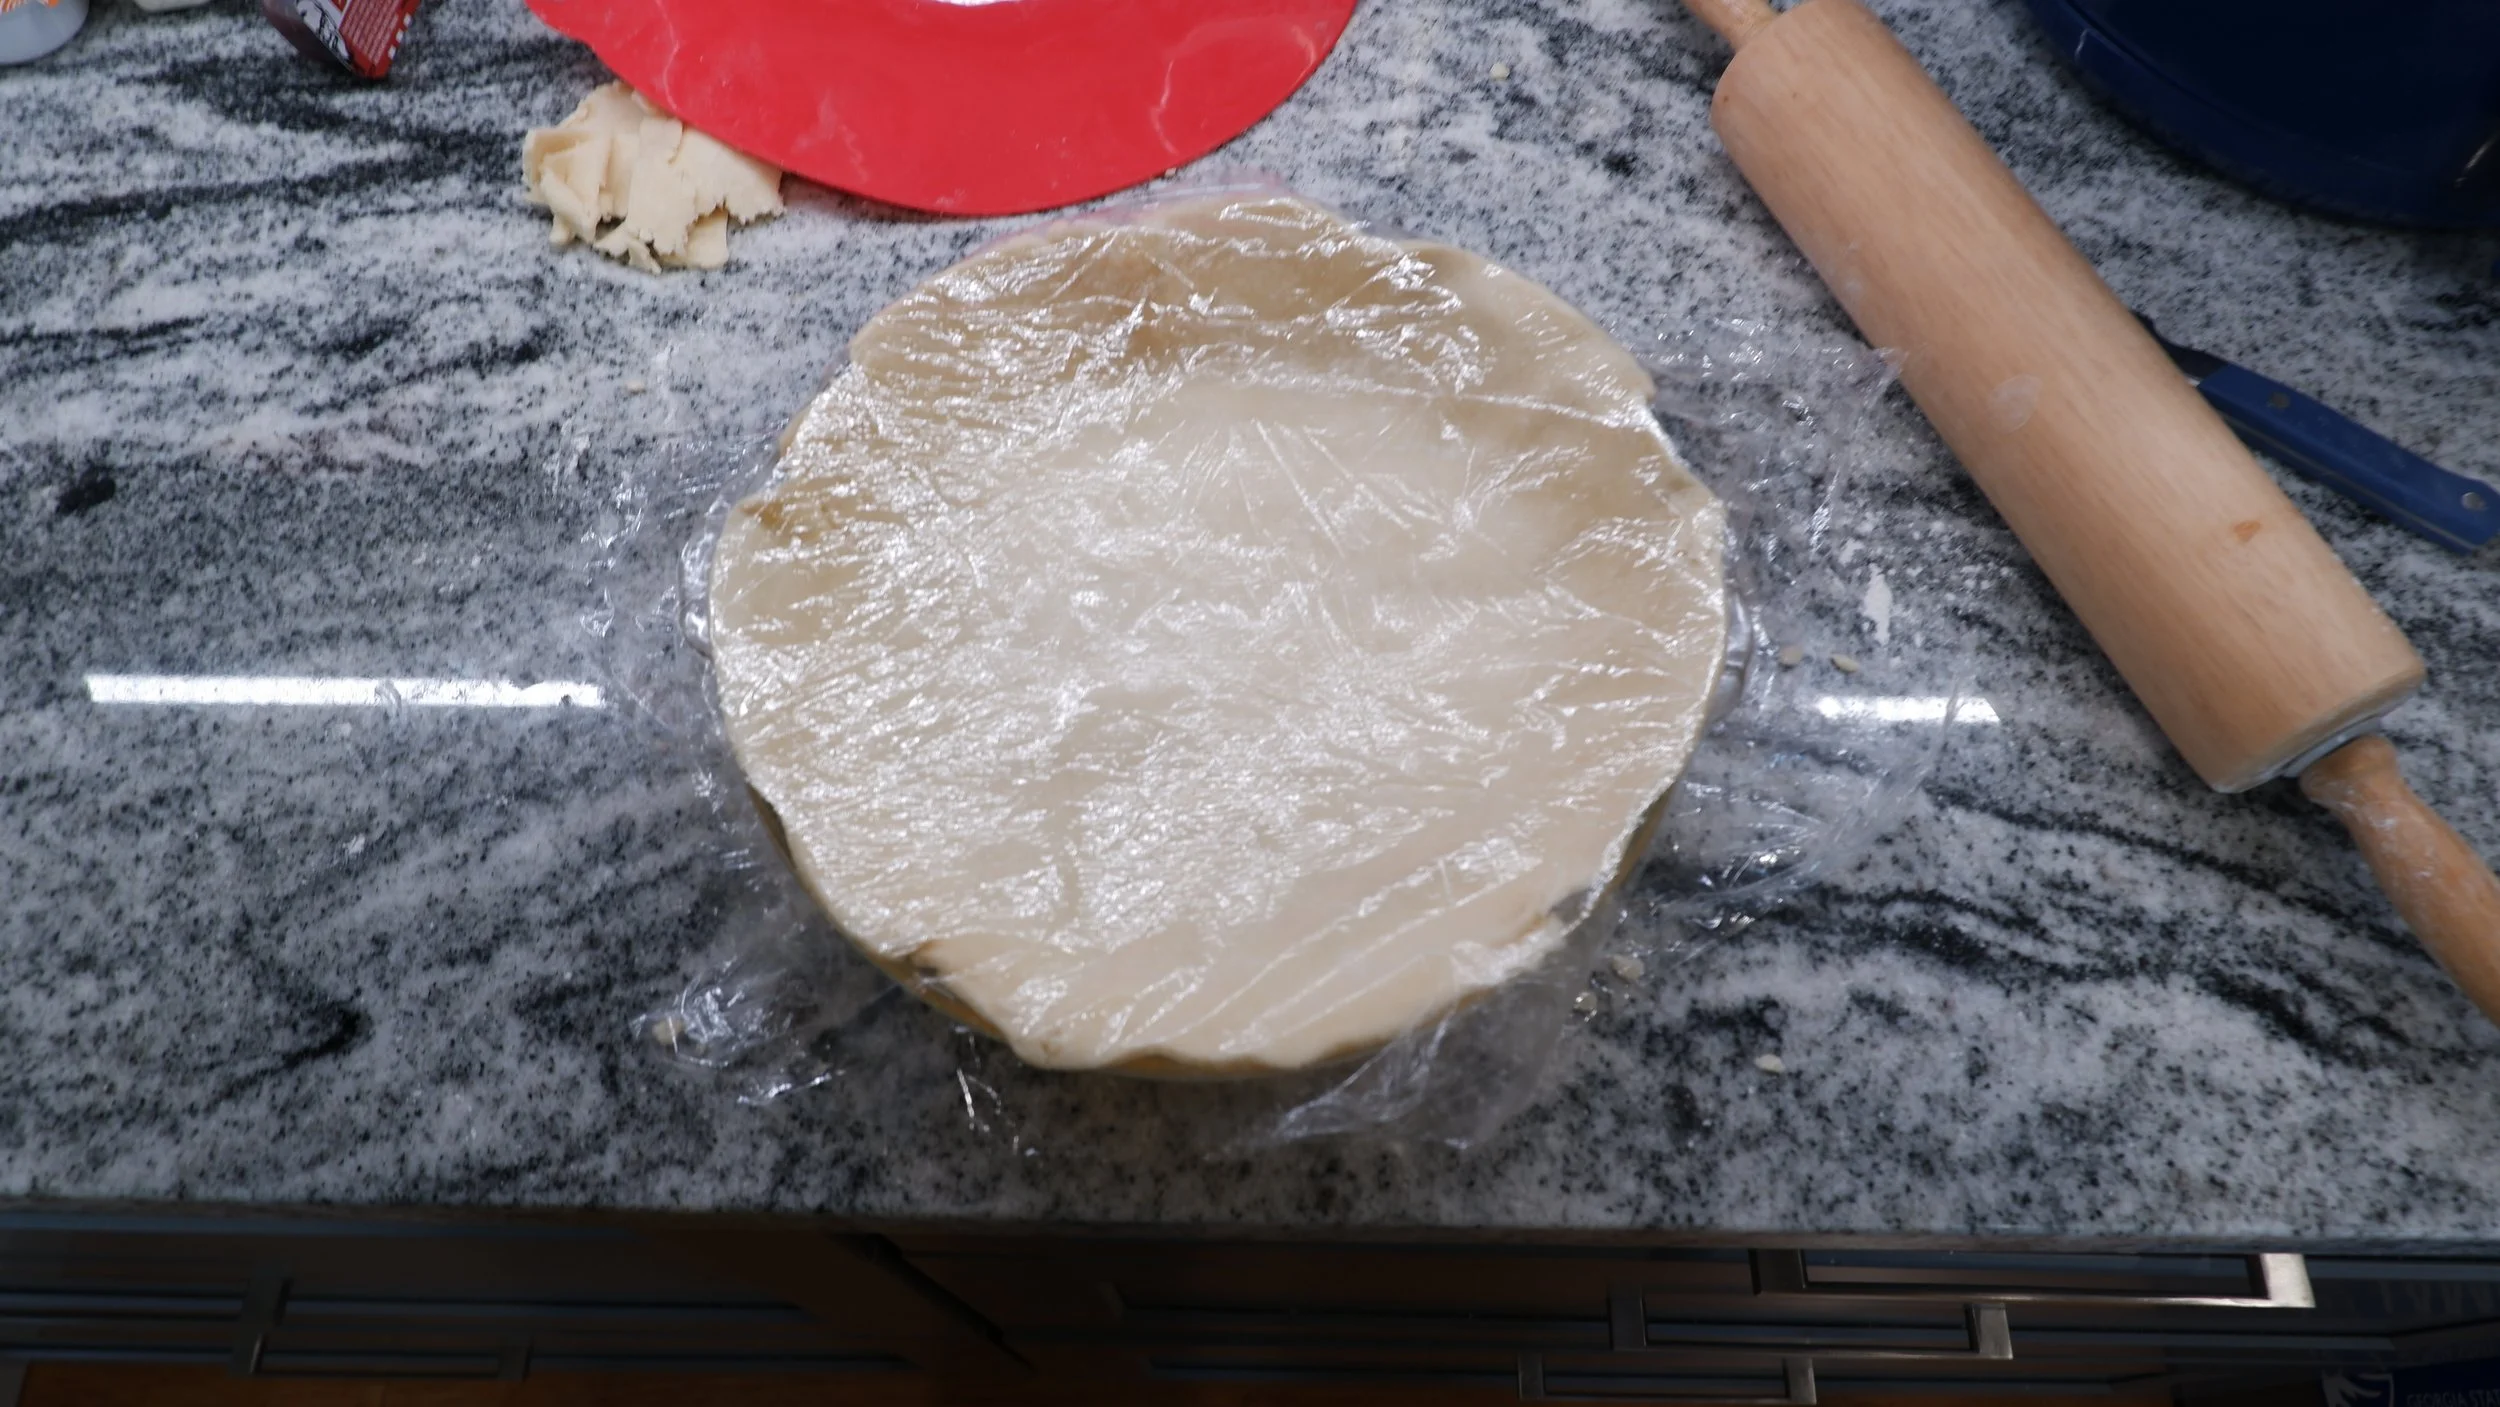
I took half of the dough out of the refrigerator and set it on the counter to soften slightly before unwrapping onto a floured surface and rolling out into a rough disk about 12” in diameter. I was sure to lift and re-flour the dough a few times to prevent it from sticking to the surface. I used a 12” silicon template to cut a circle out of the dough and transferred it to the pie plate. I let it fall into the corners of the plate and trimmed the edges of the crust before covering with plastic wrap and placing in the refrigerator.
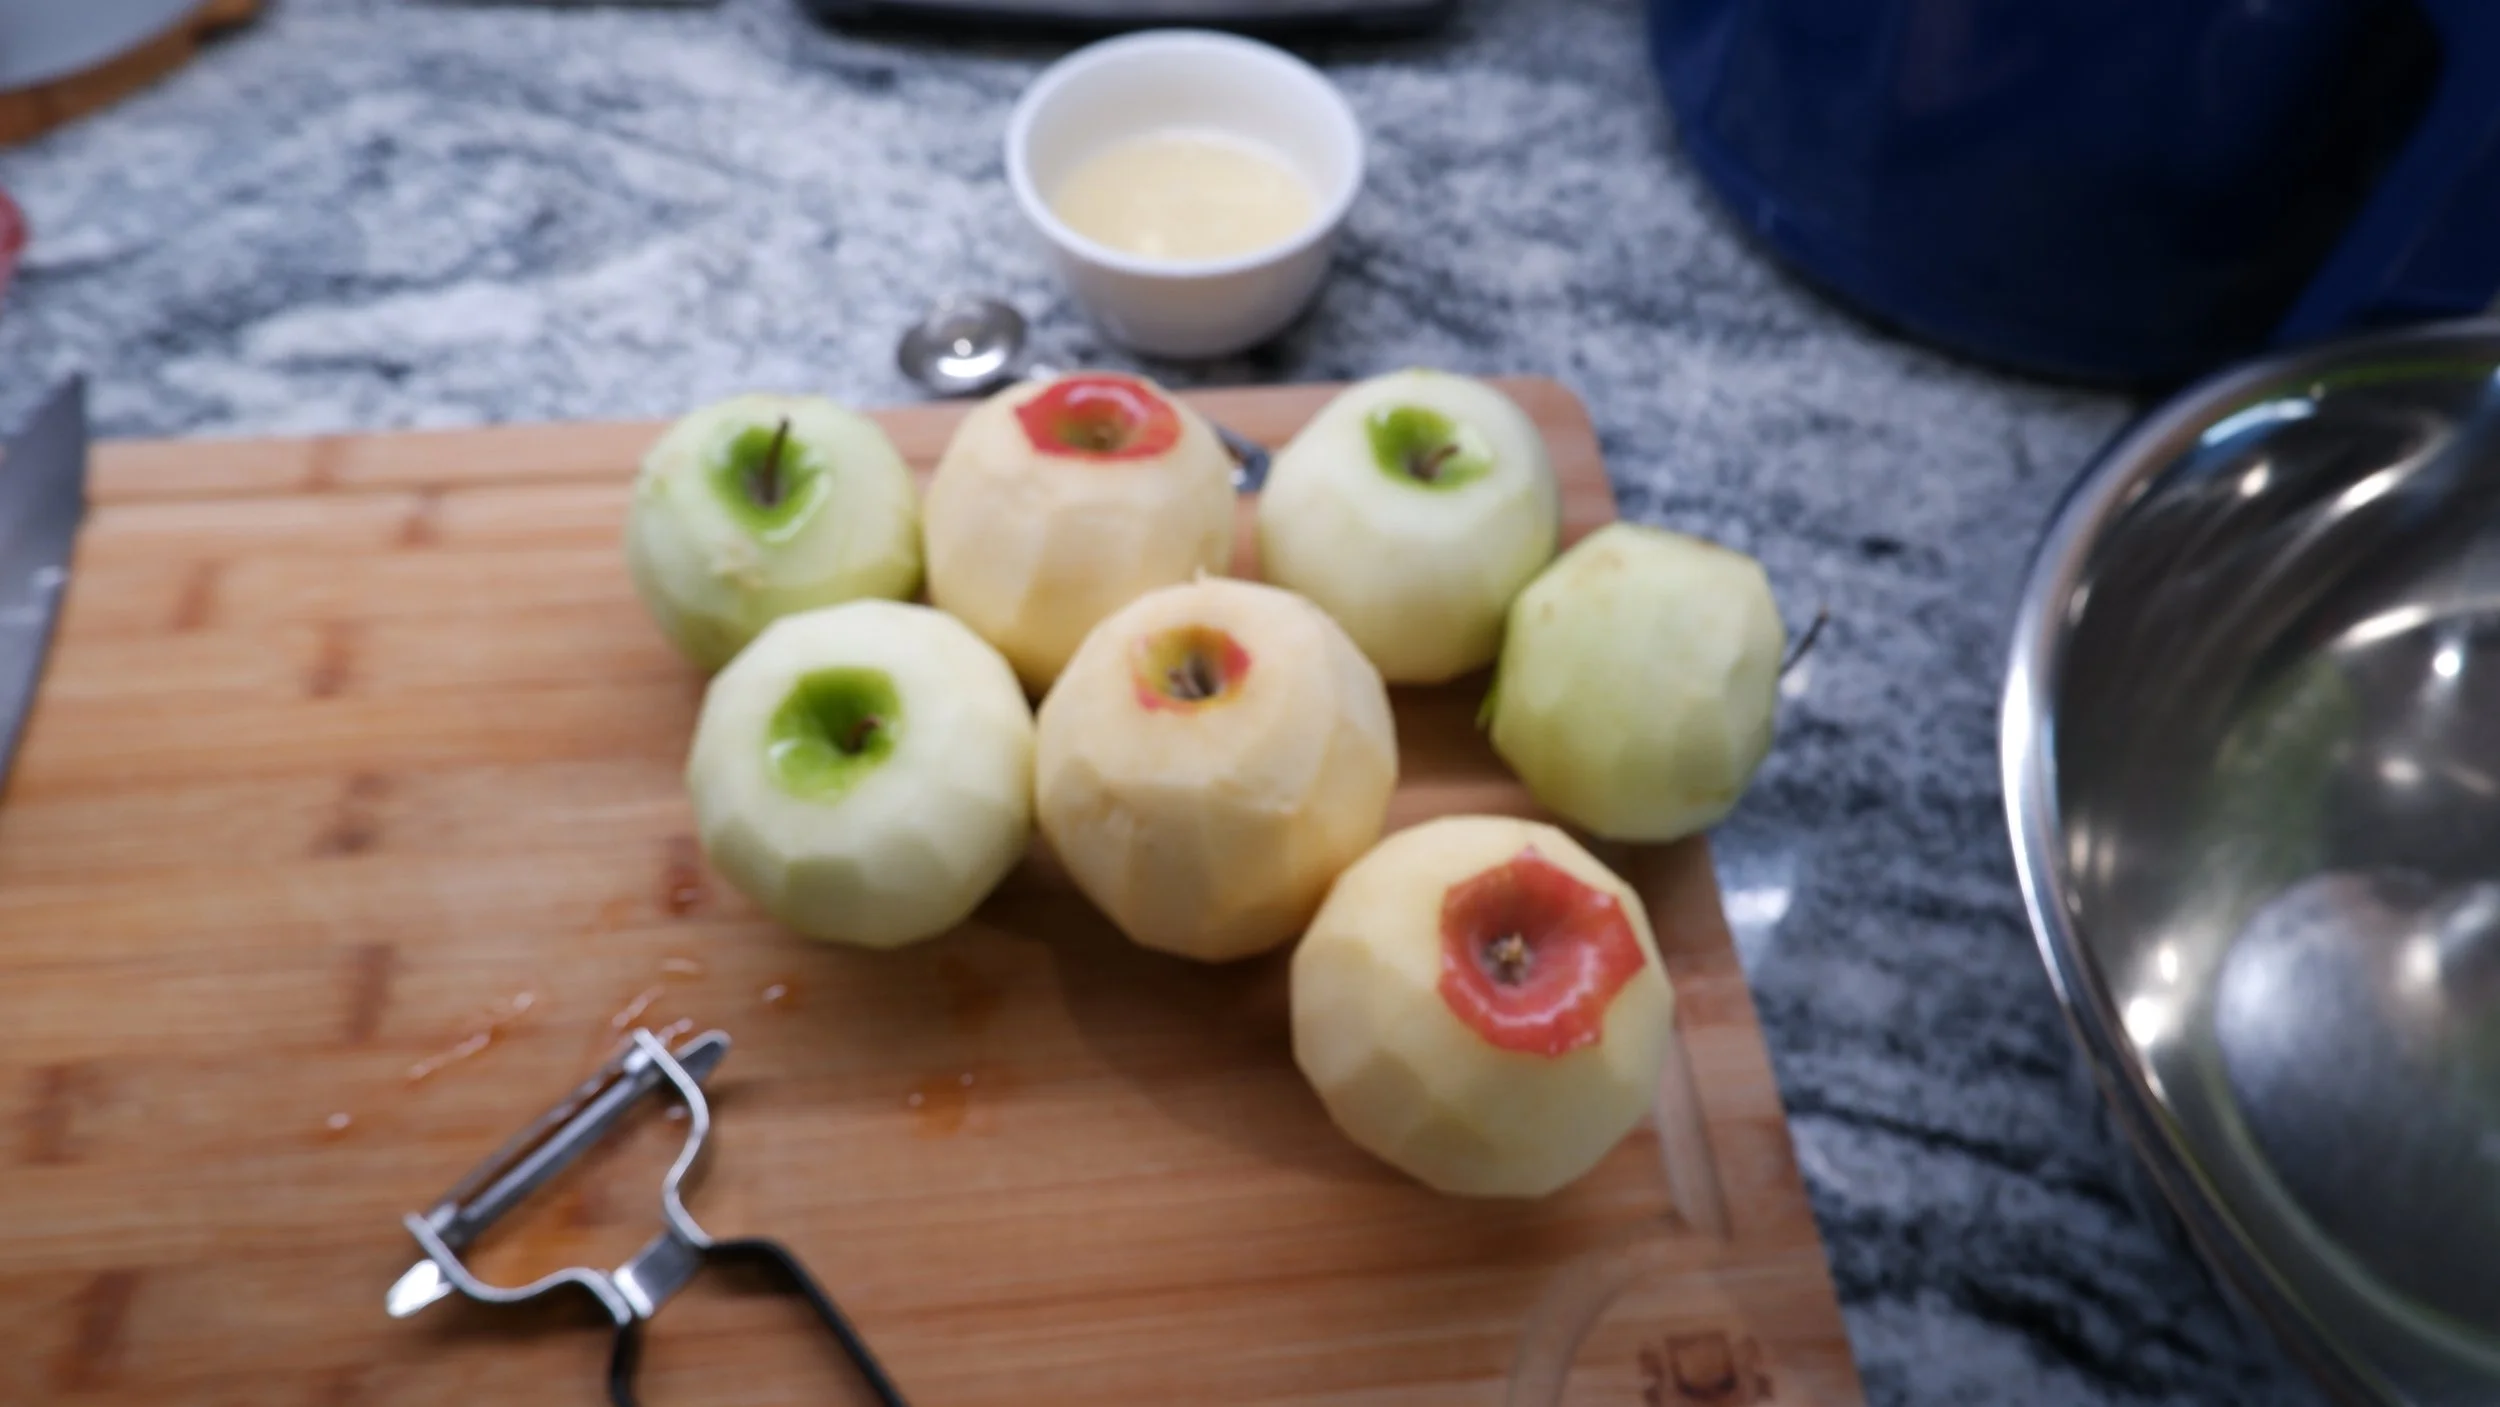
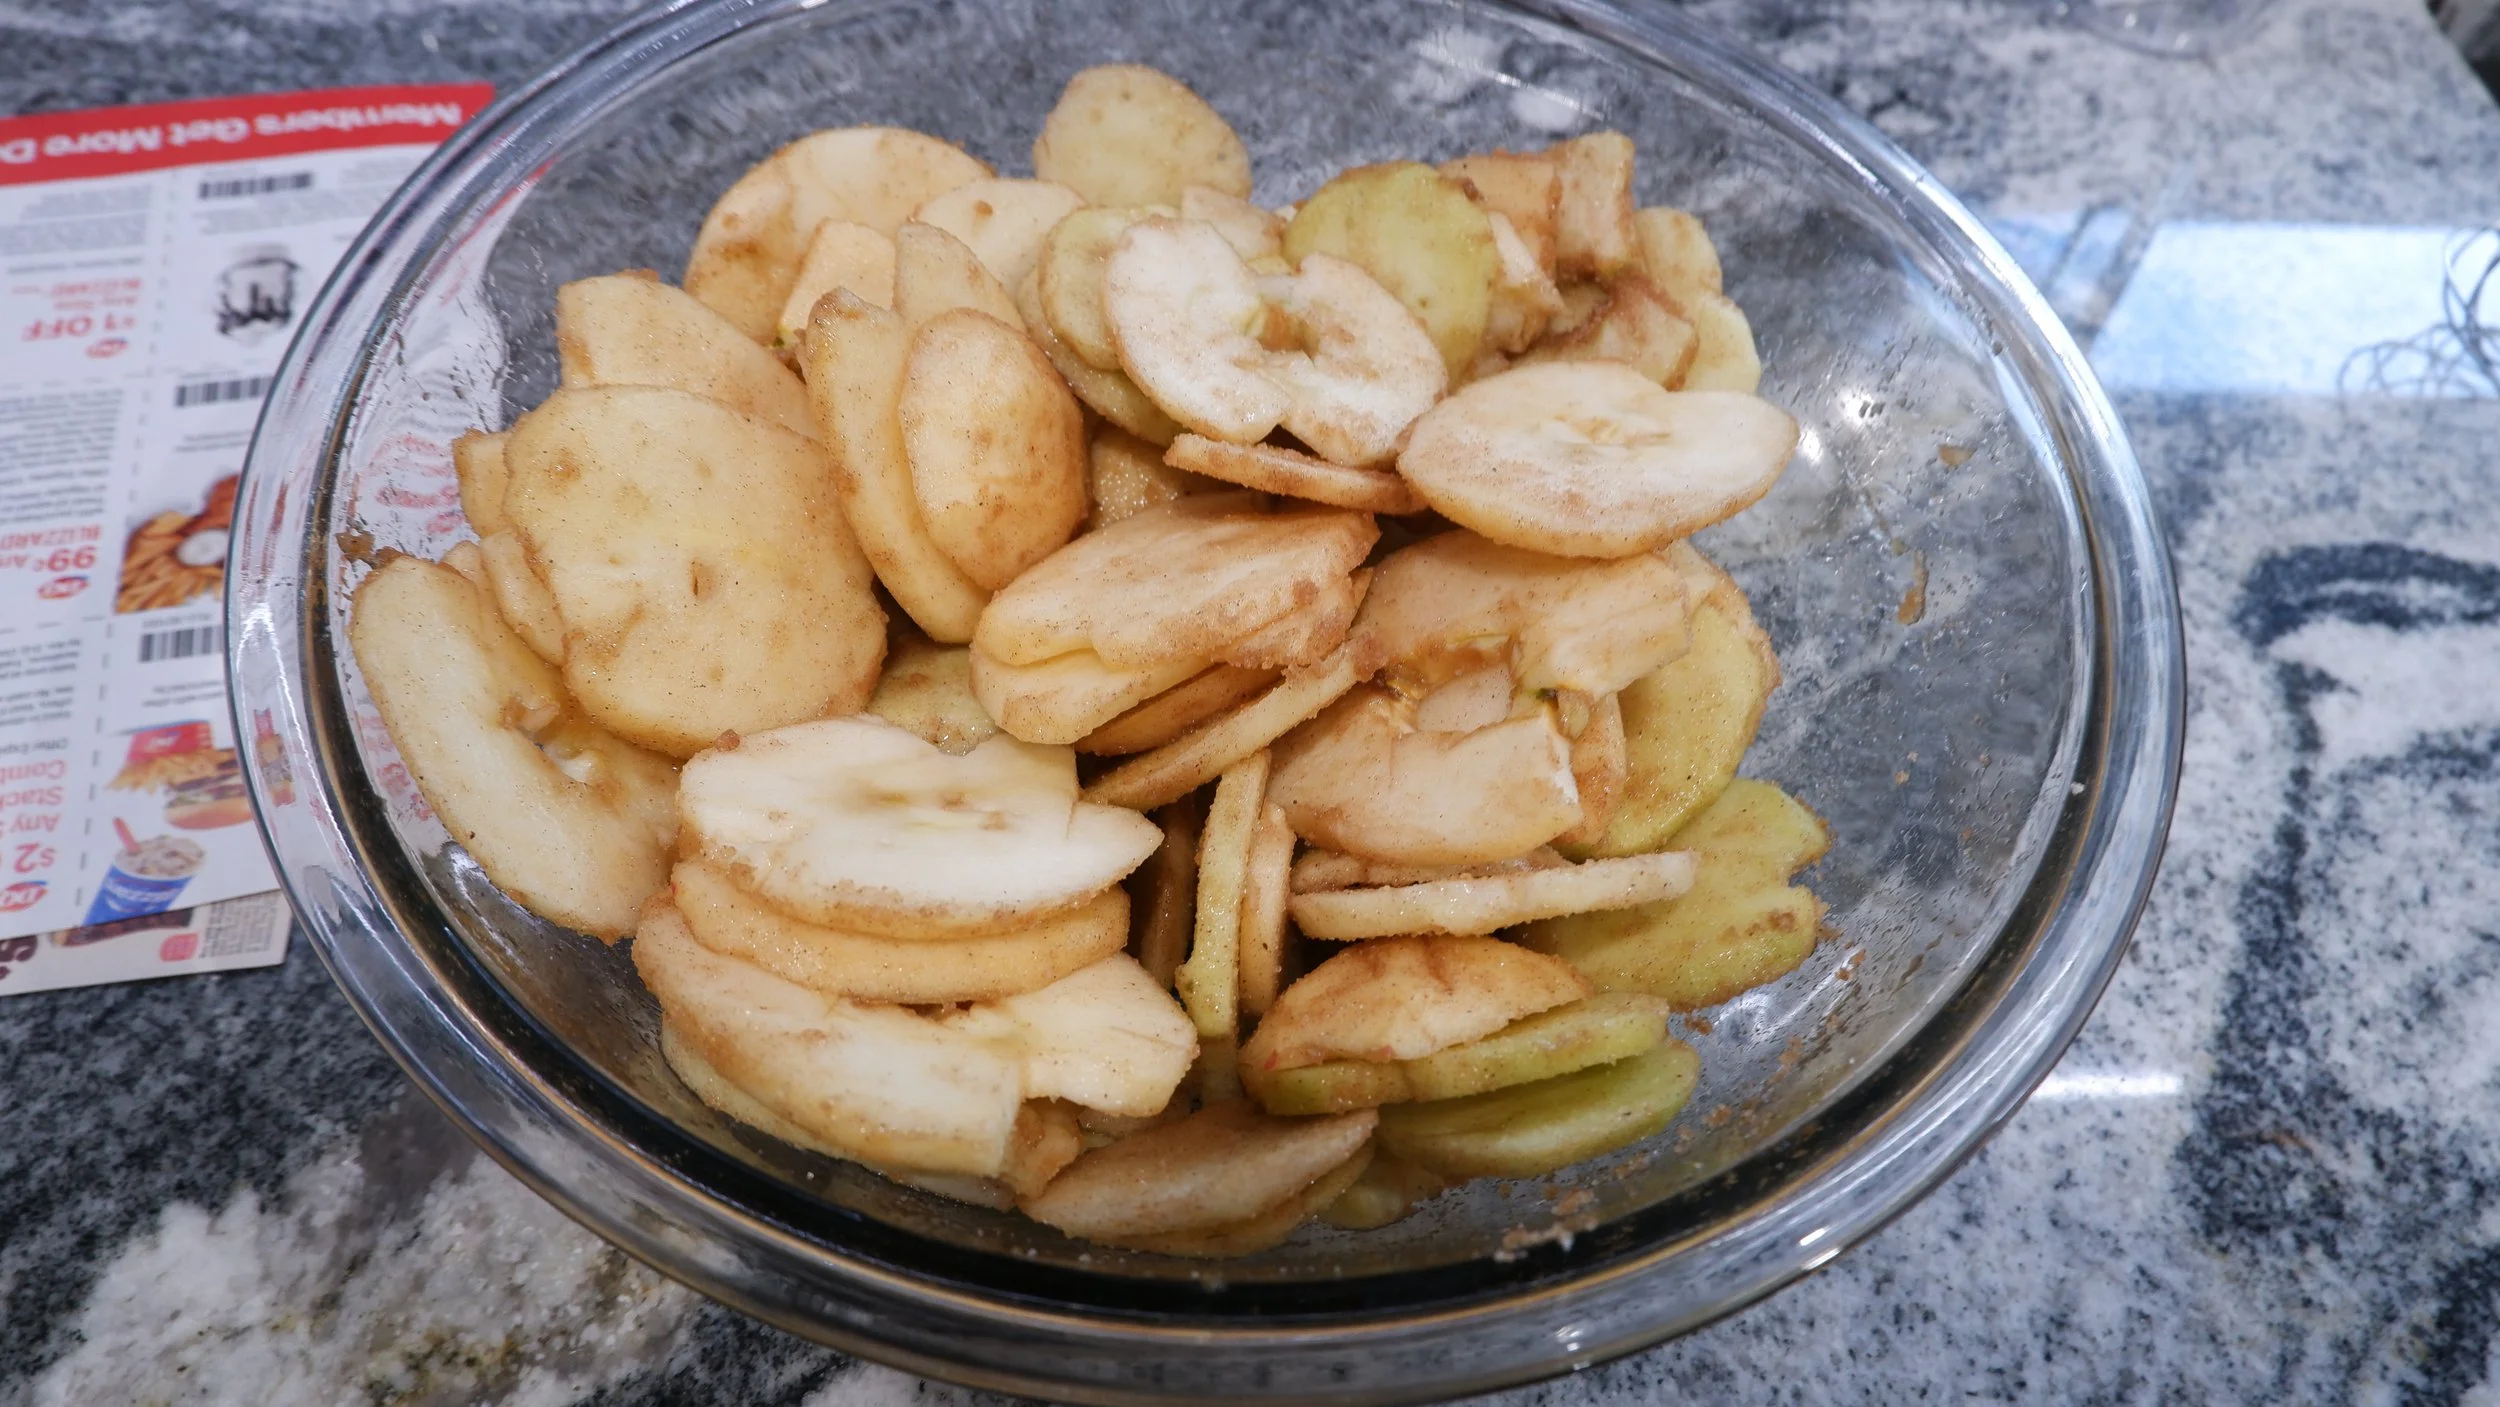
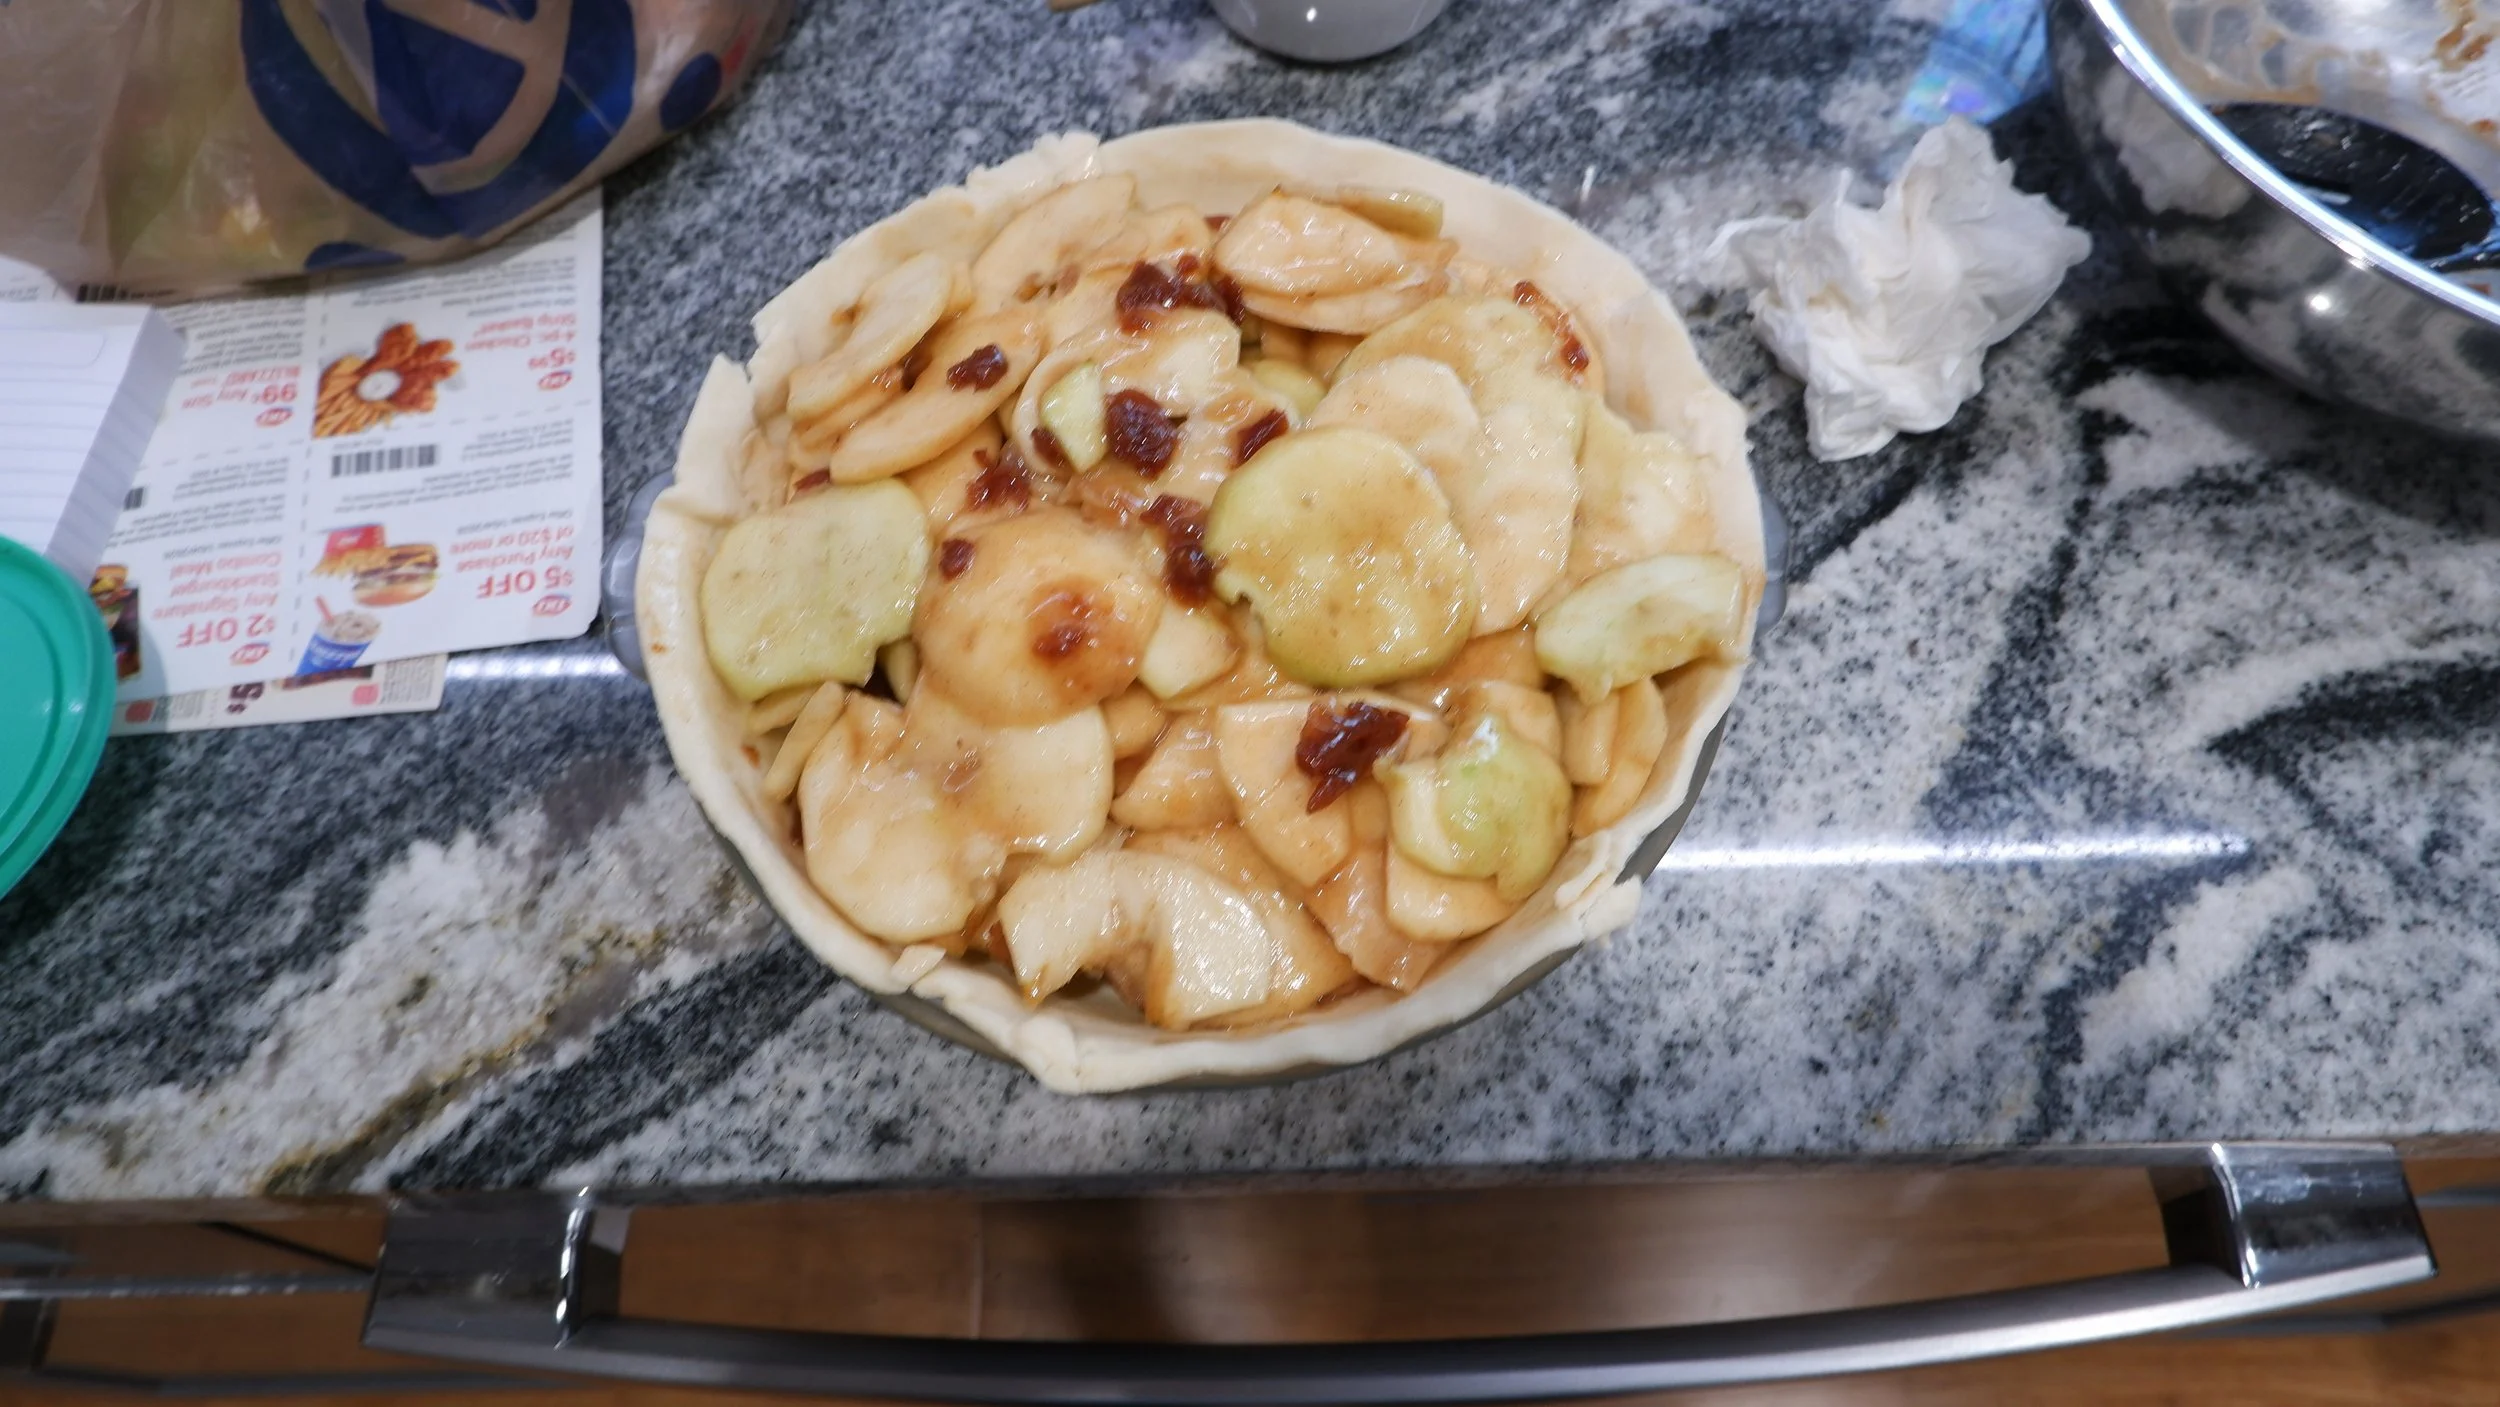
Macerate Apples: 1 hour
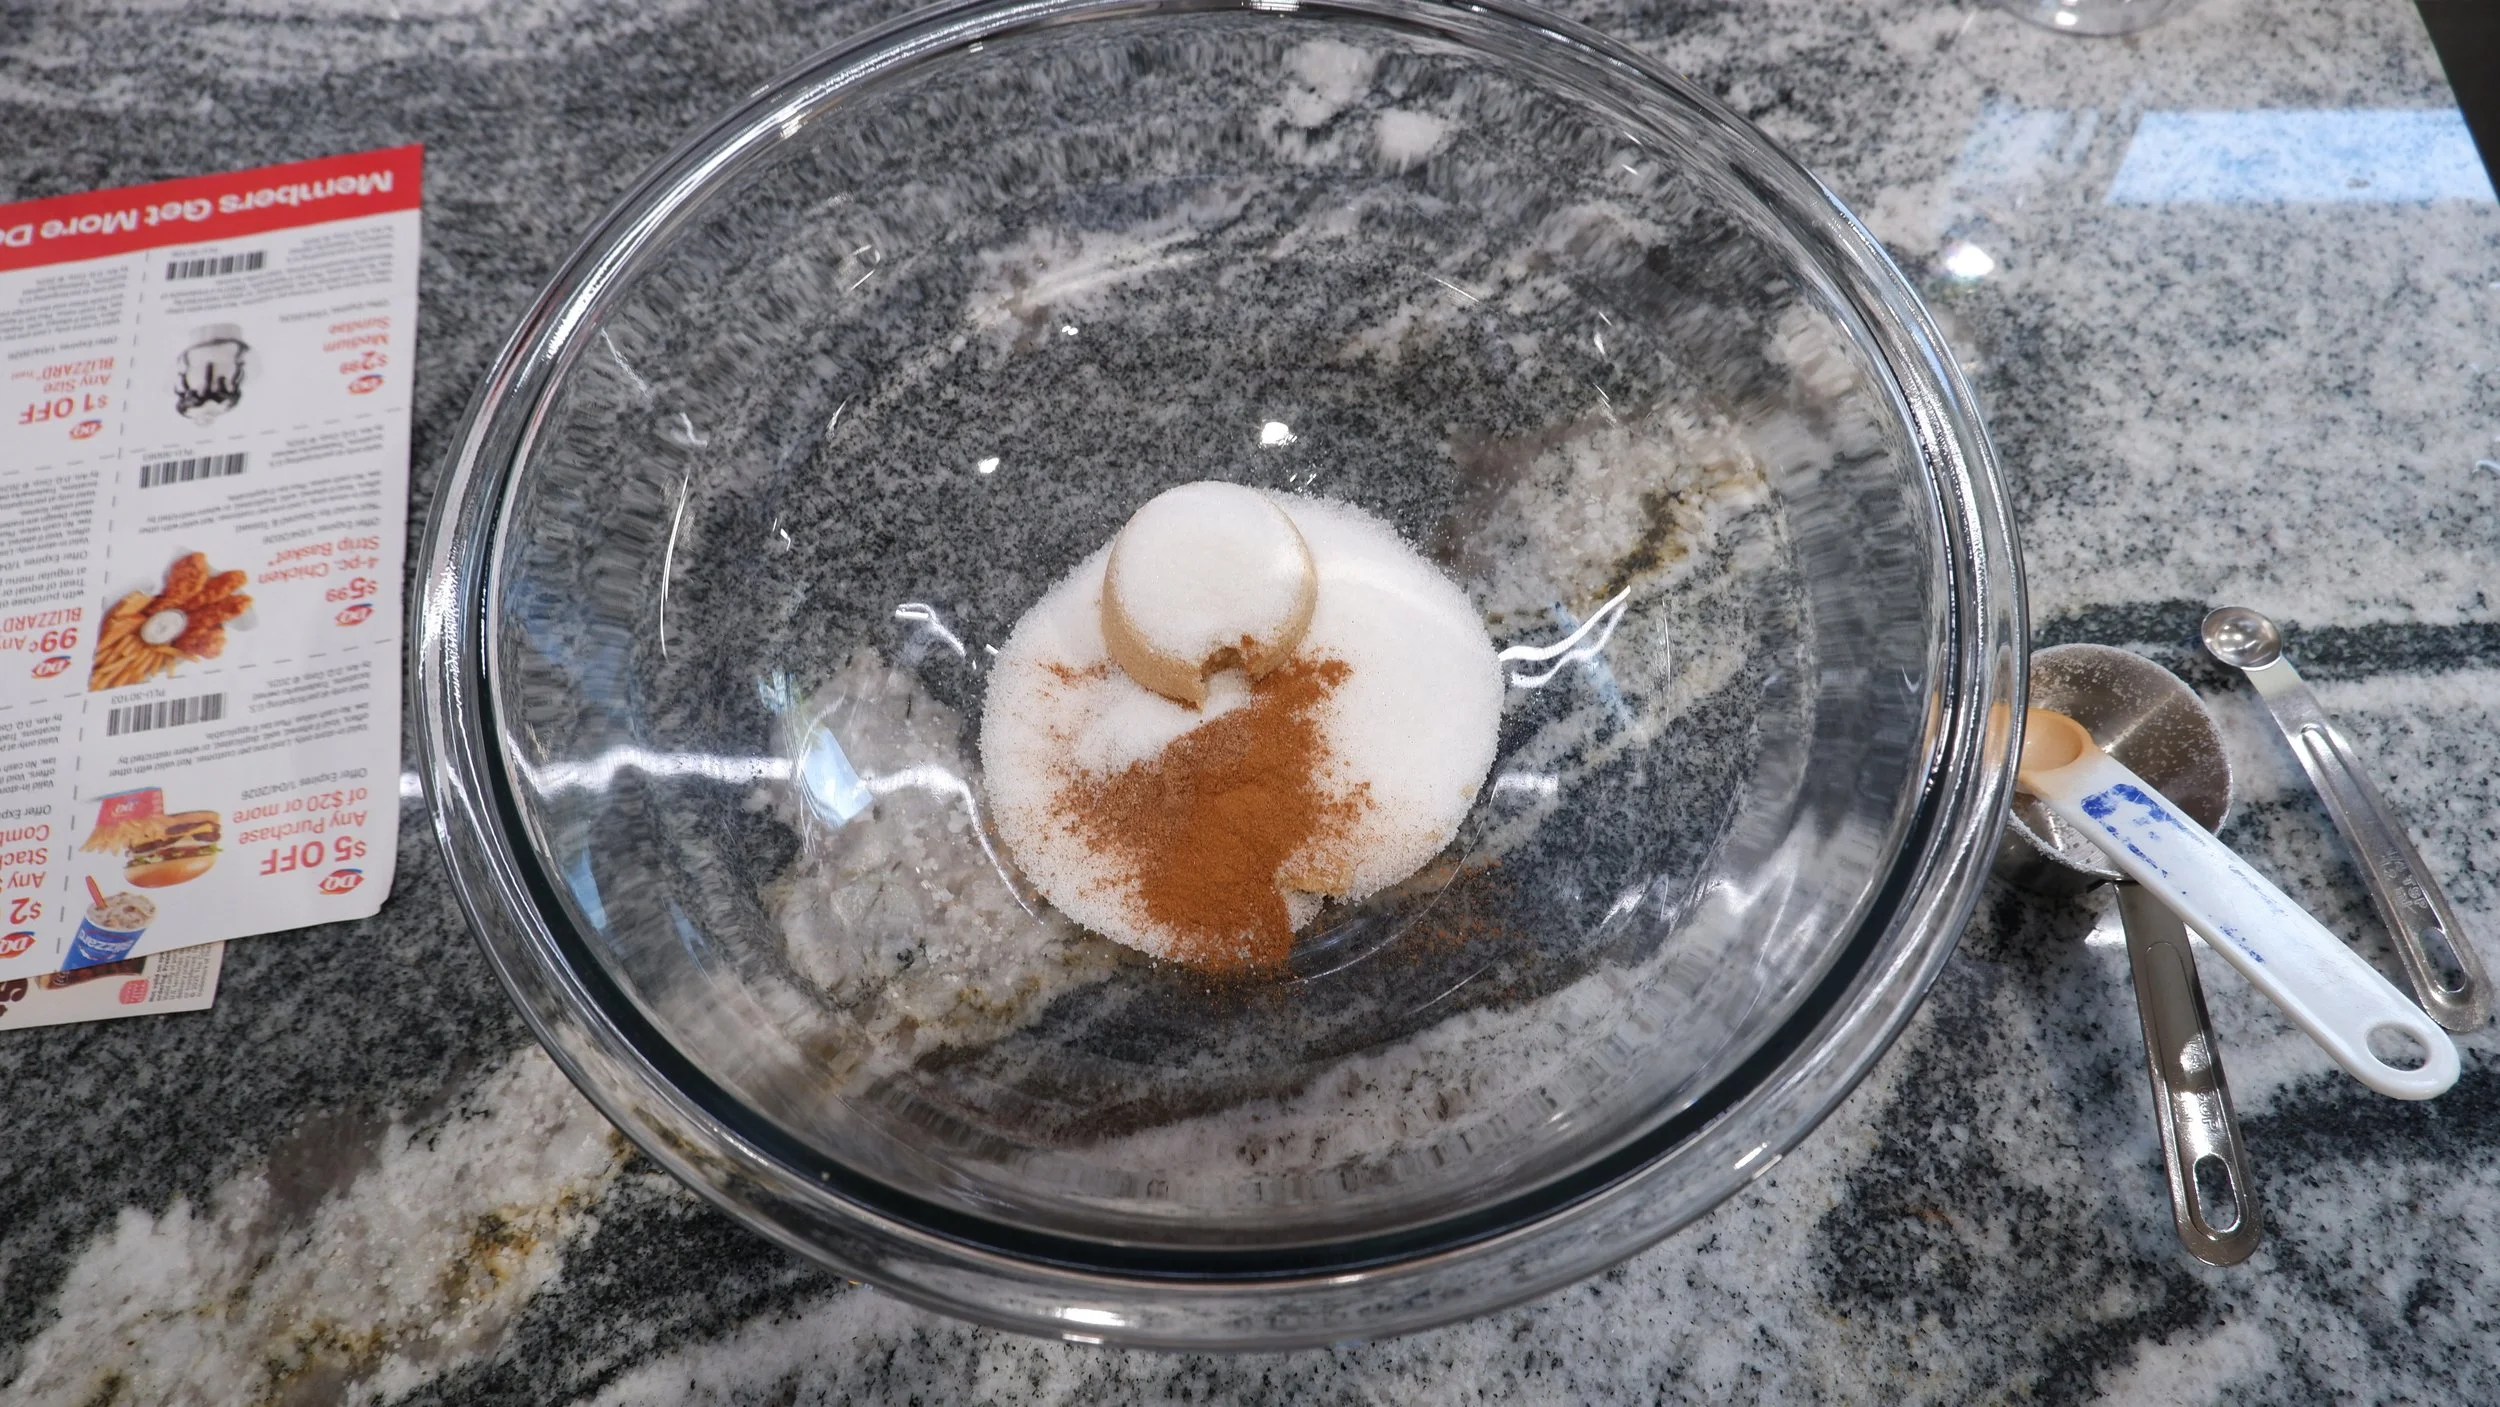
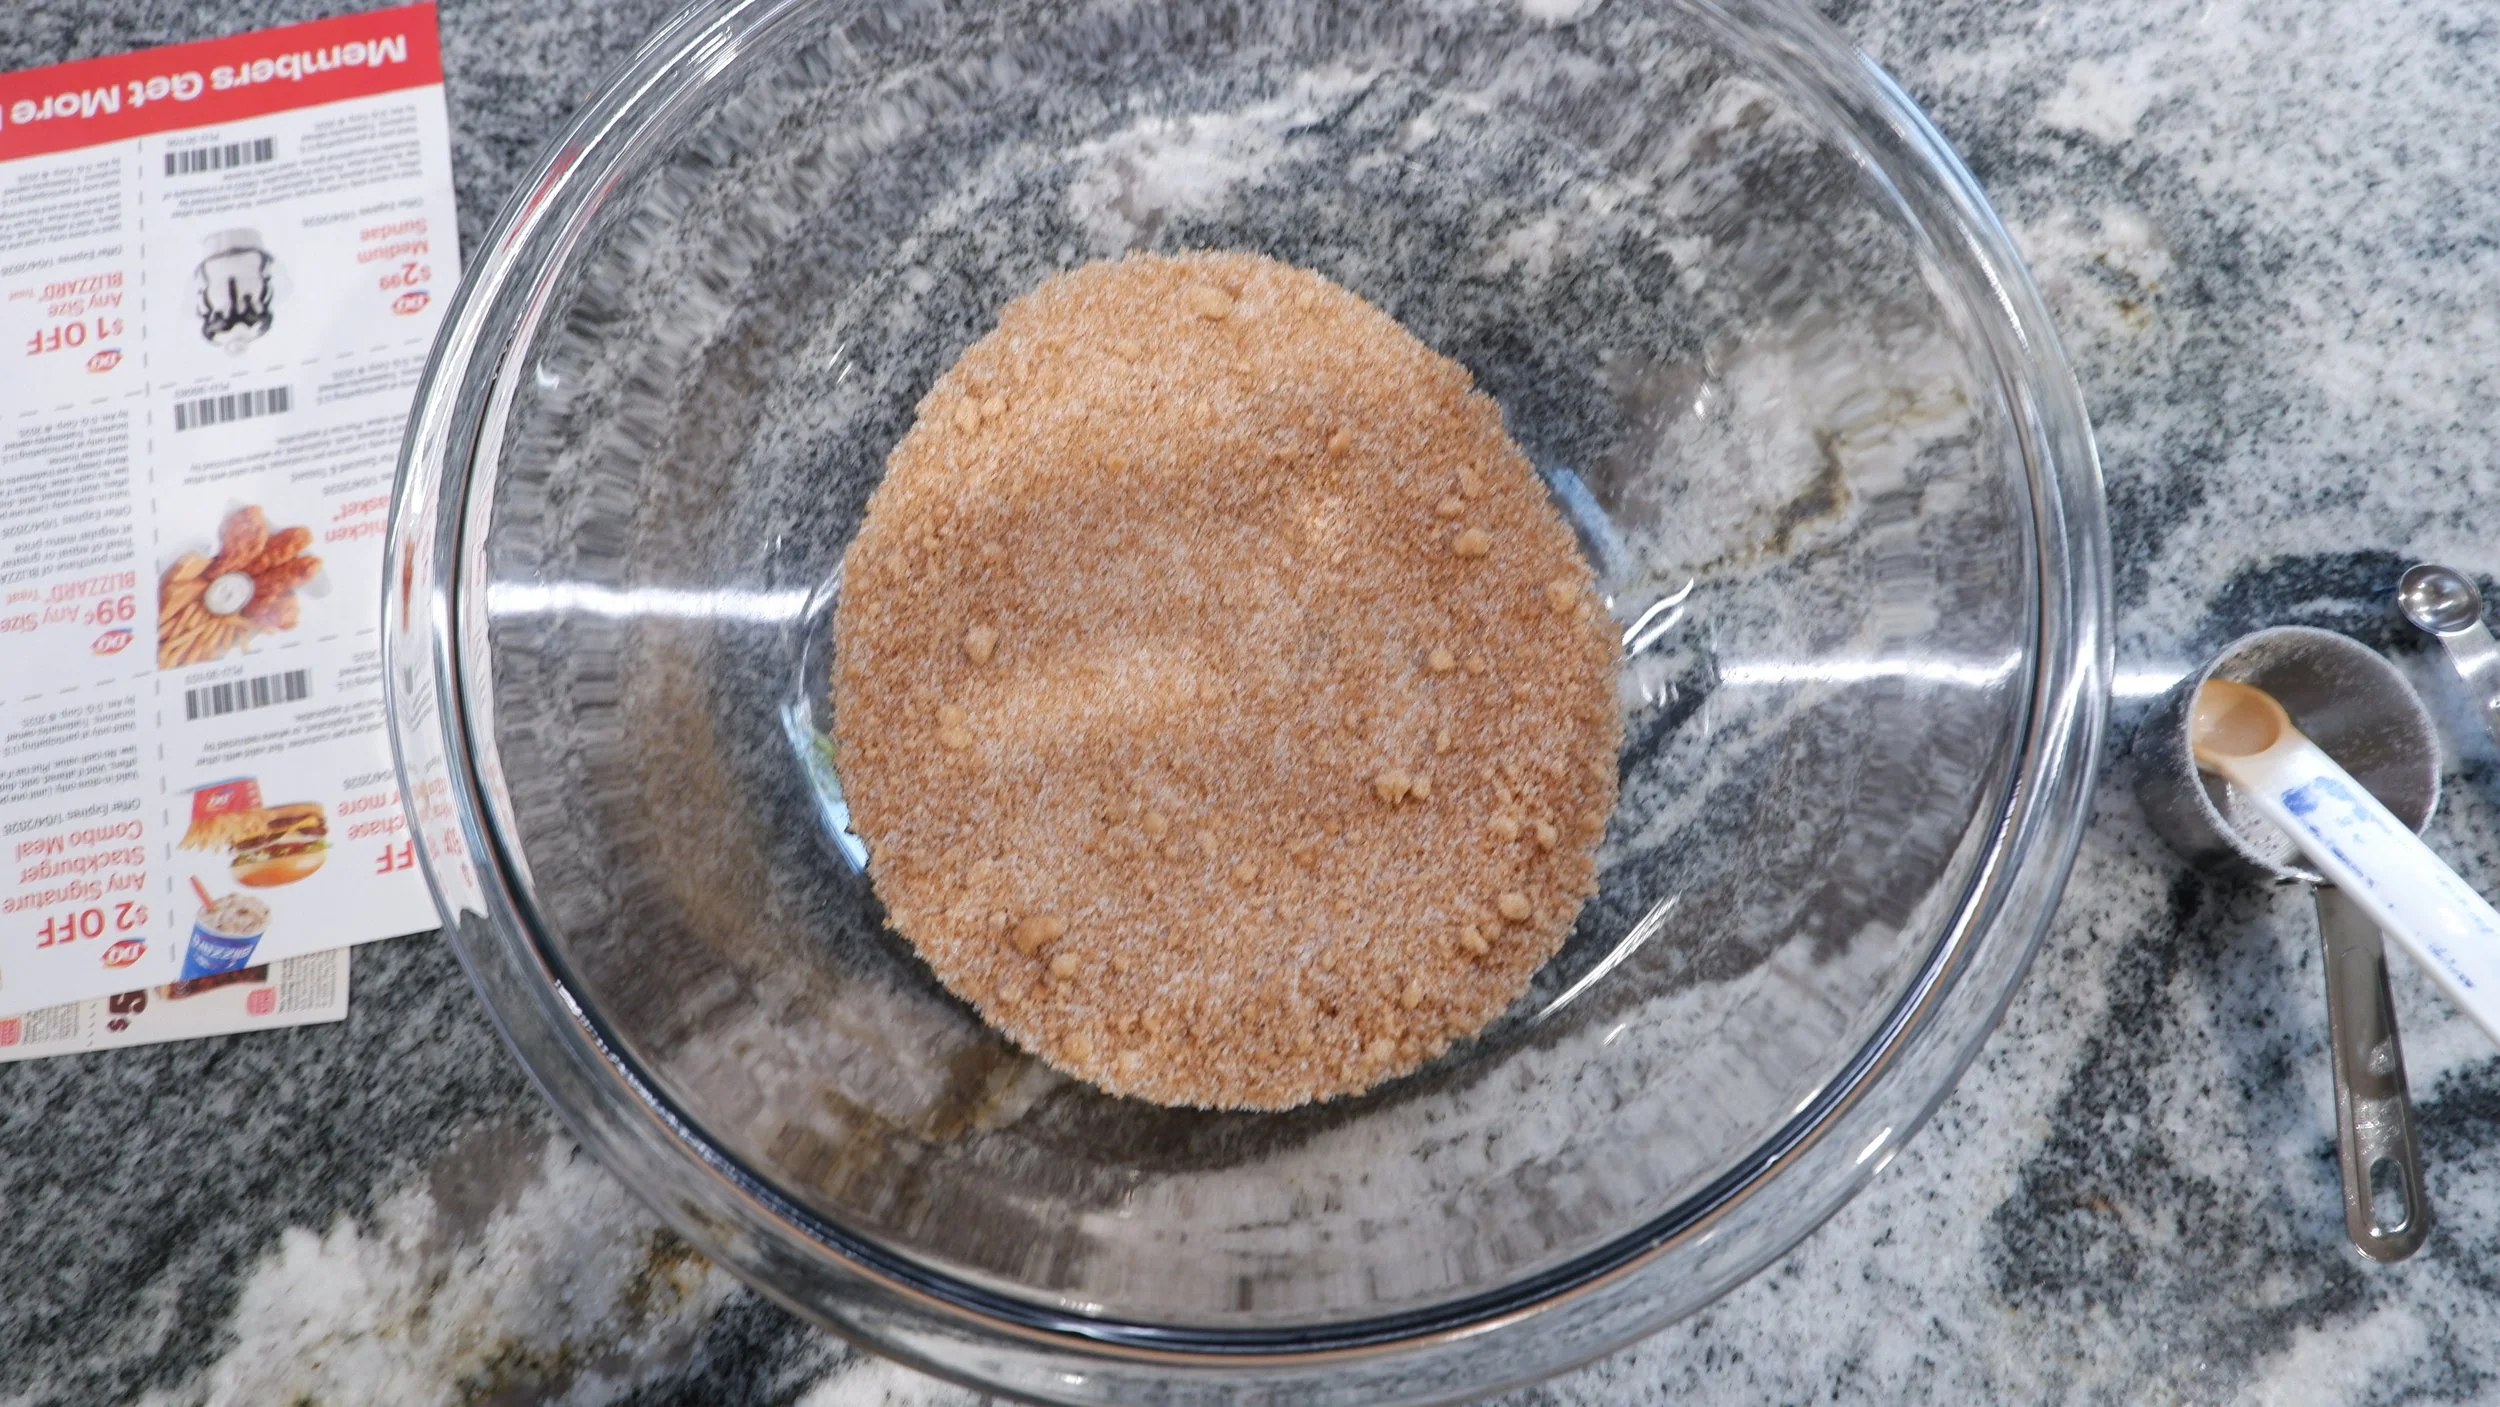
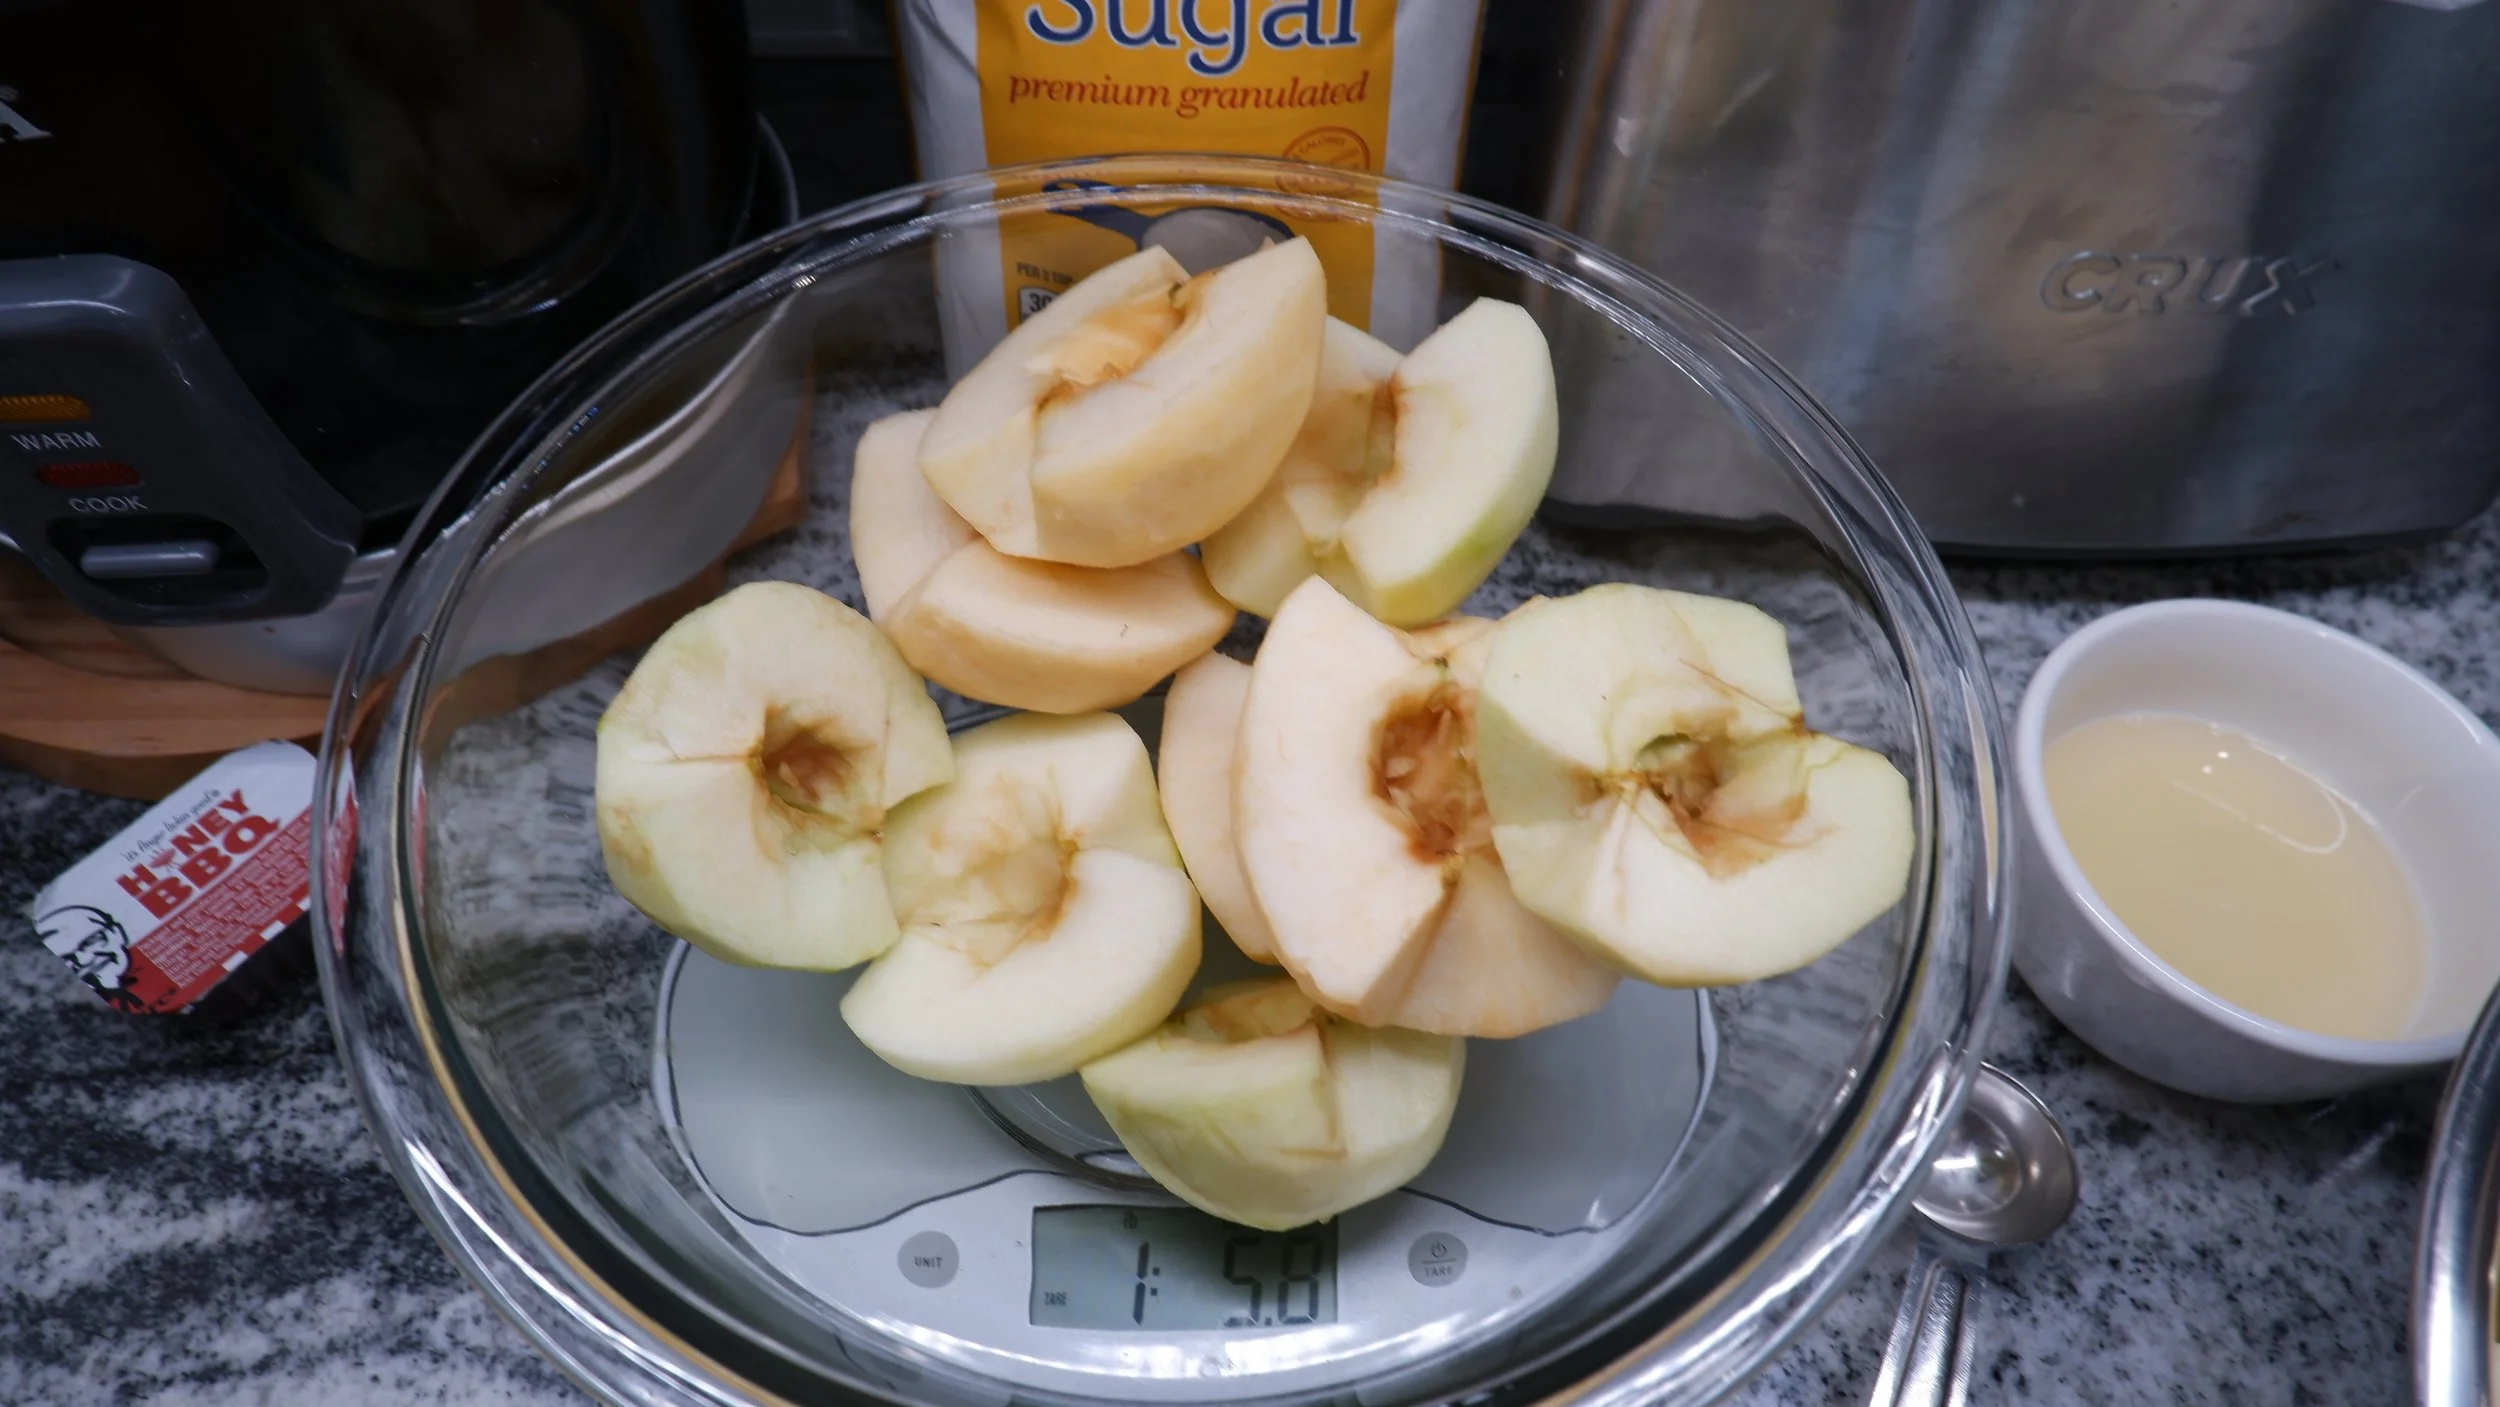
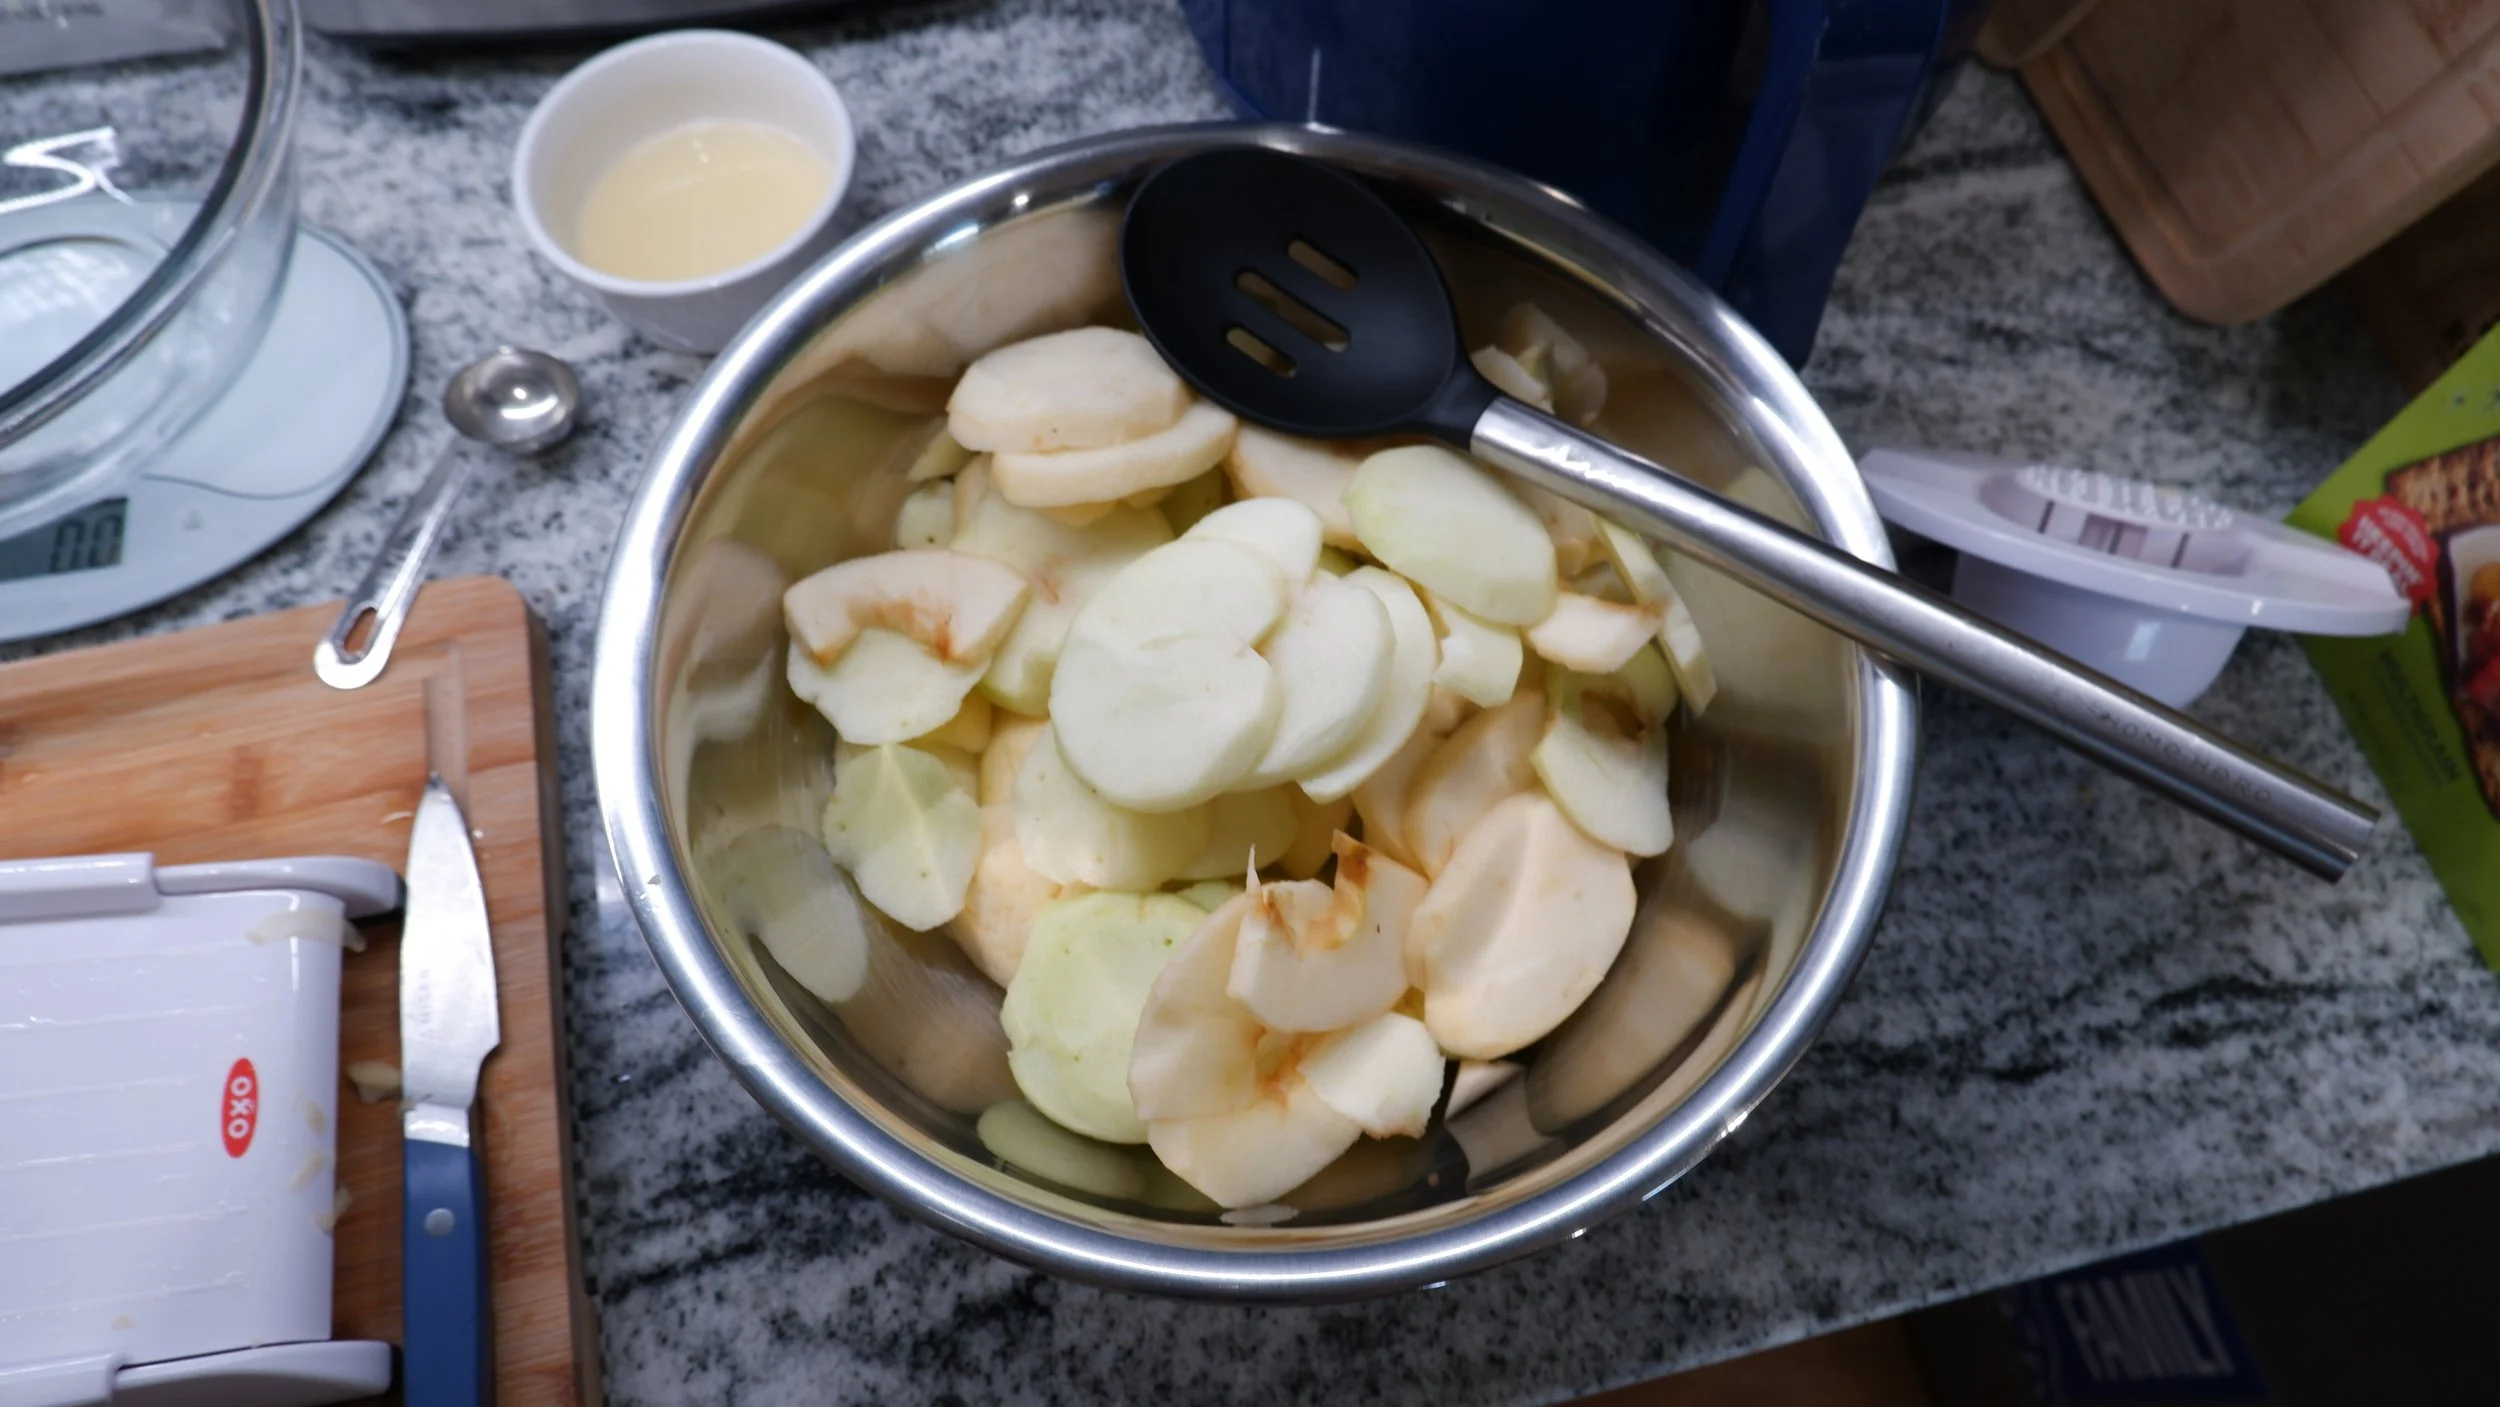
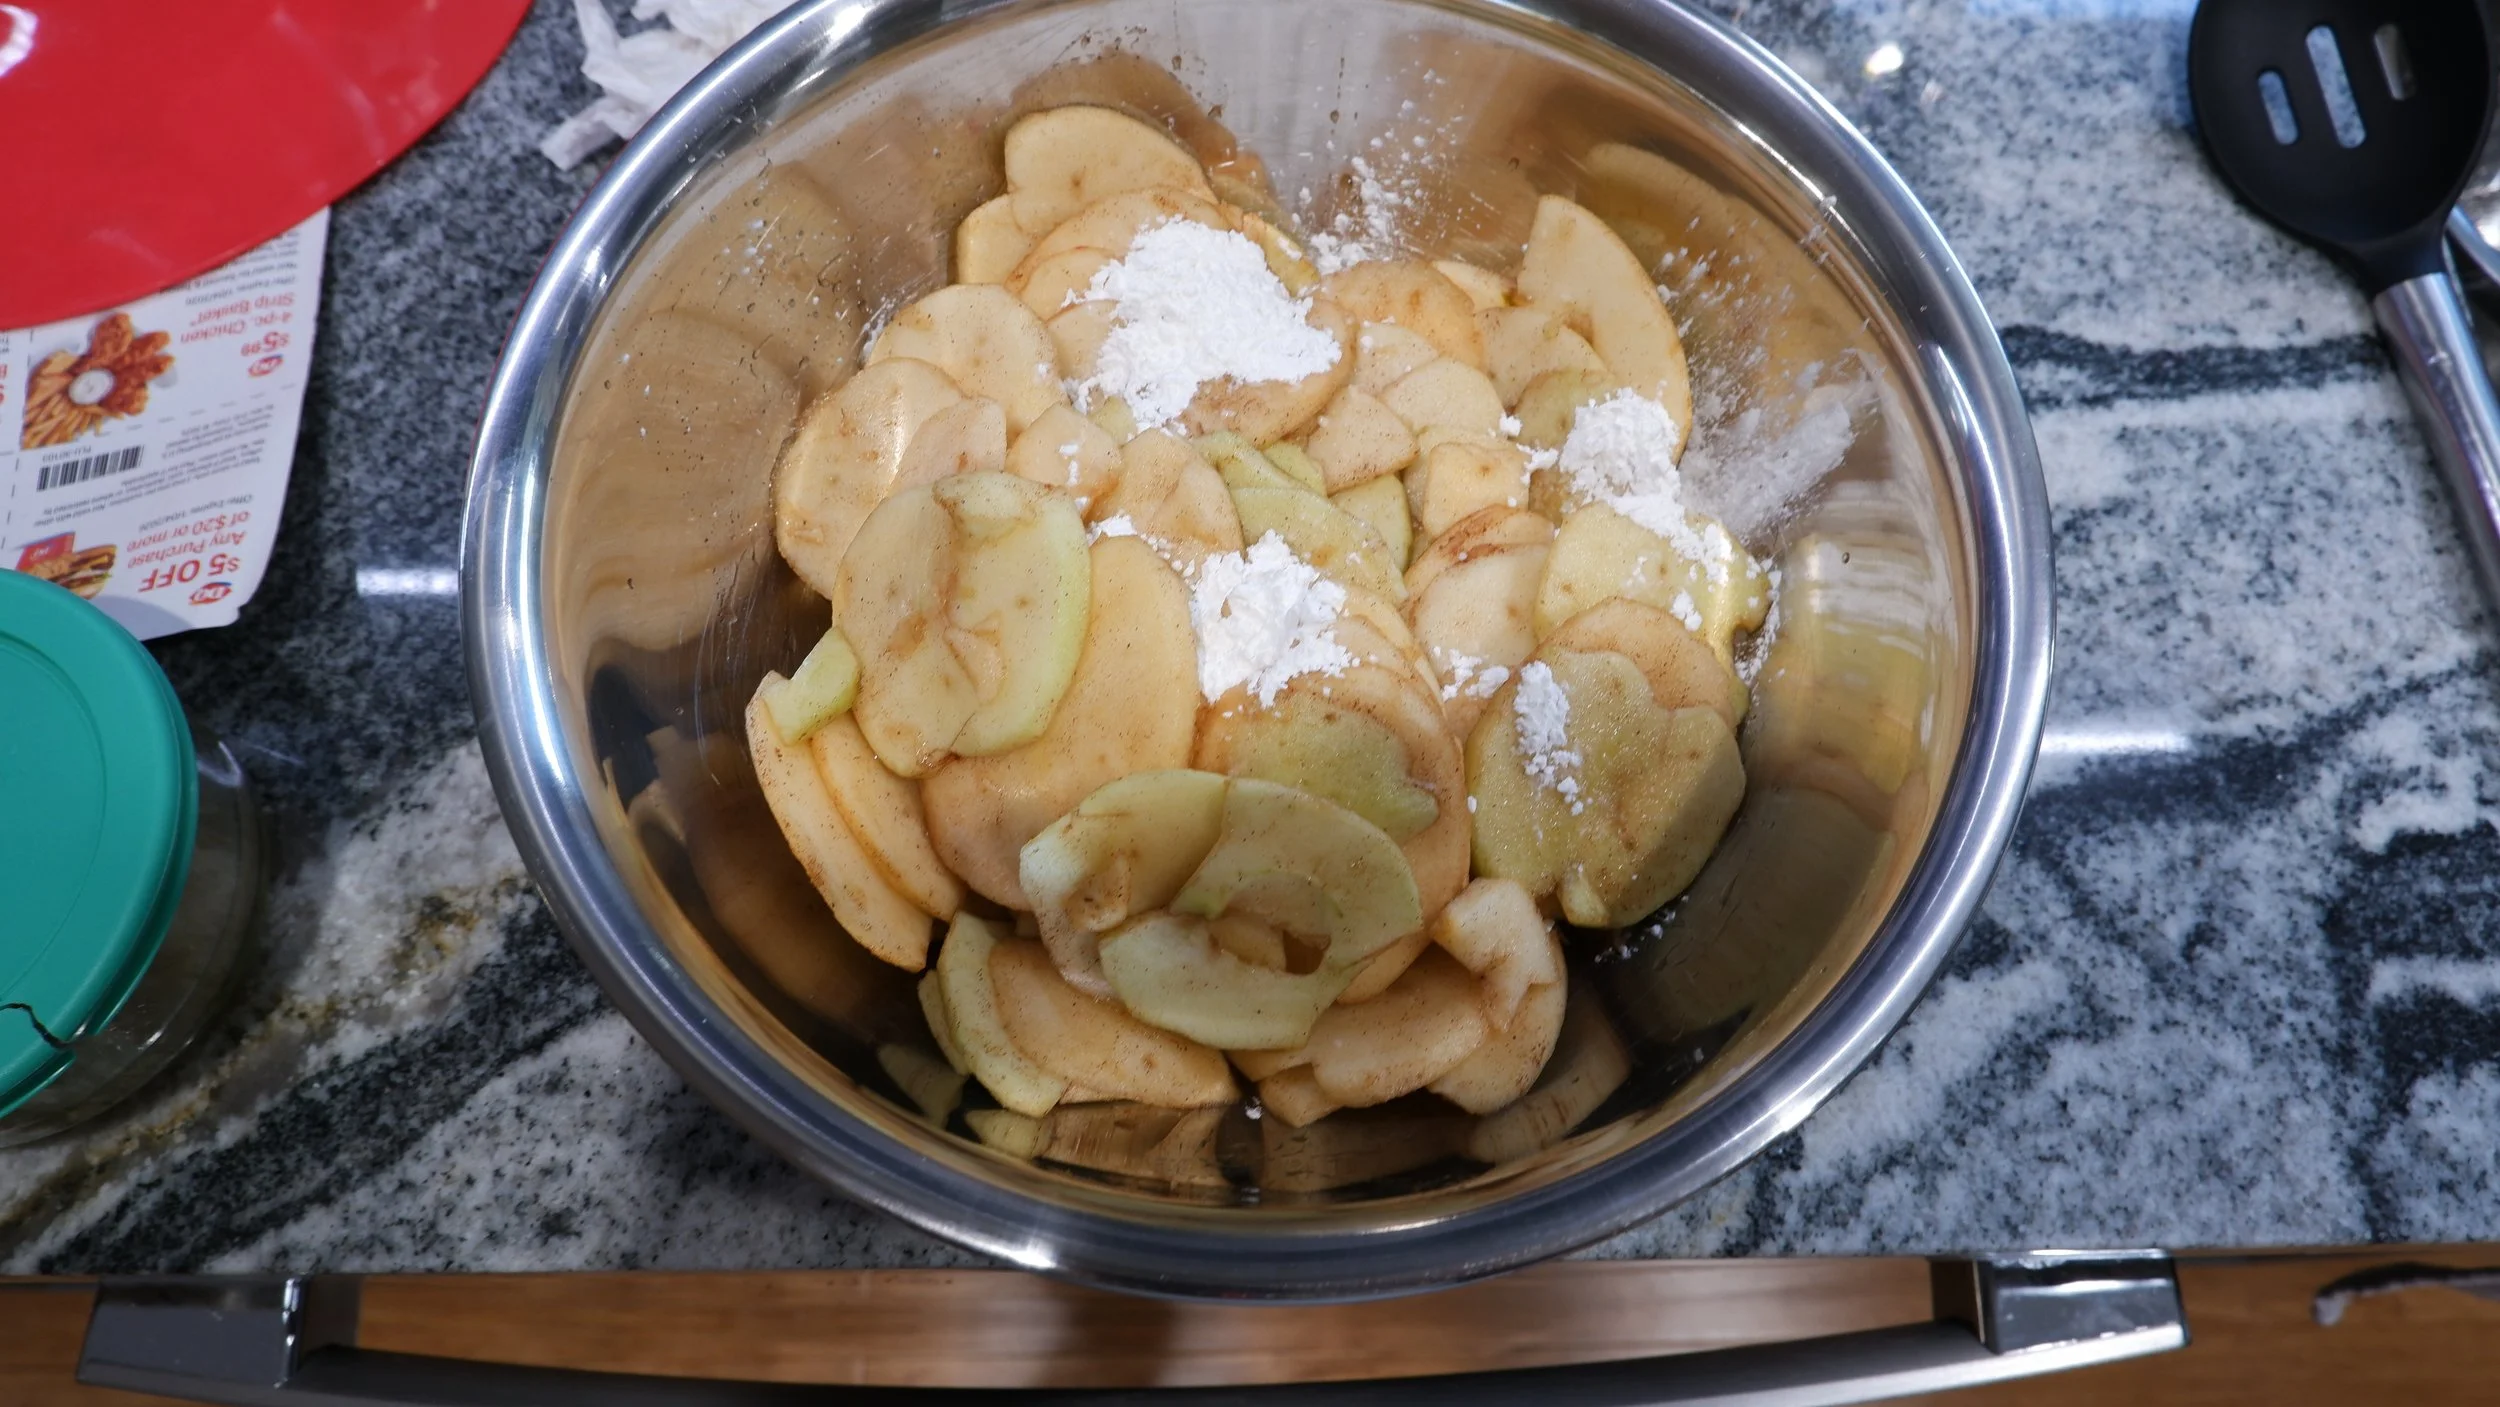
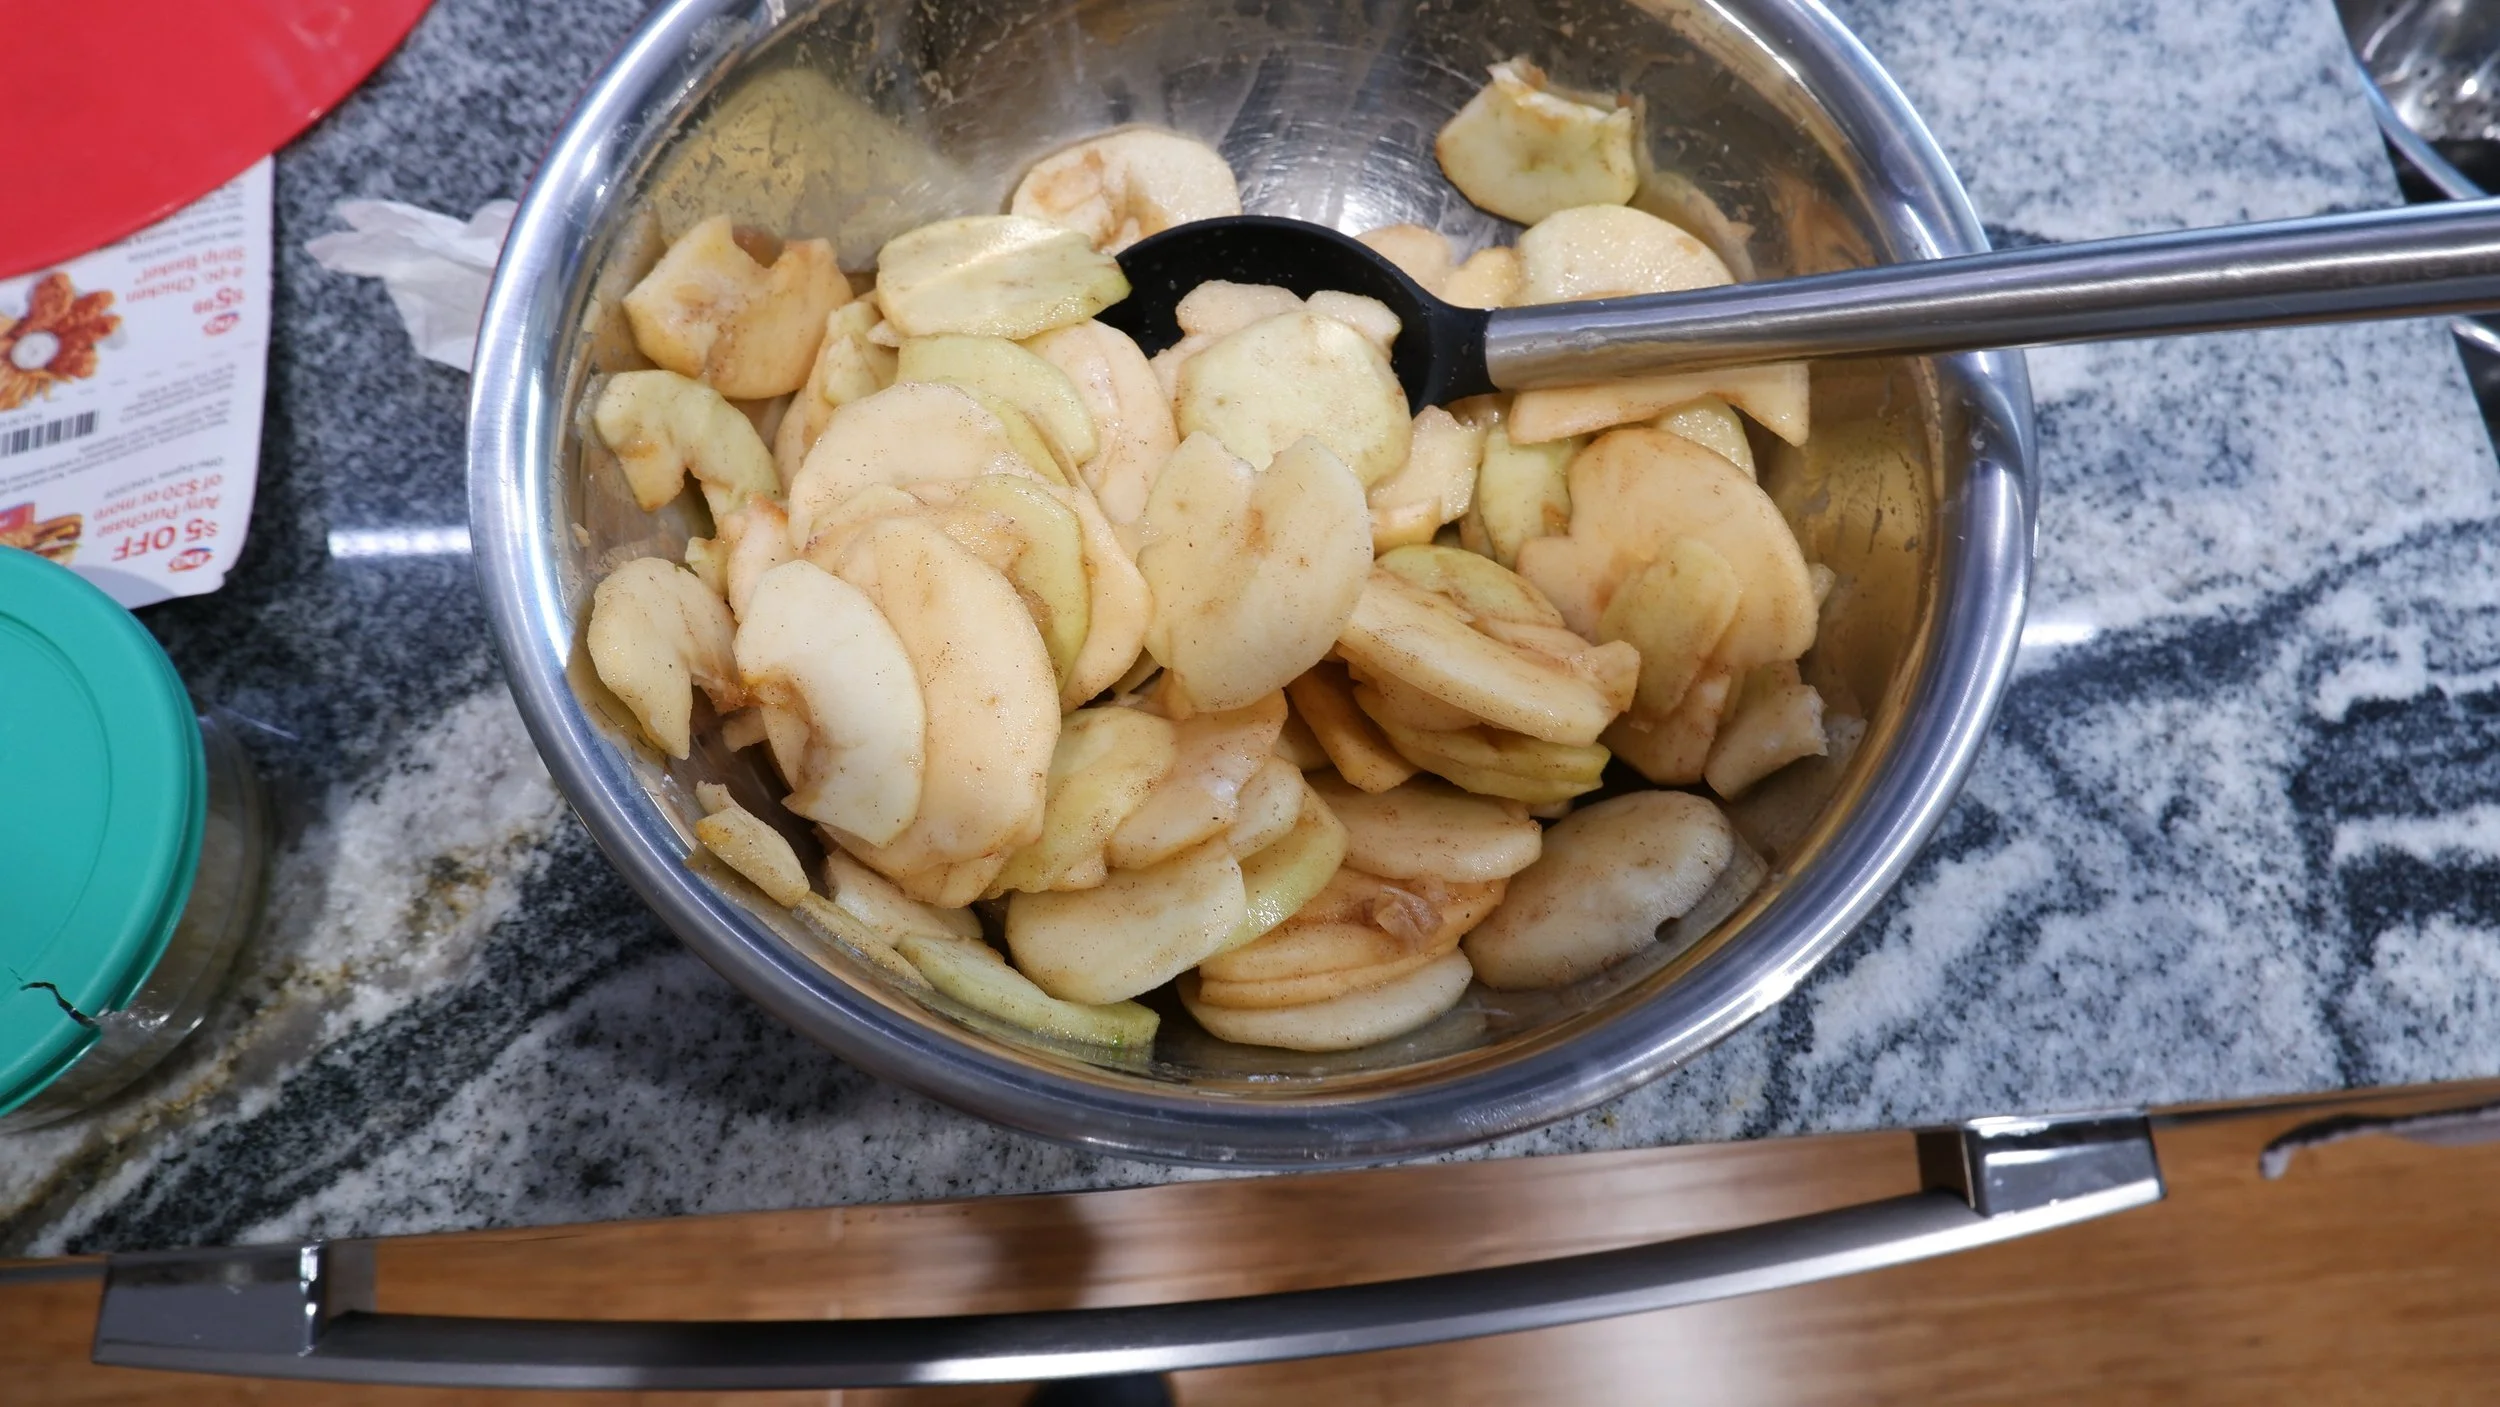
I combined the sugars, cinnamon, nutmeg, and salt in a large bowl then peeled and cored the apples. I cut them in half and used a mandoline to cut them into 1/4” slices. I squeezed a lemon and tossed the apple in the juice before tossing them in the sugar mixture and letting sit for 30 minutes at room temperature.
Filling & Top Crust: 45 minutes
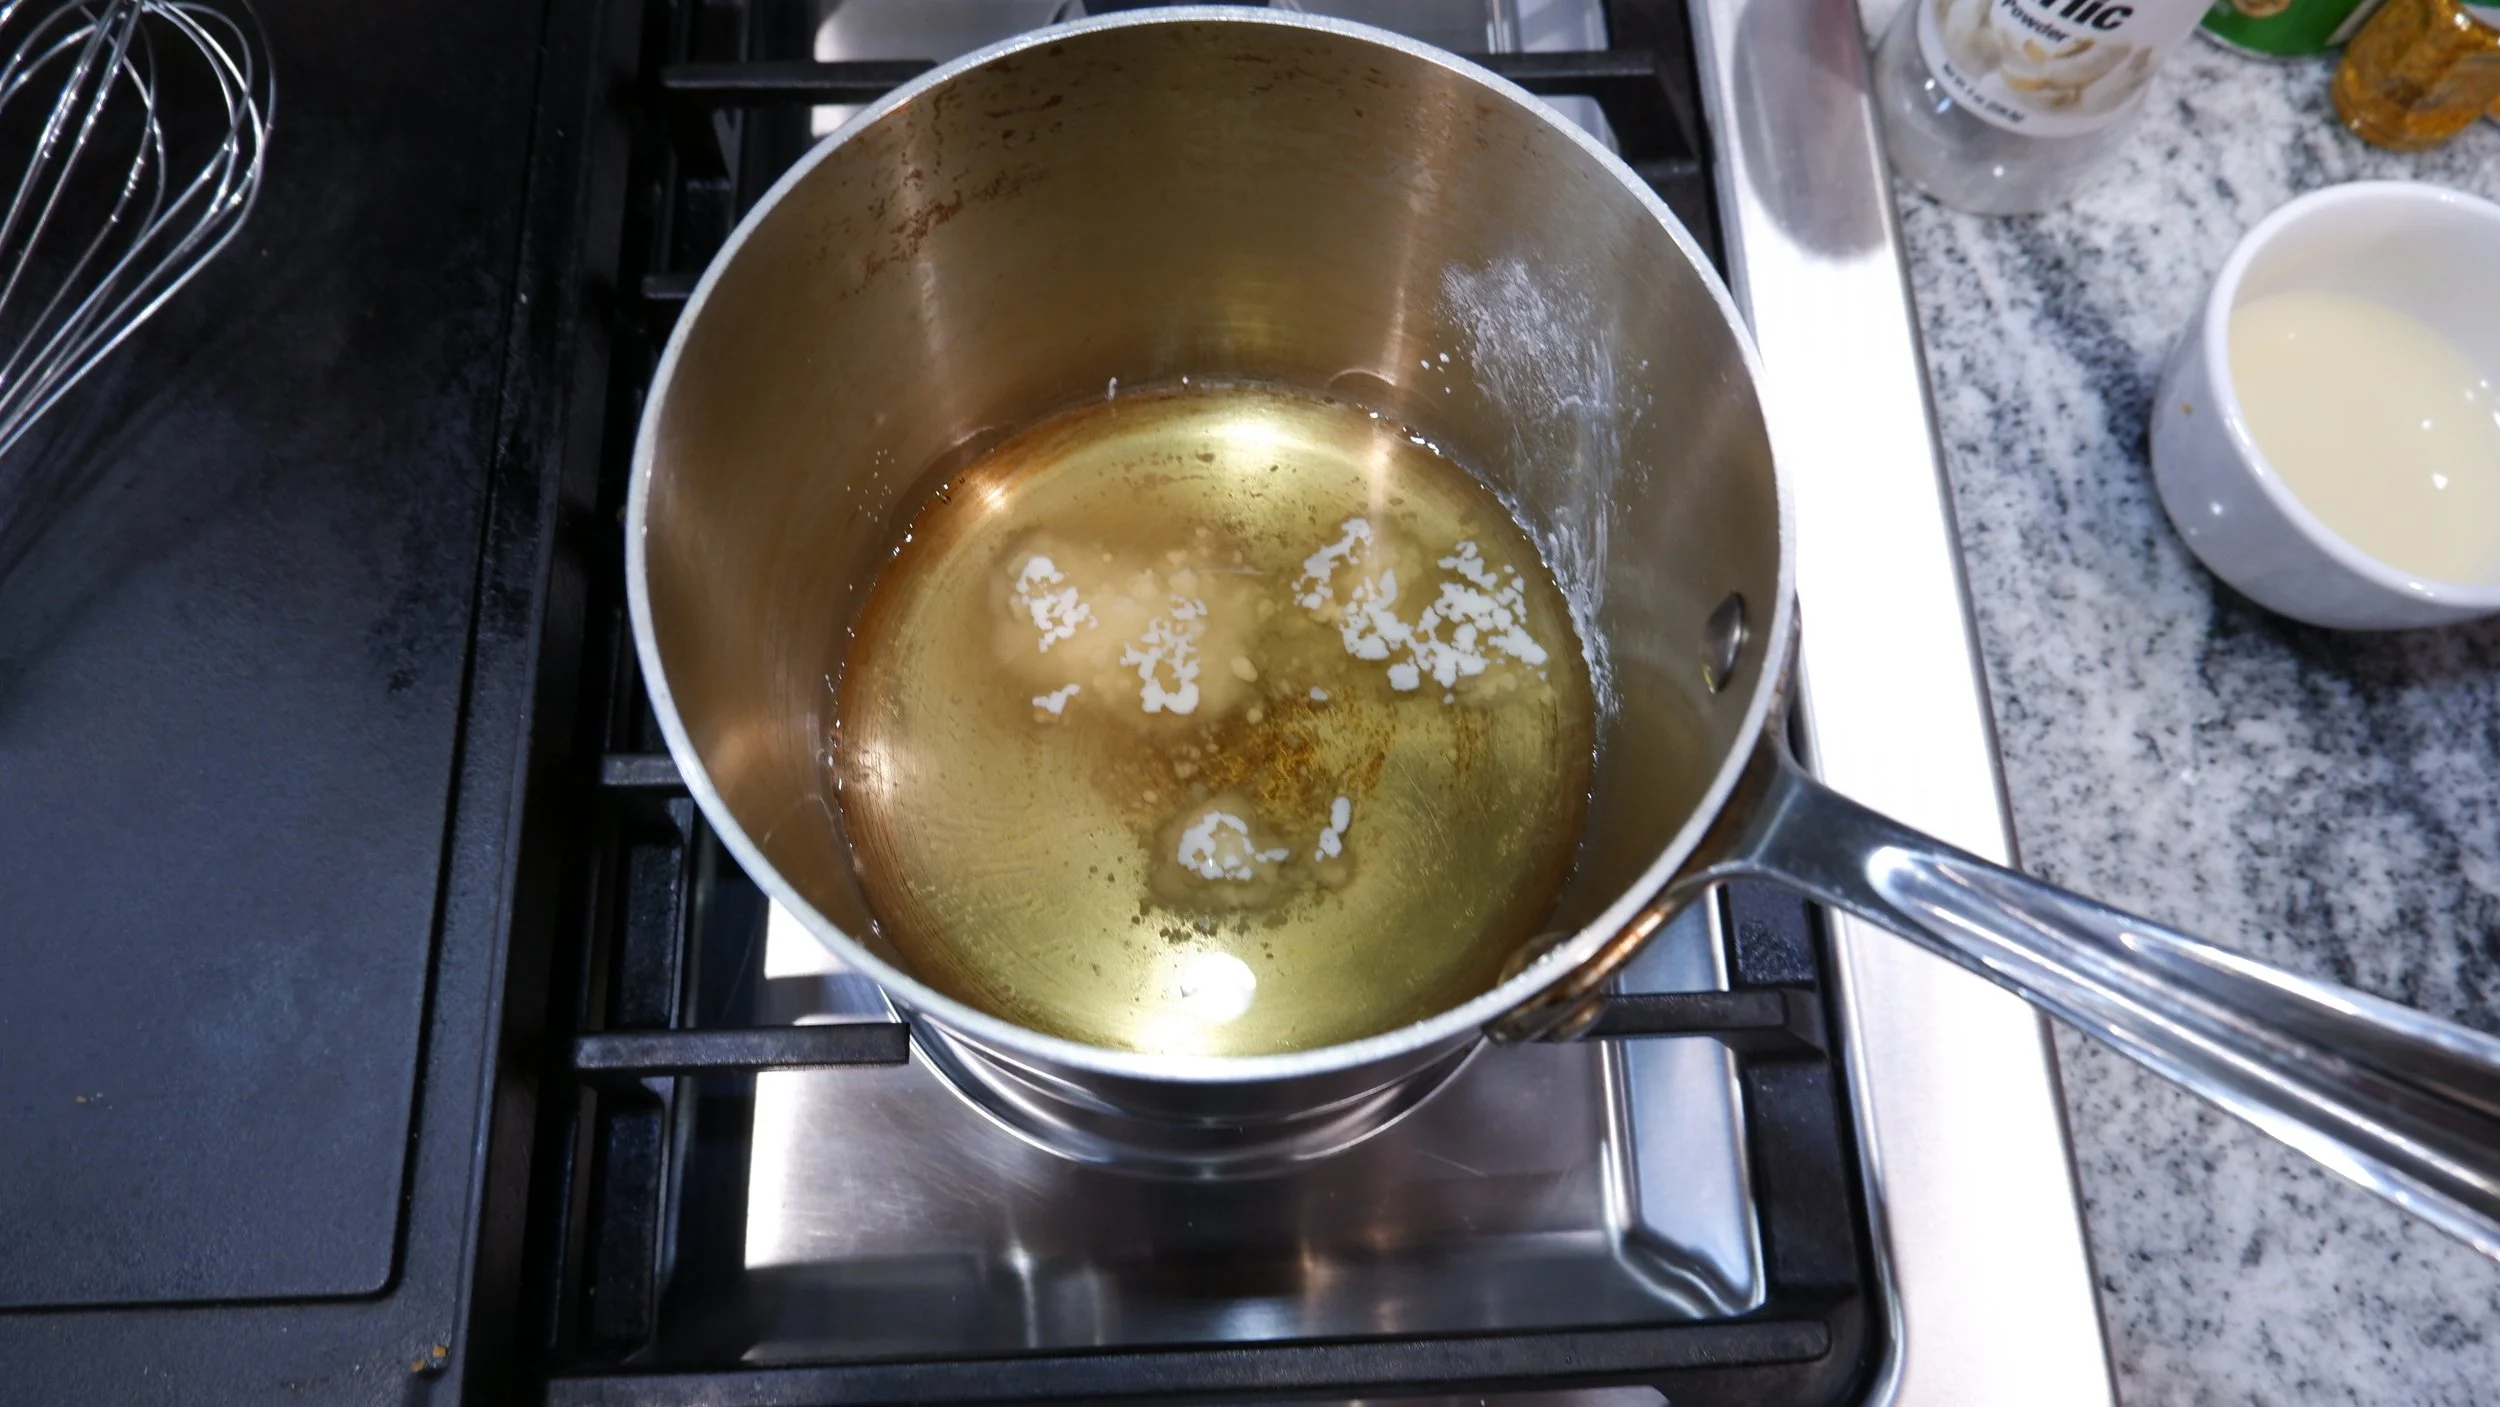
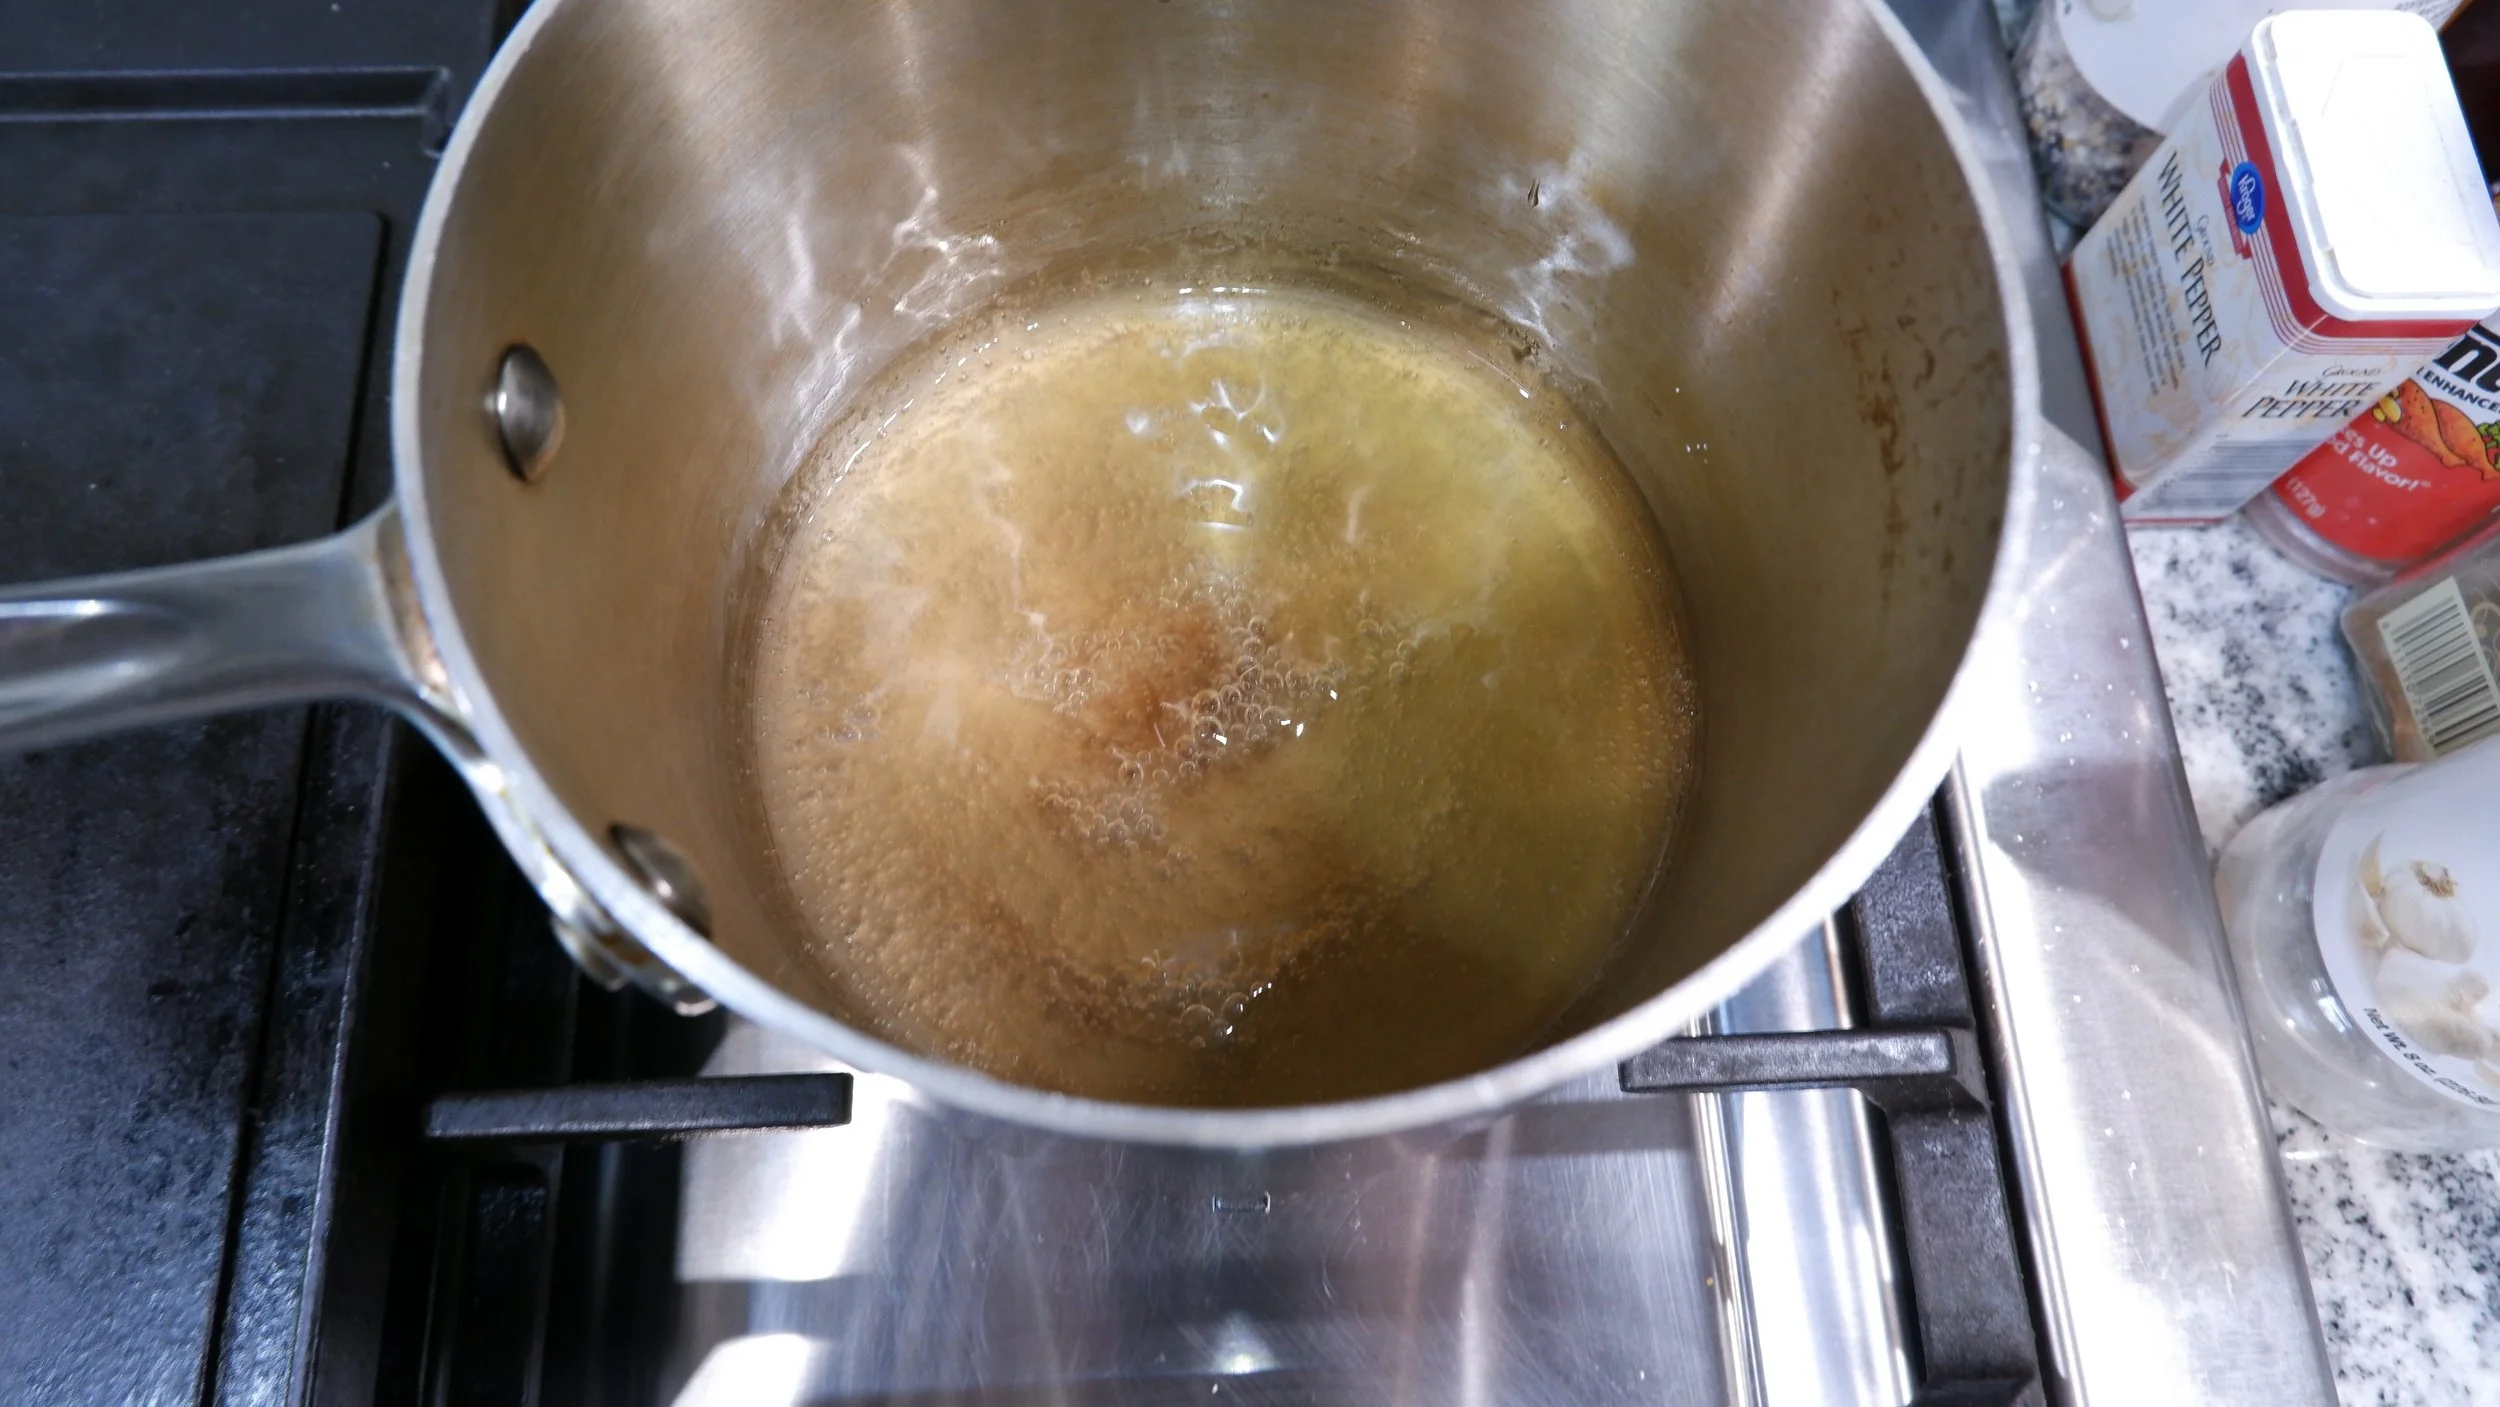
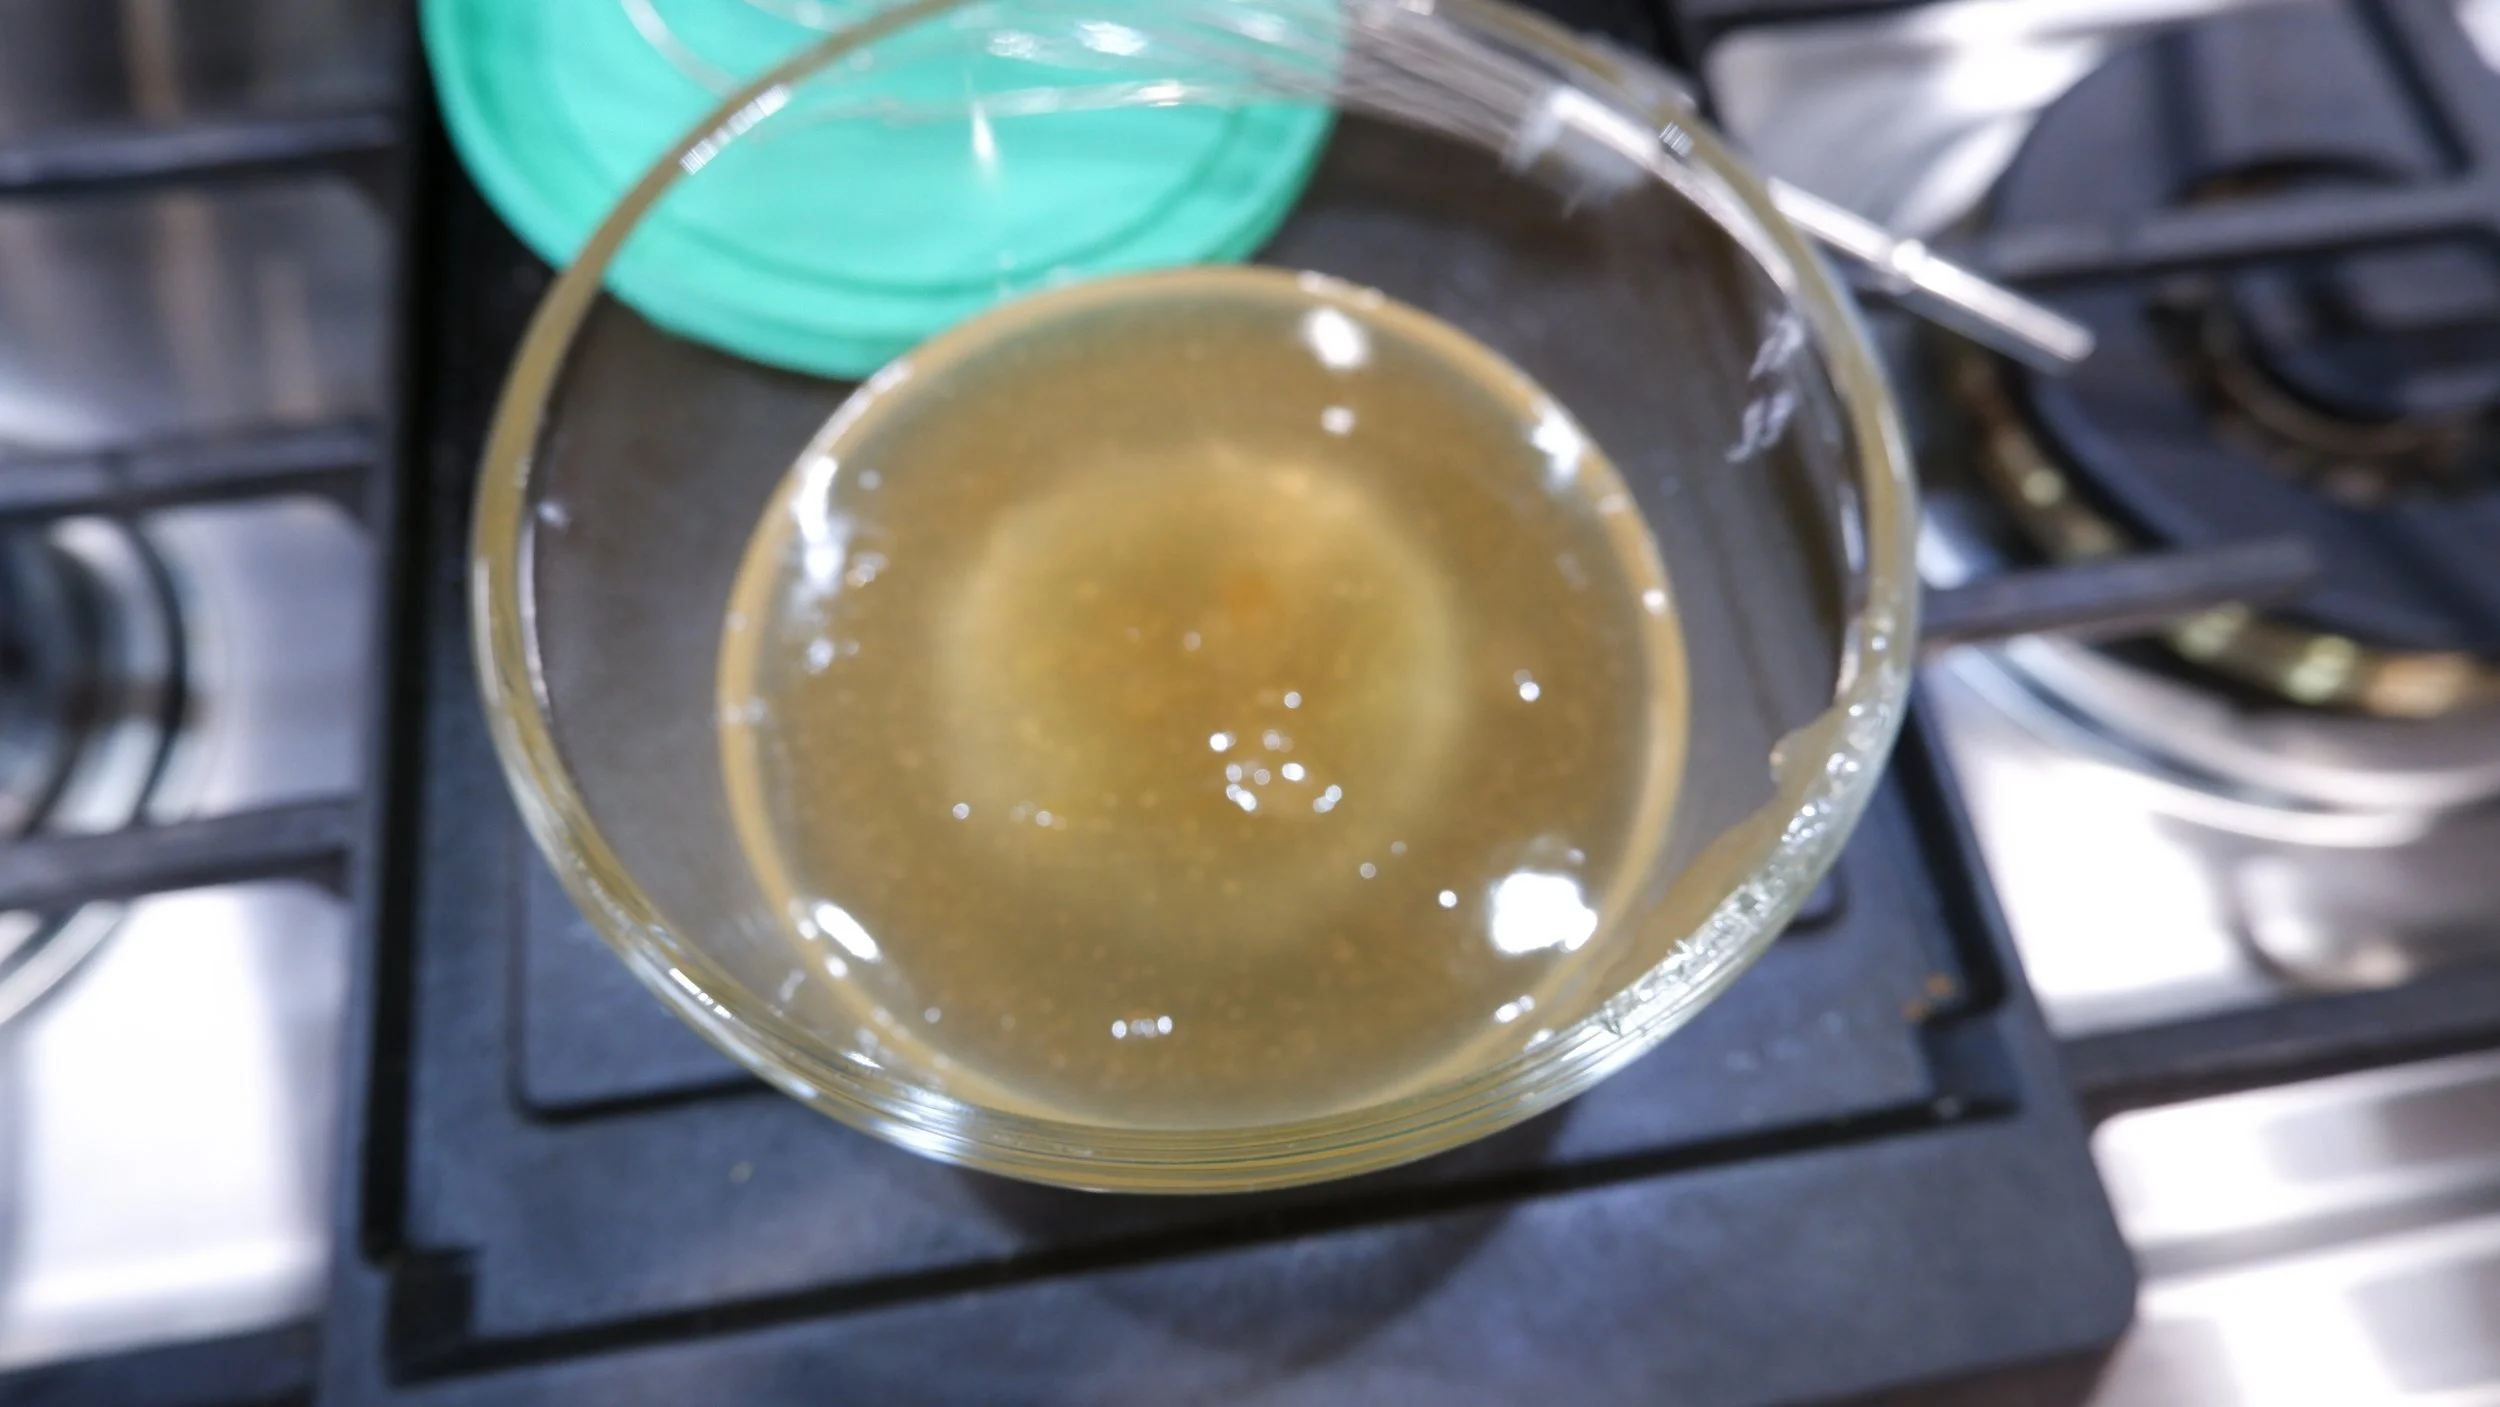
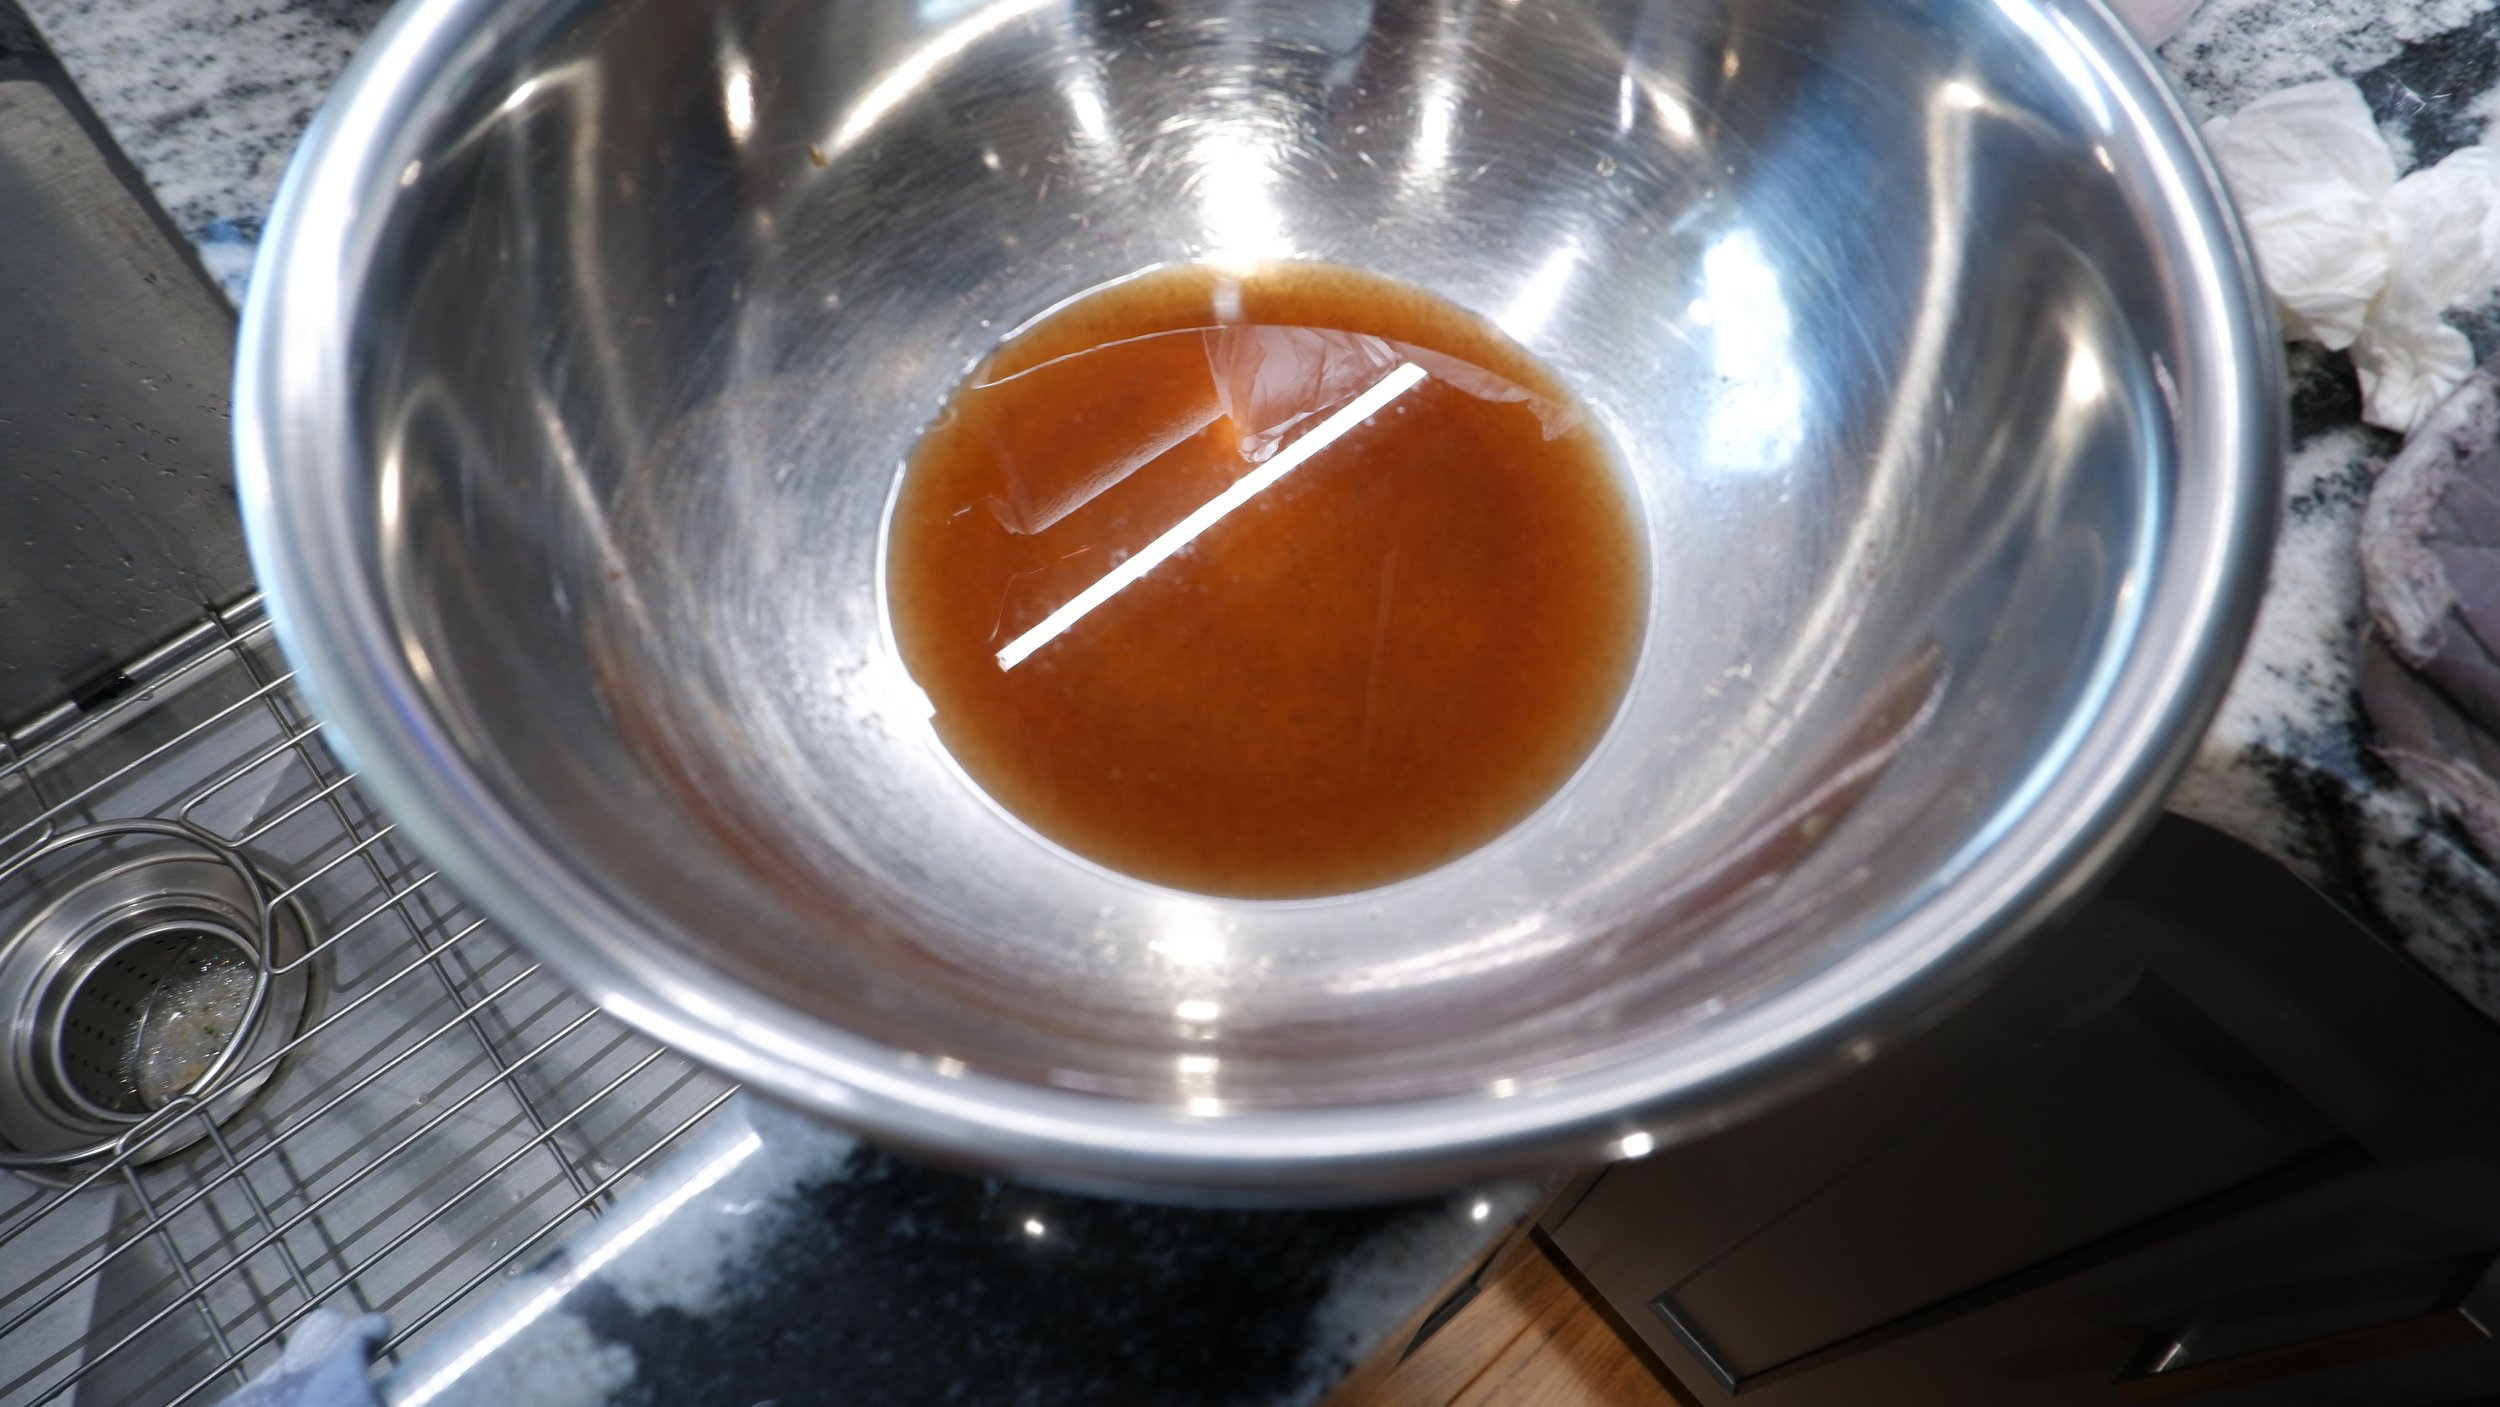
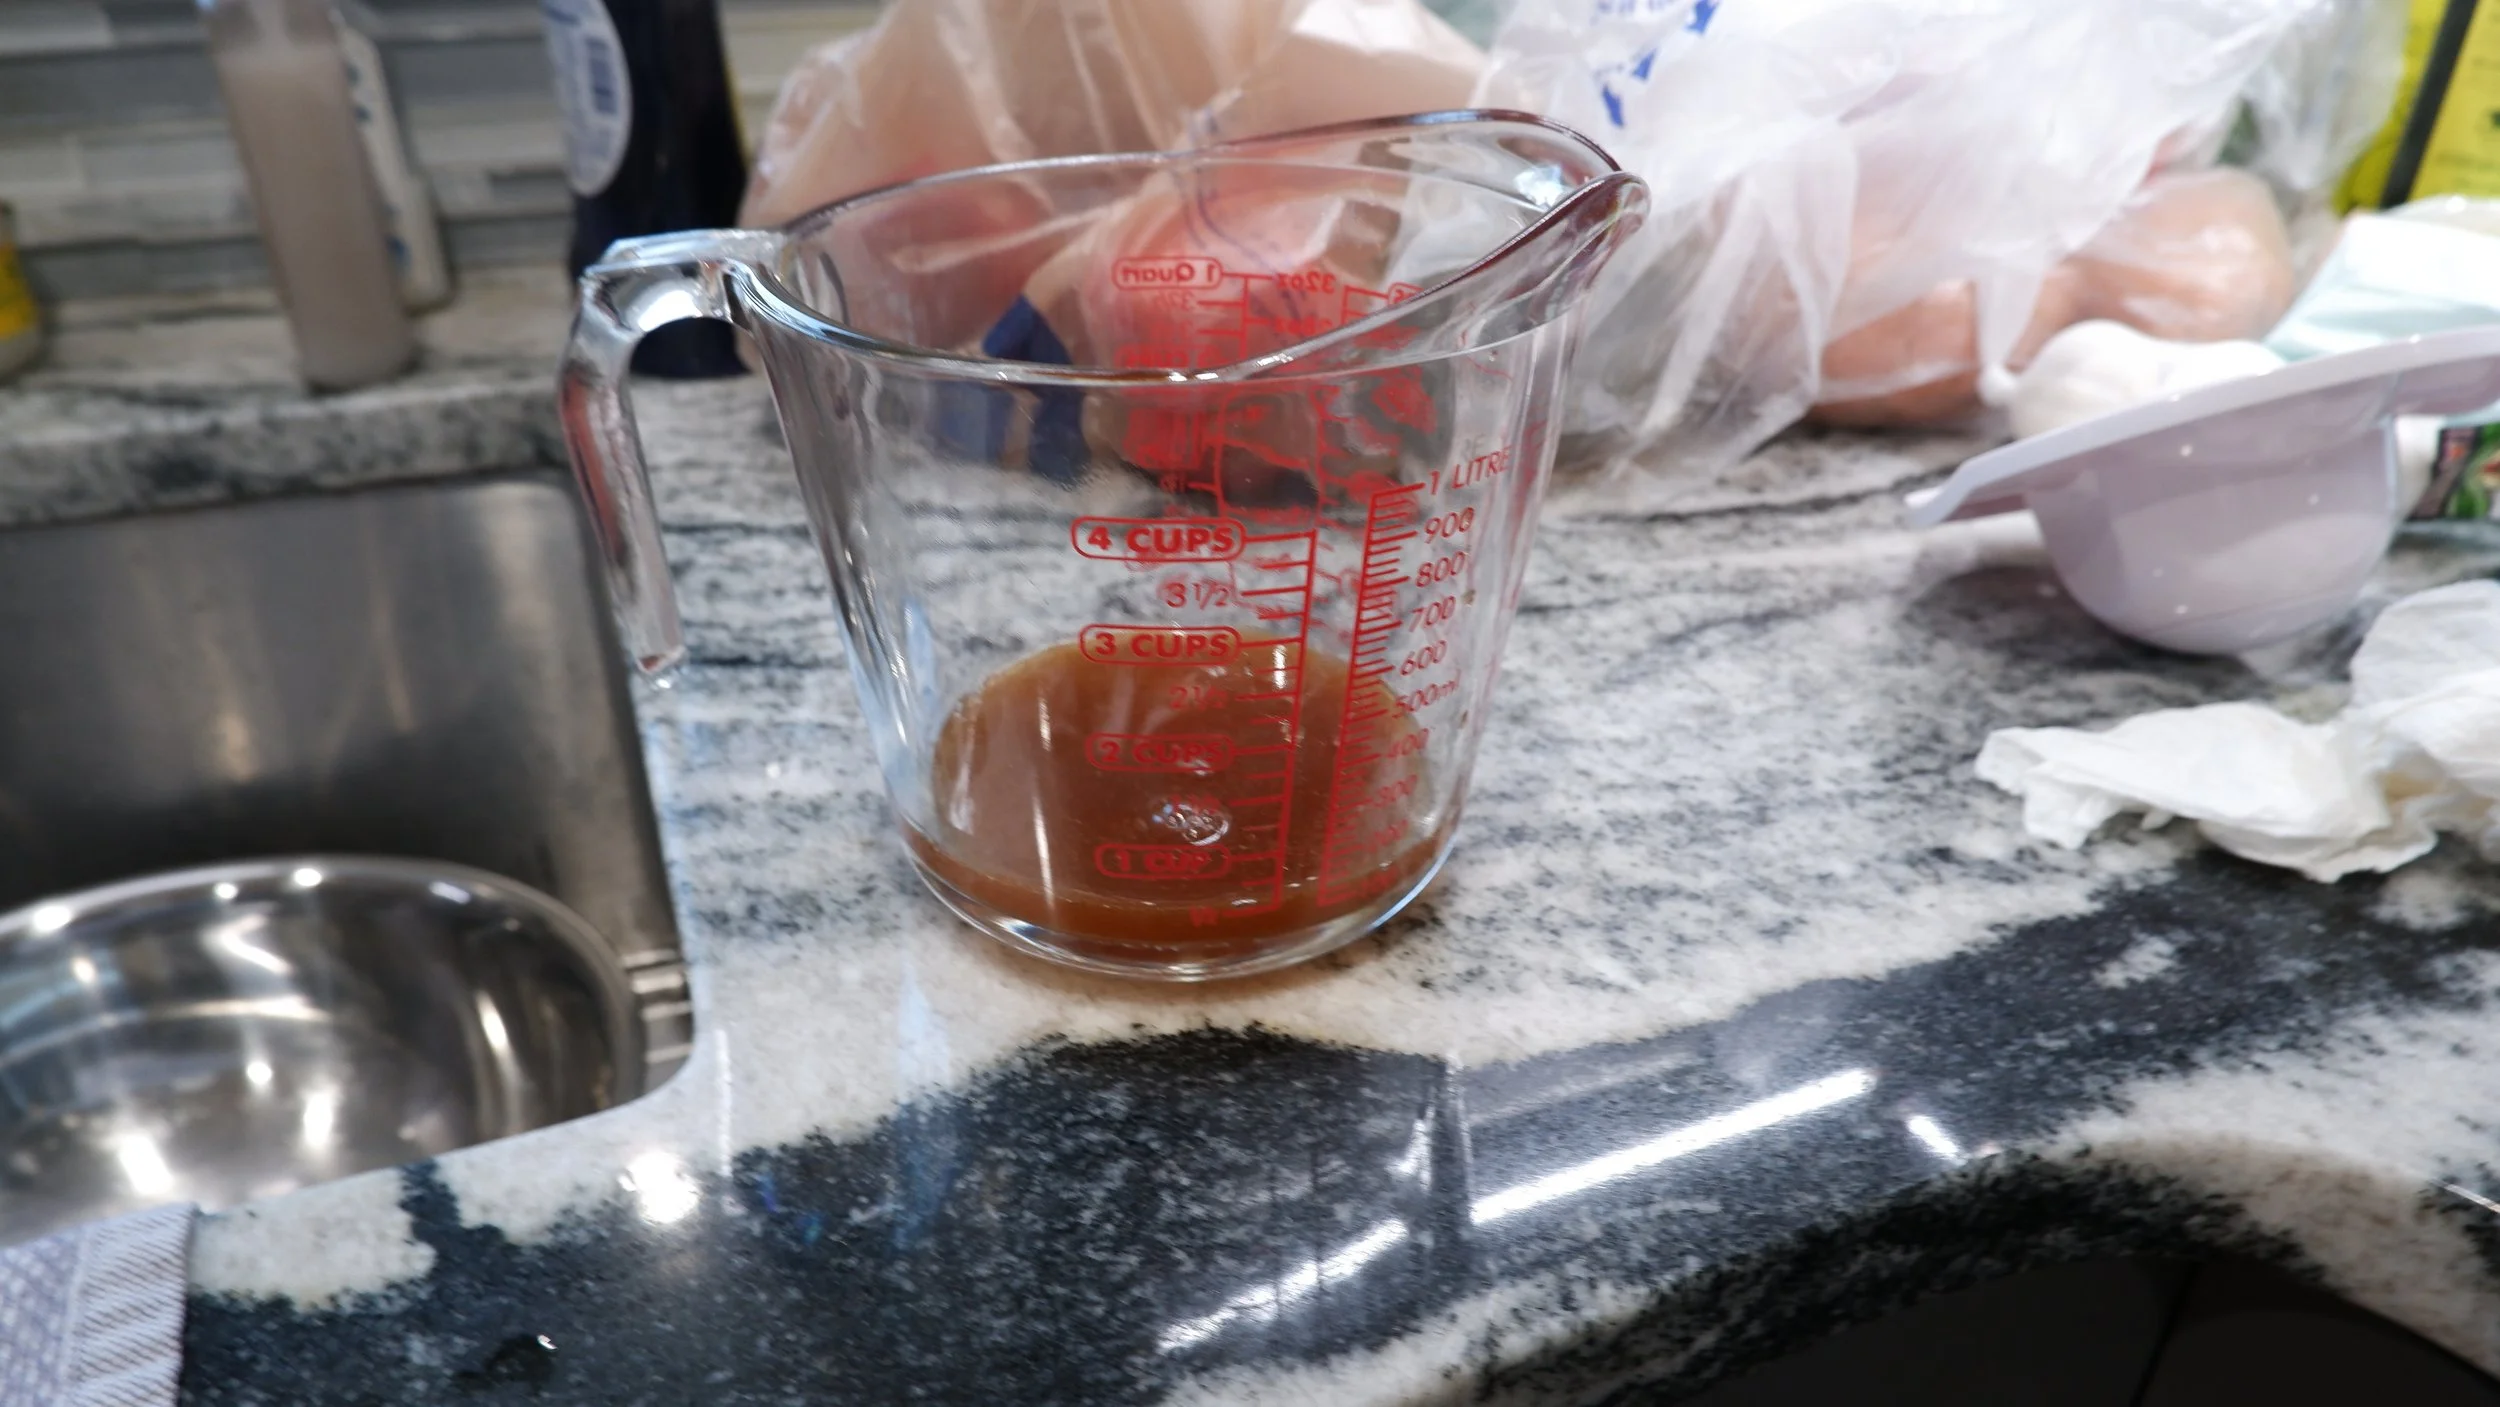
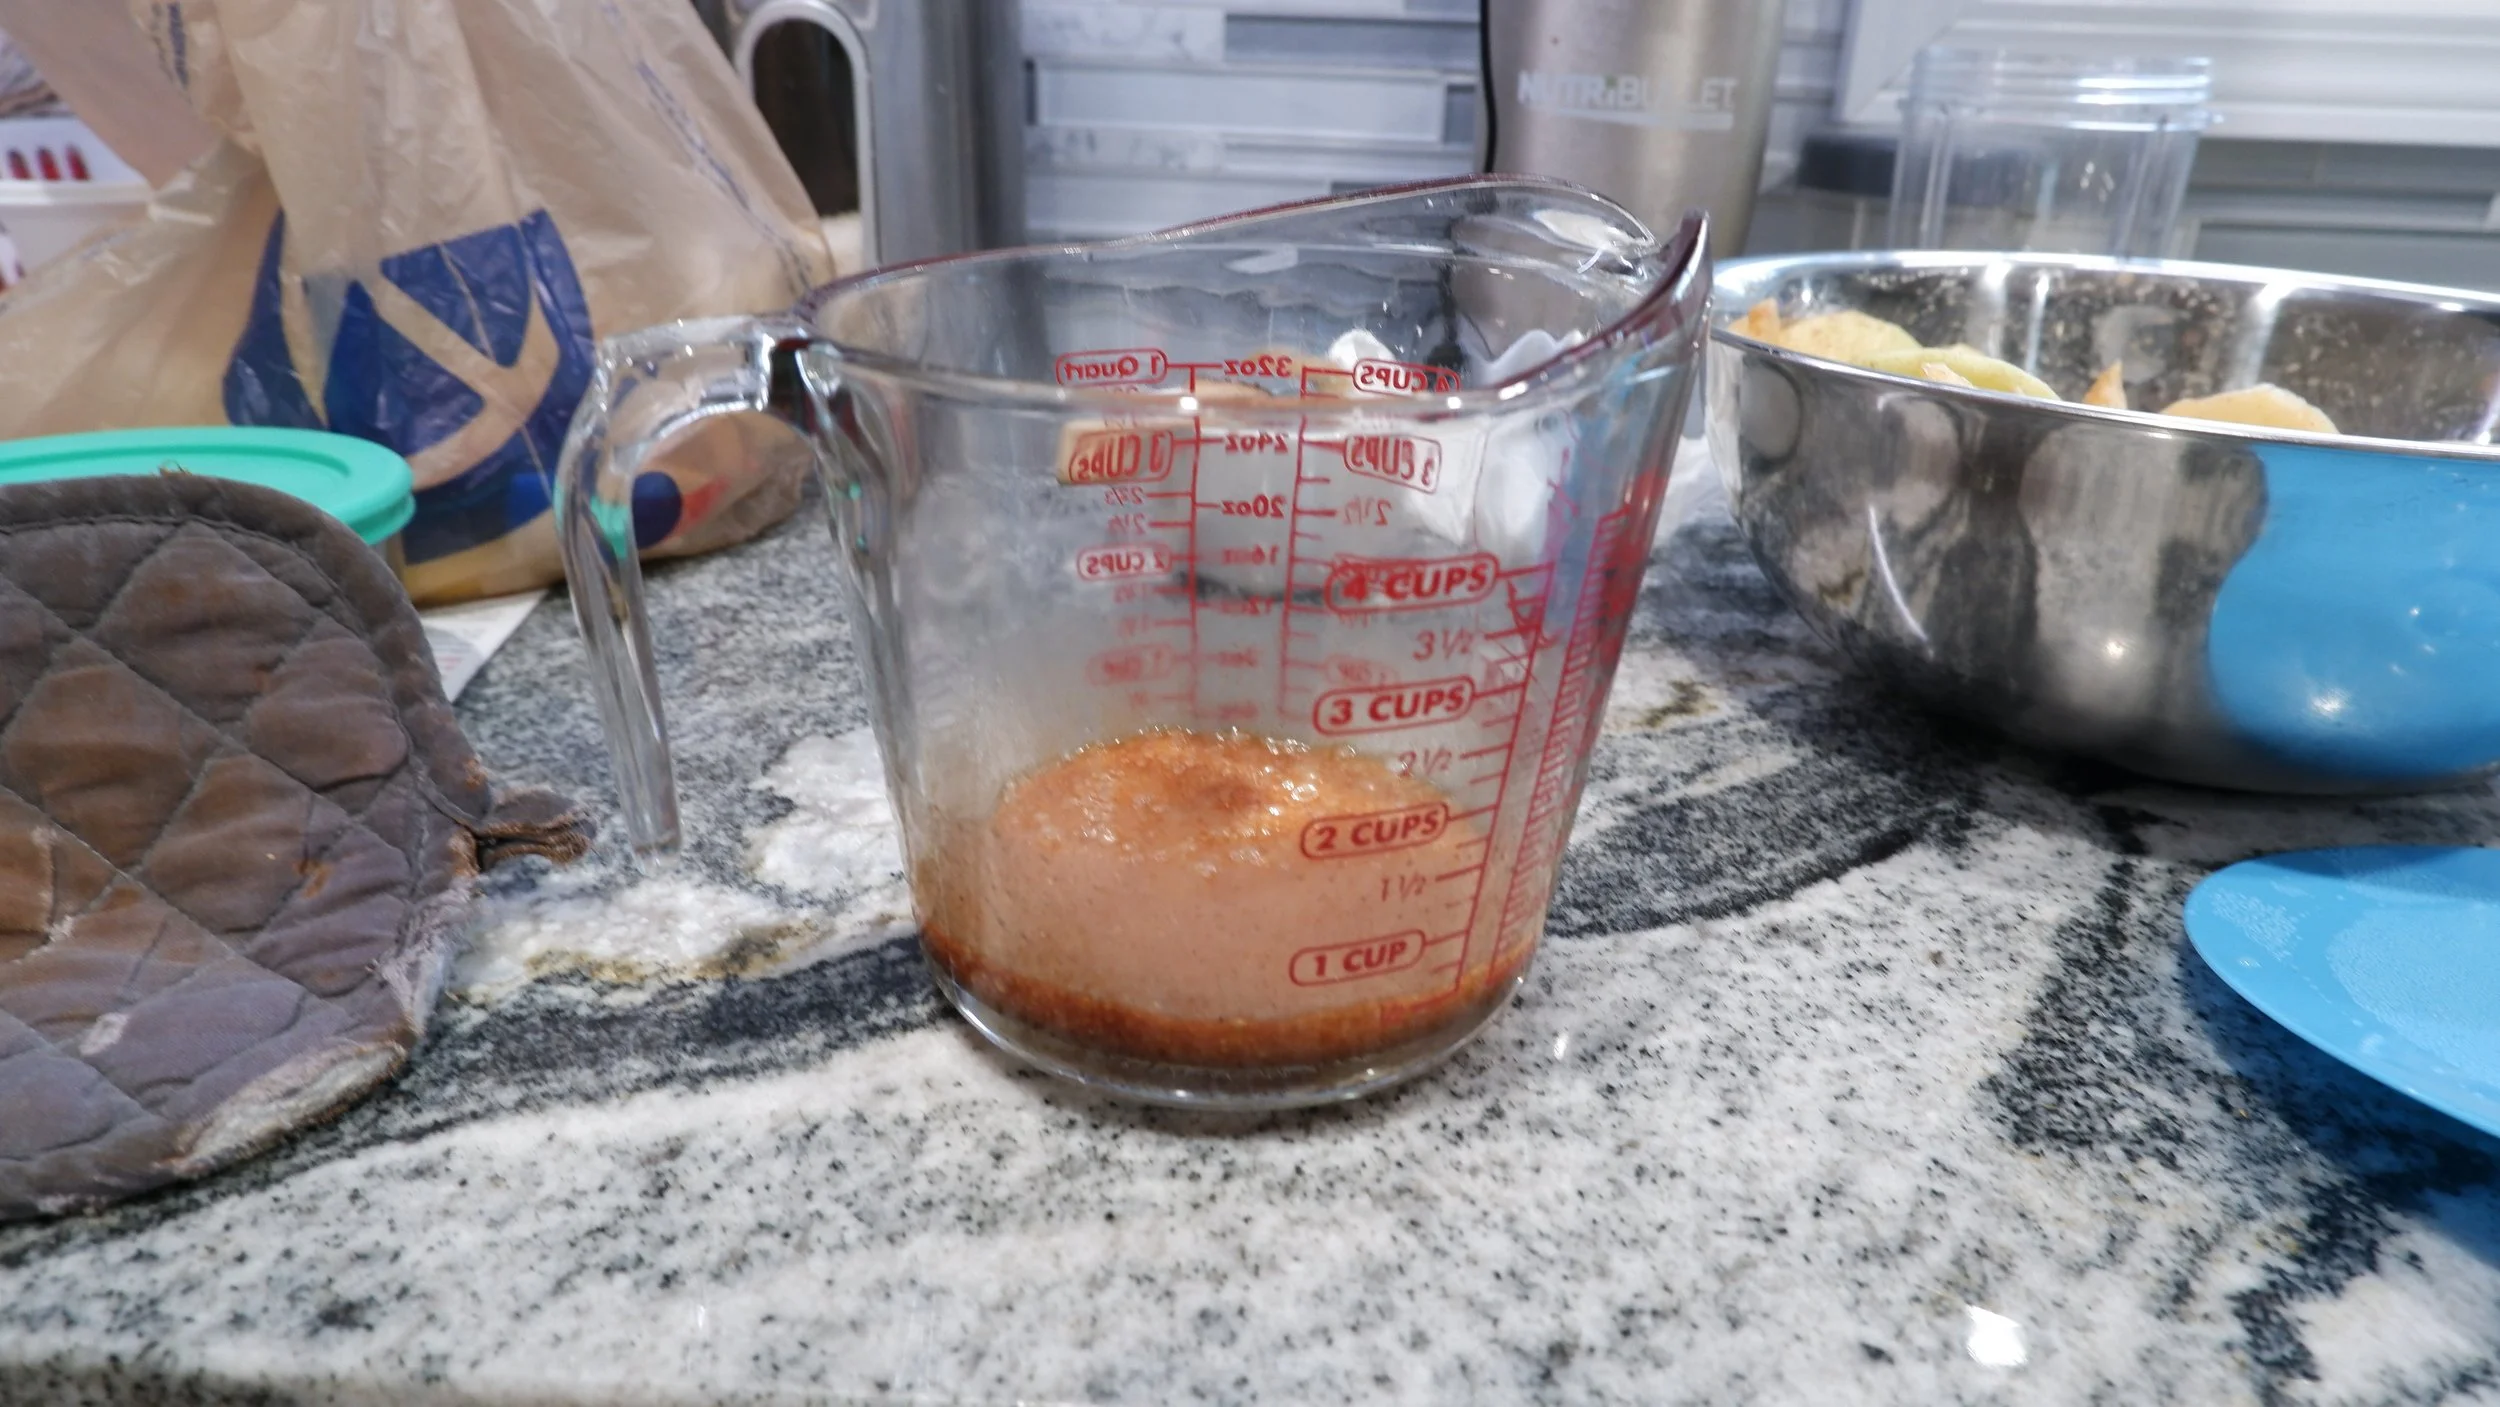
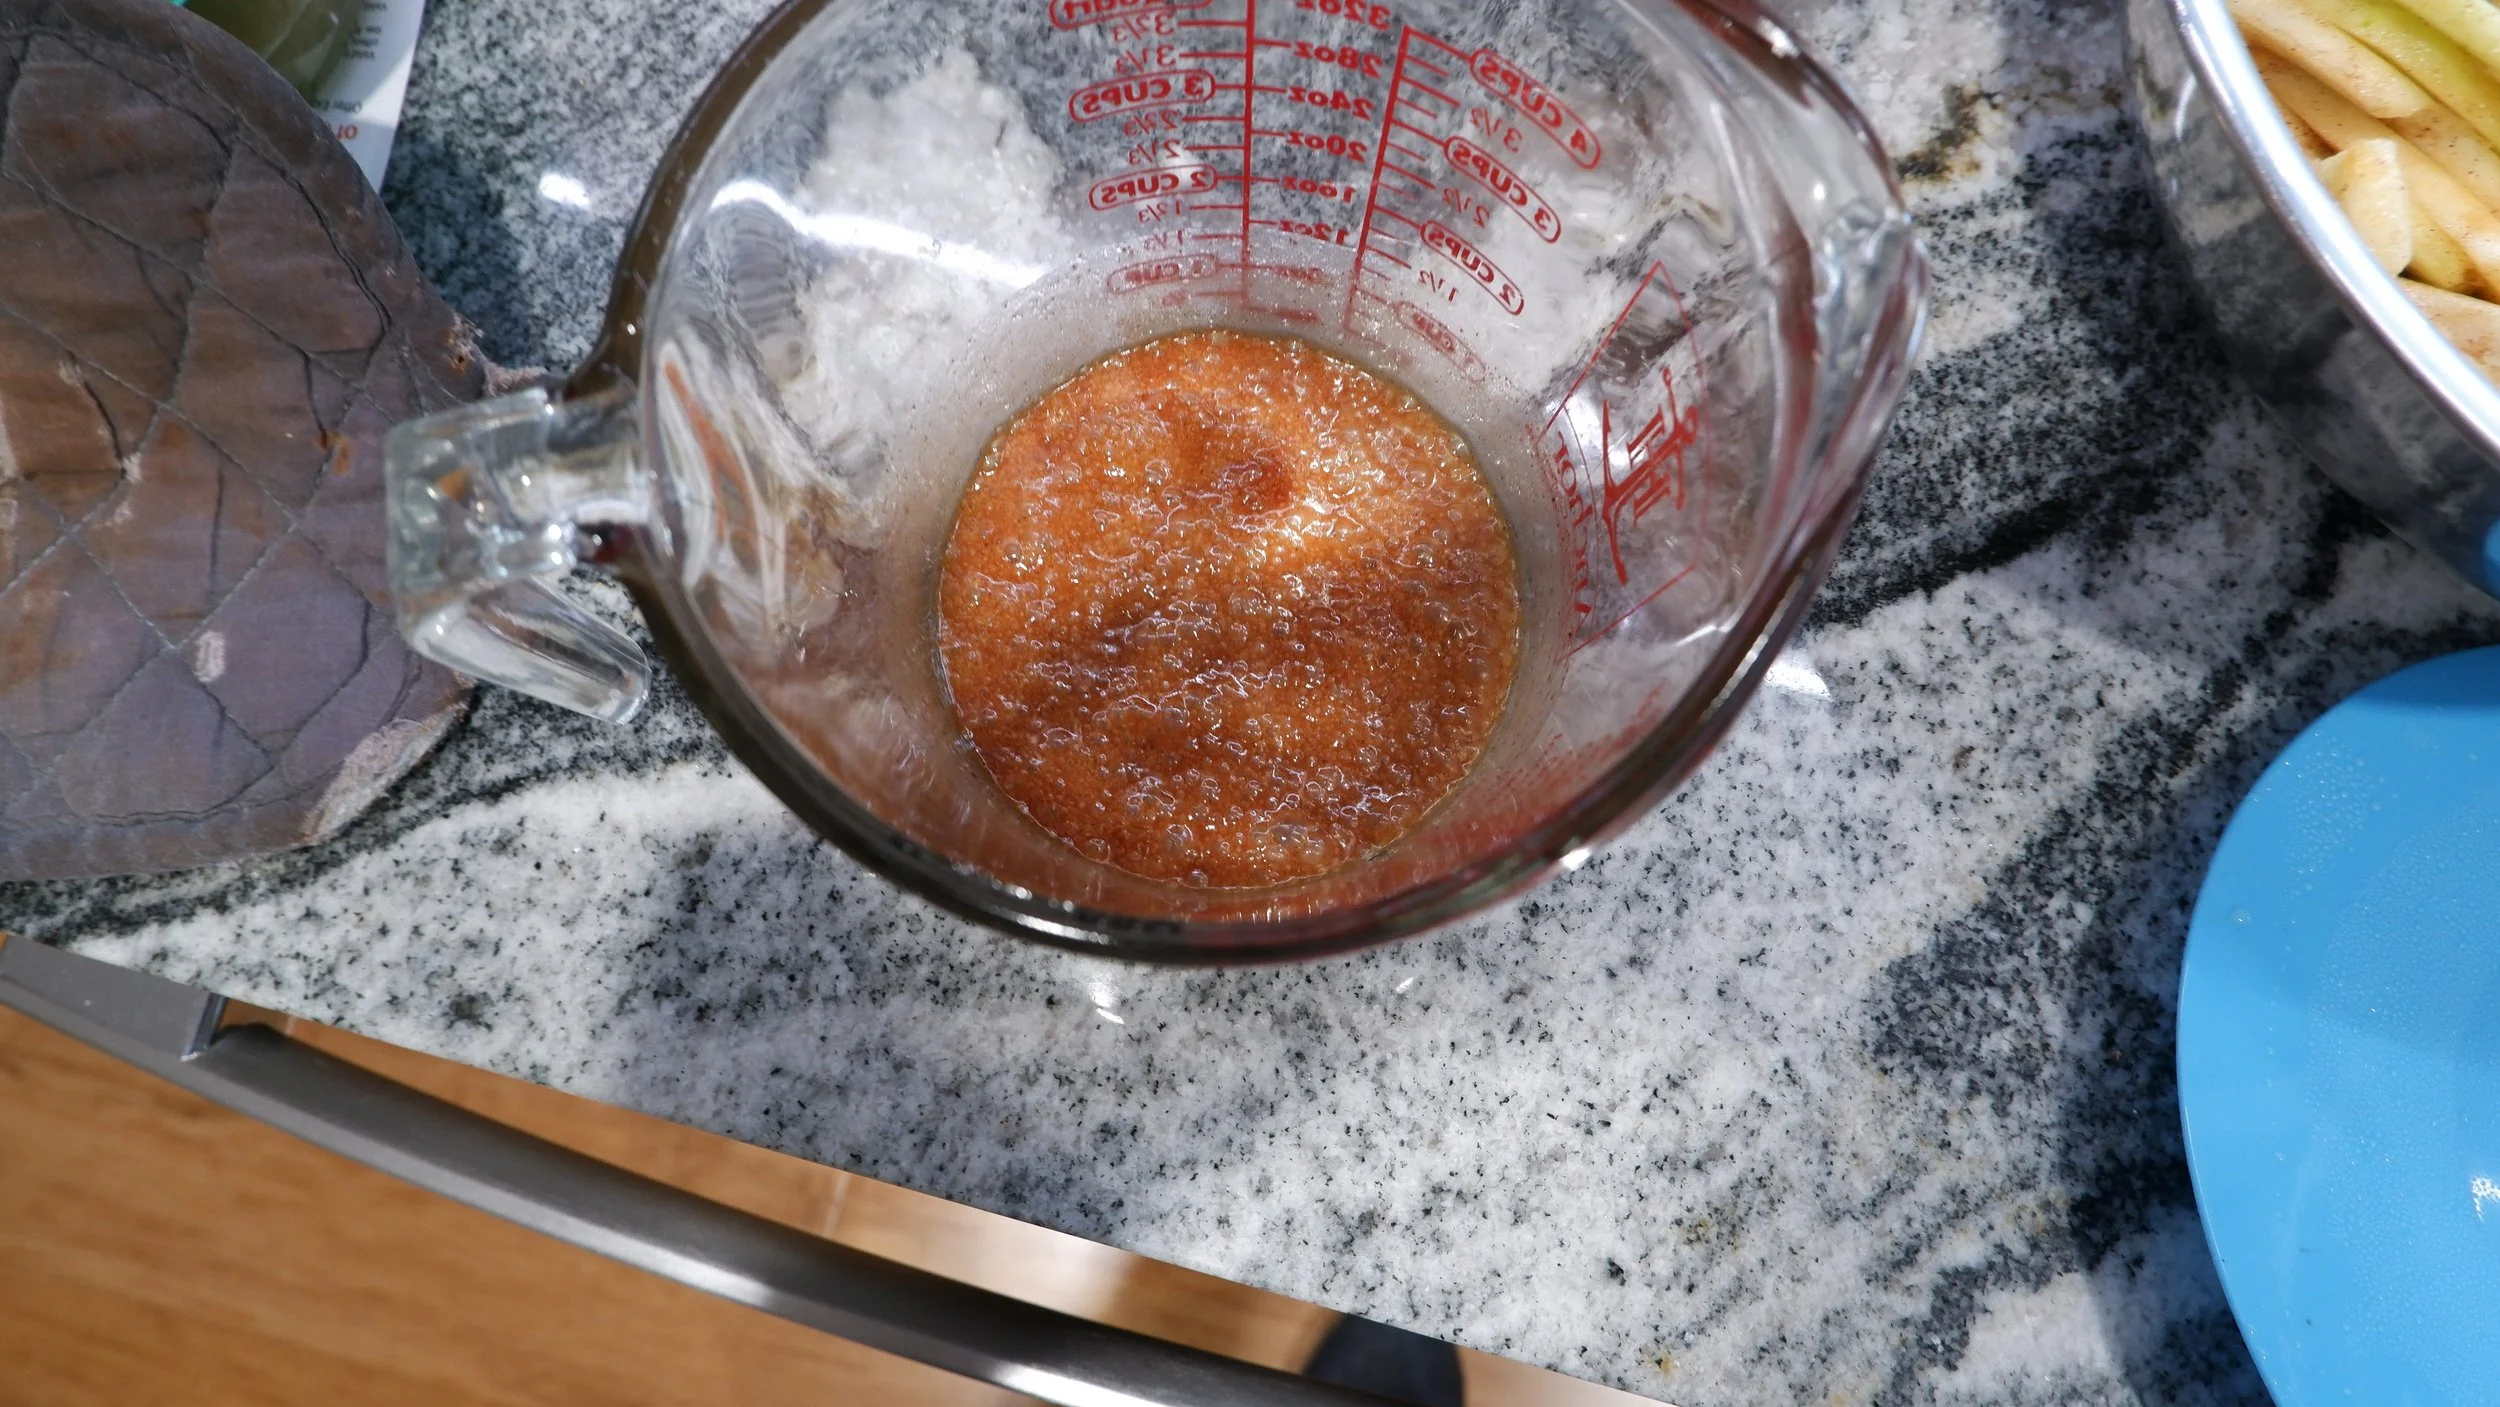
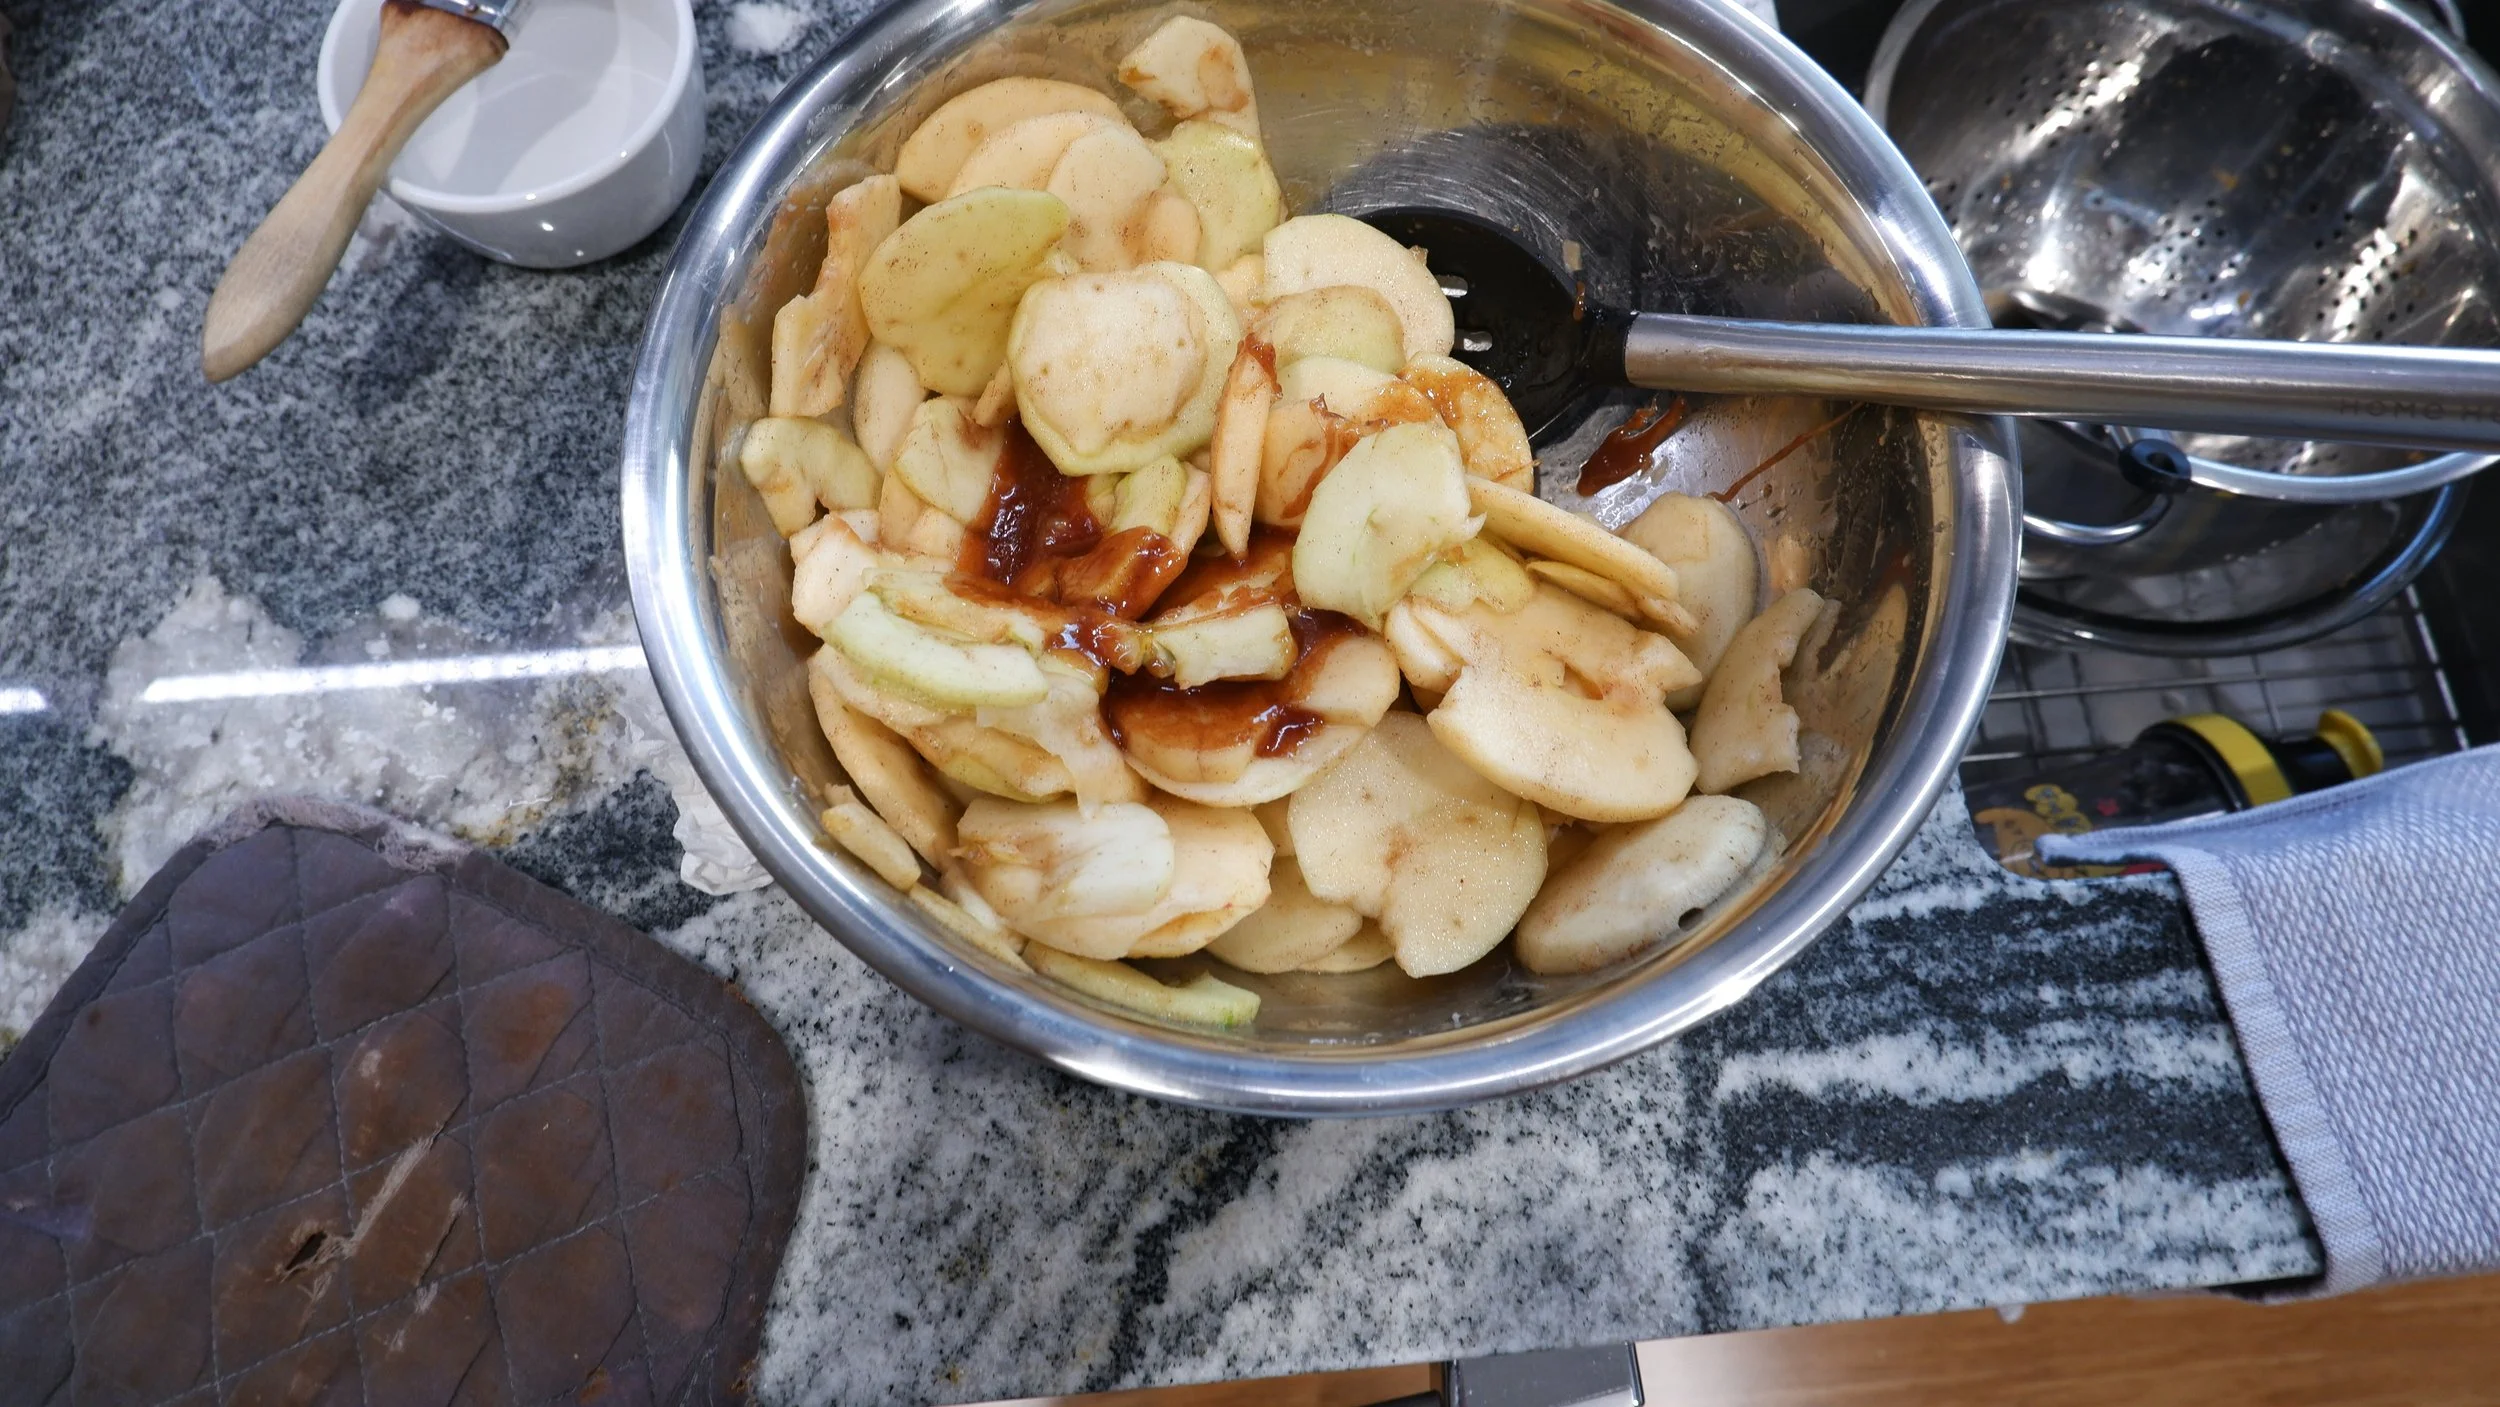
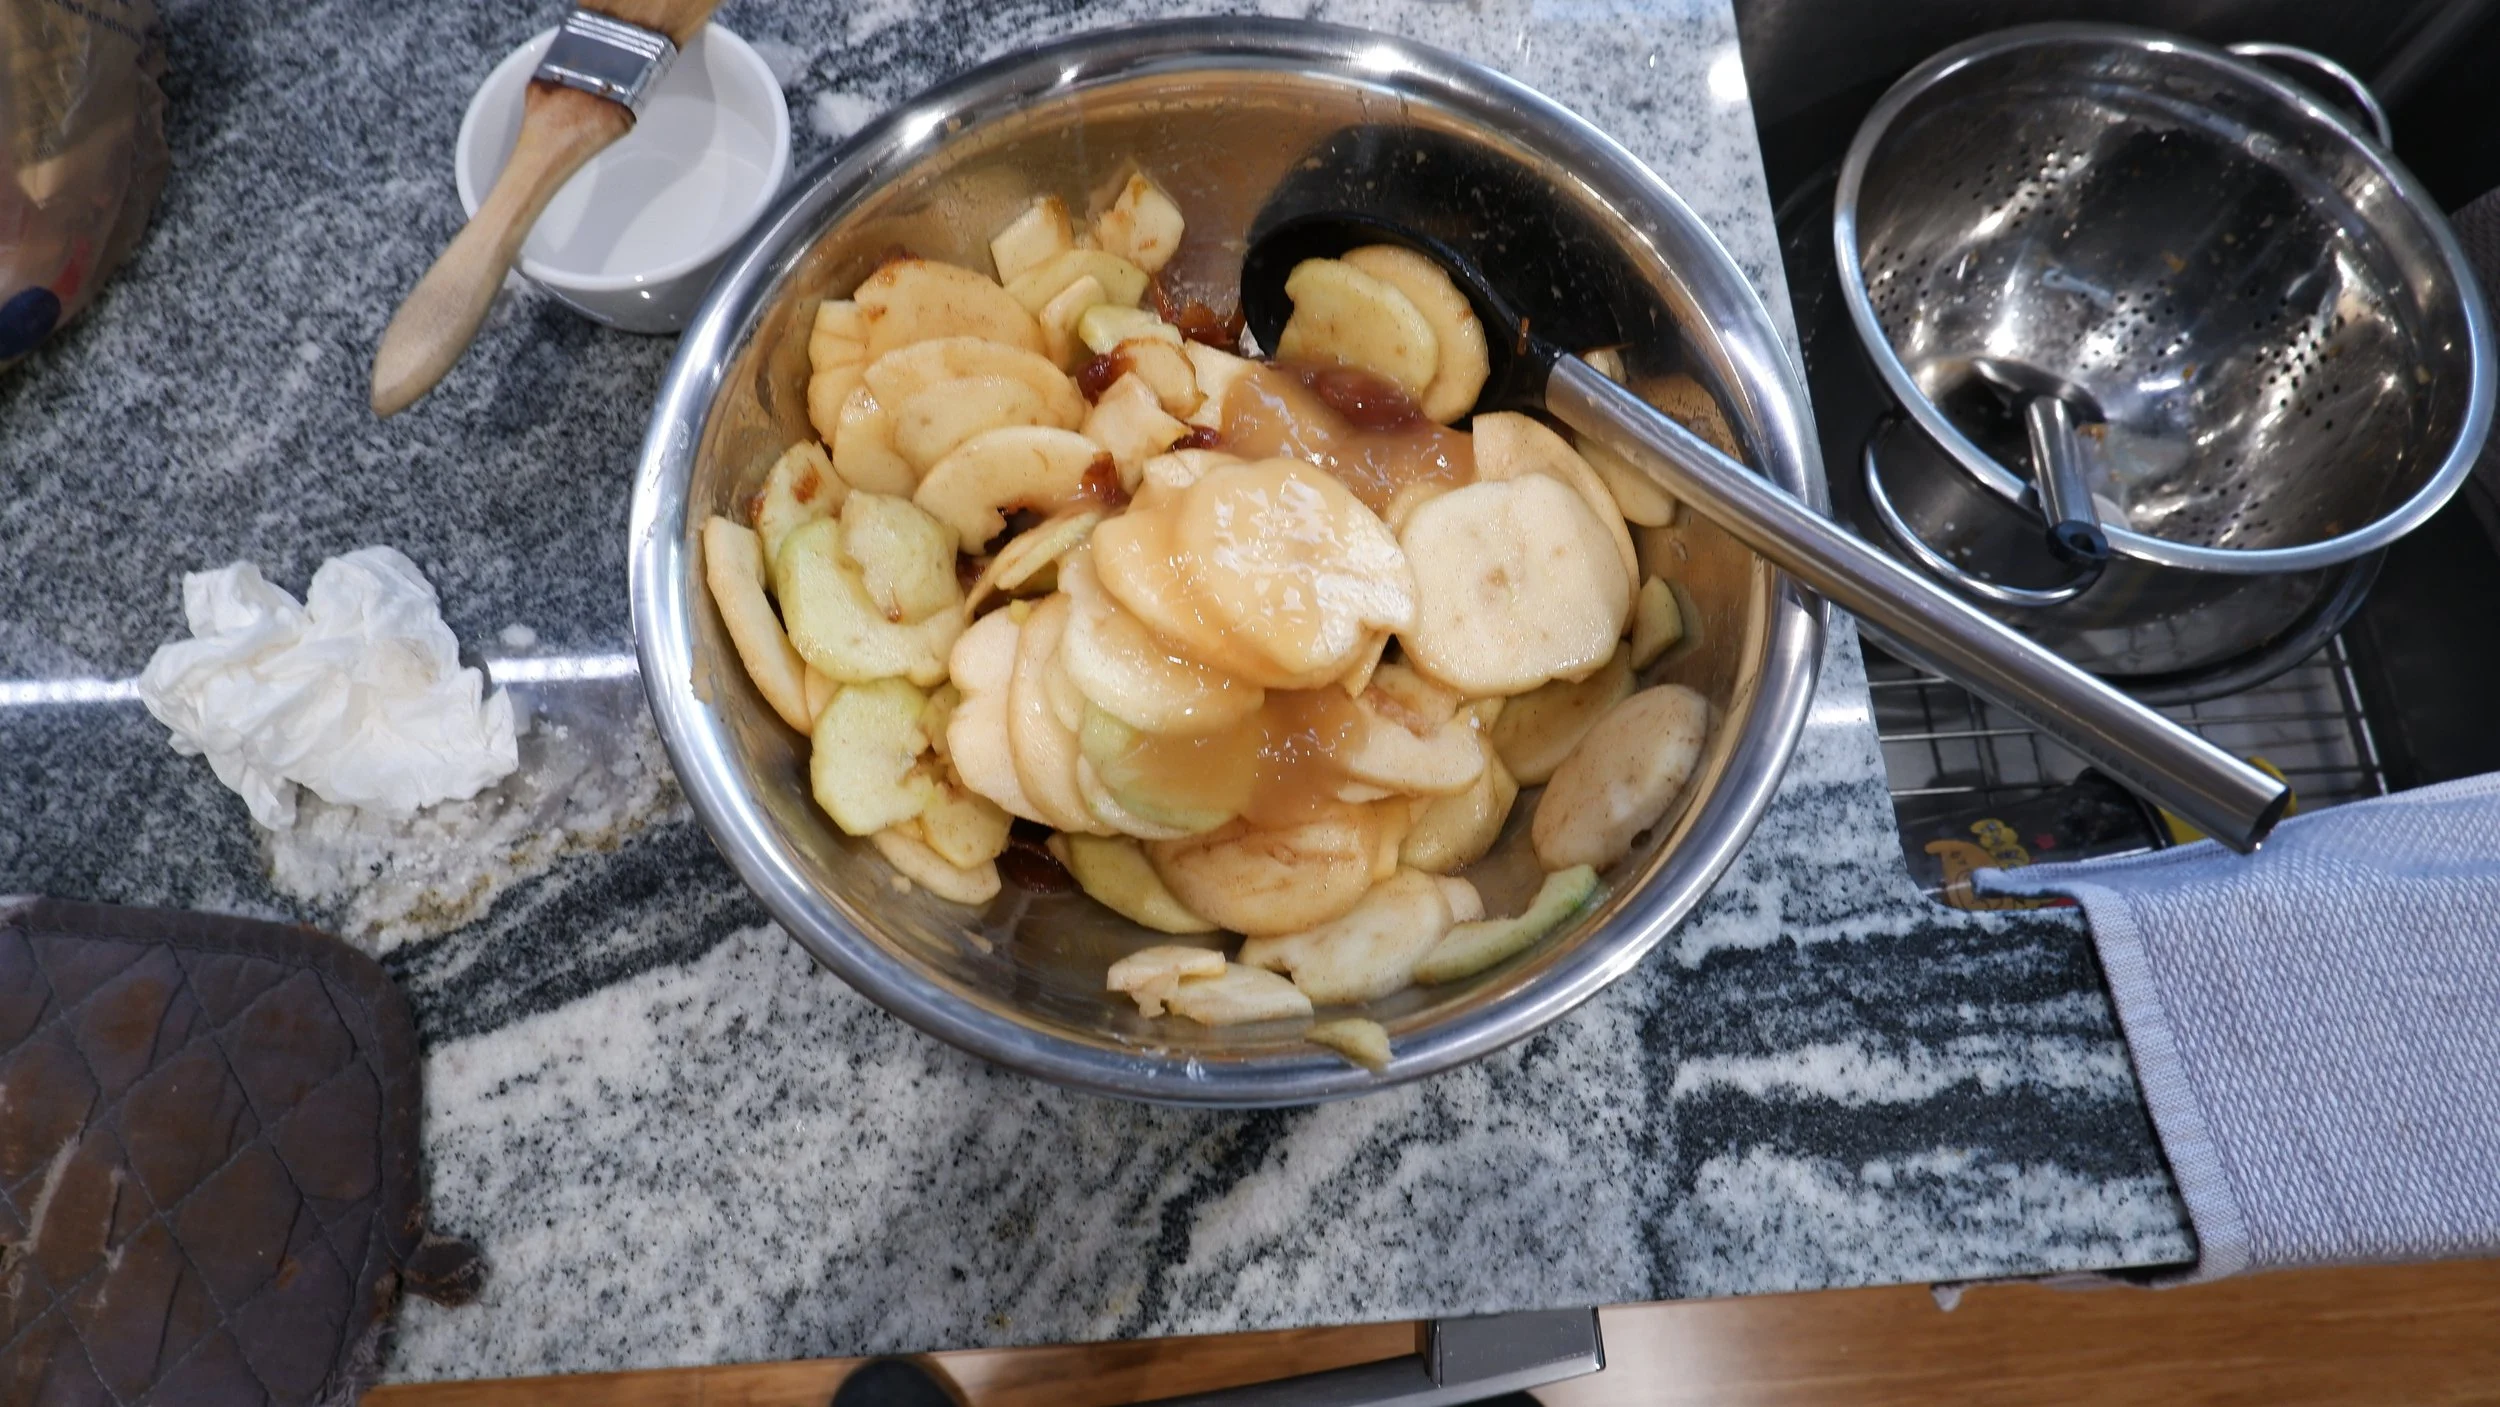
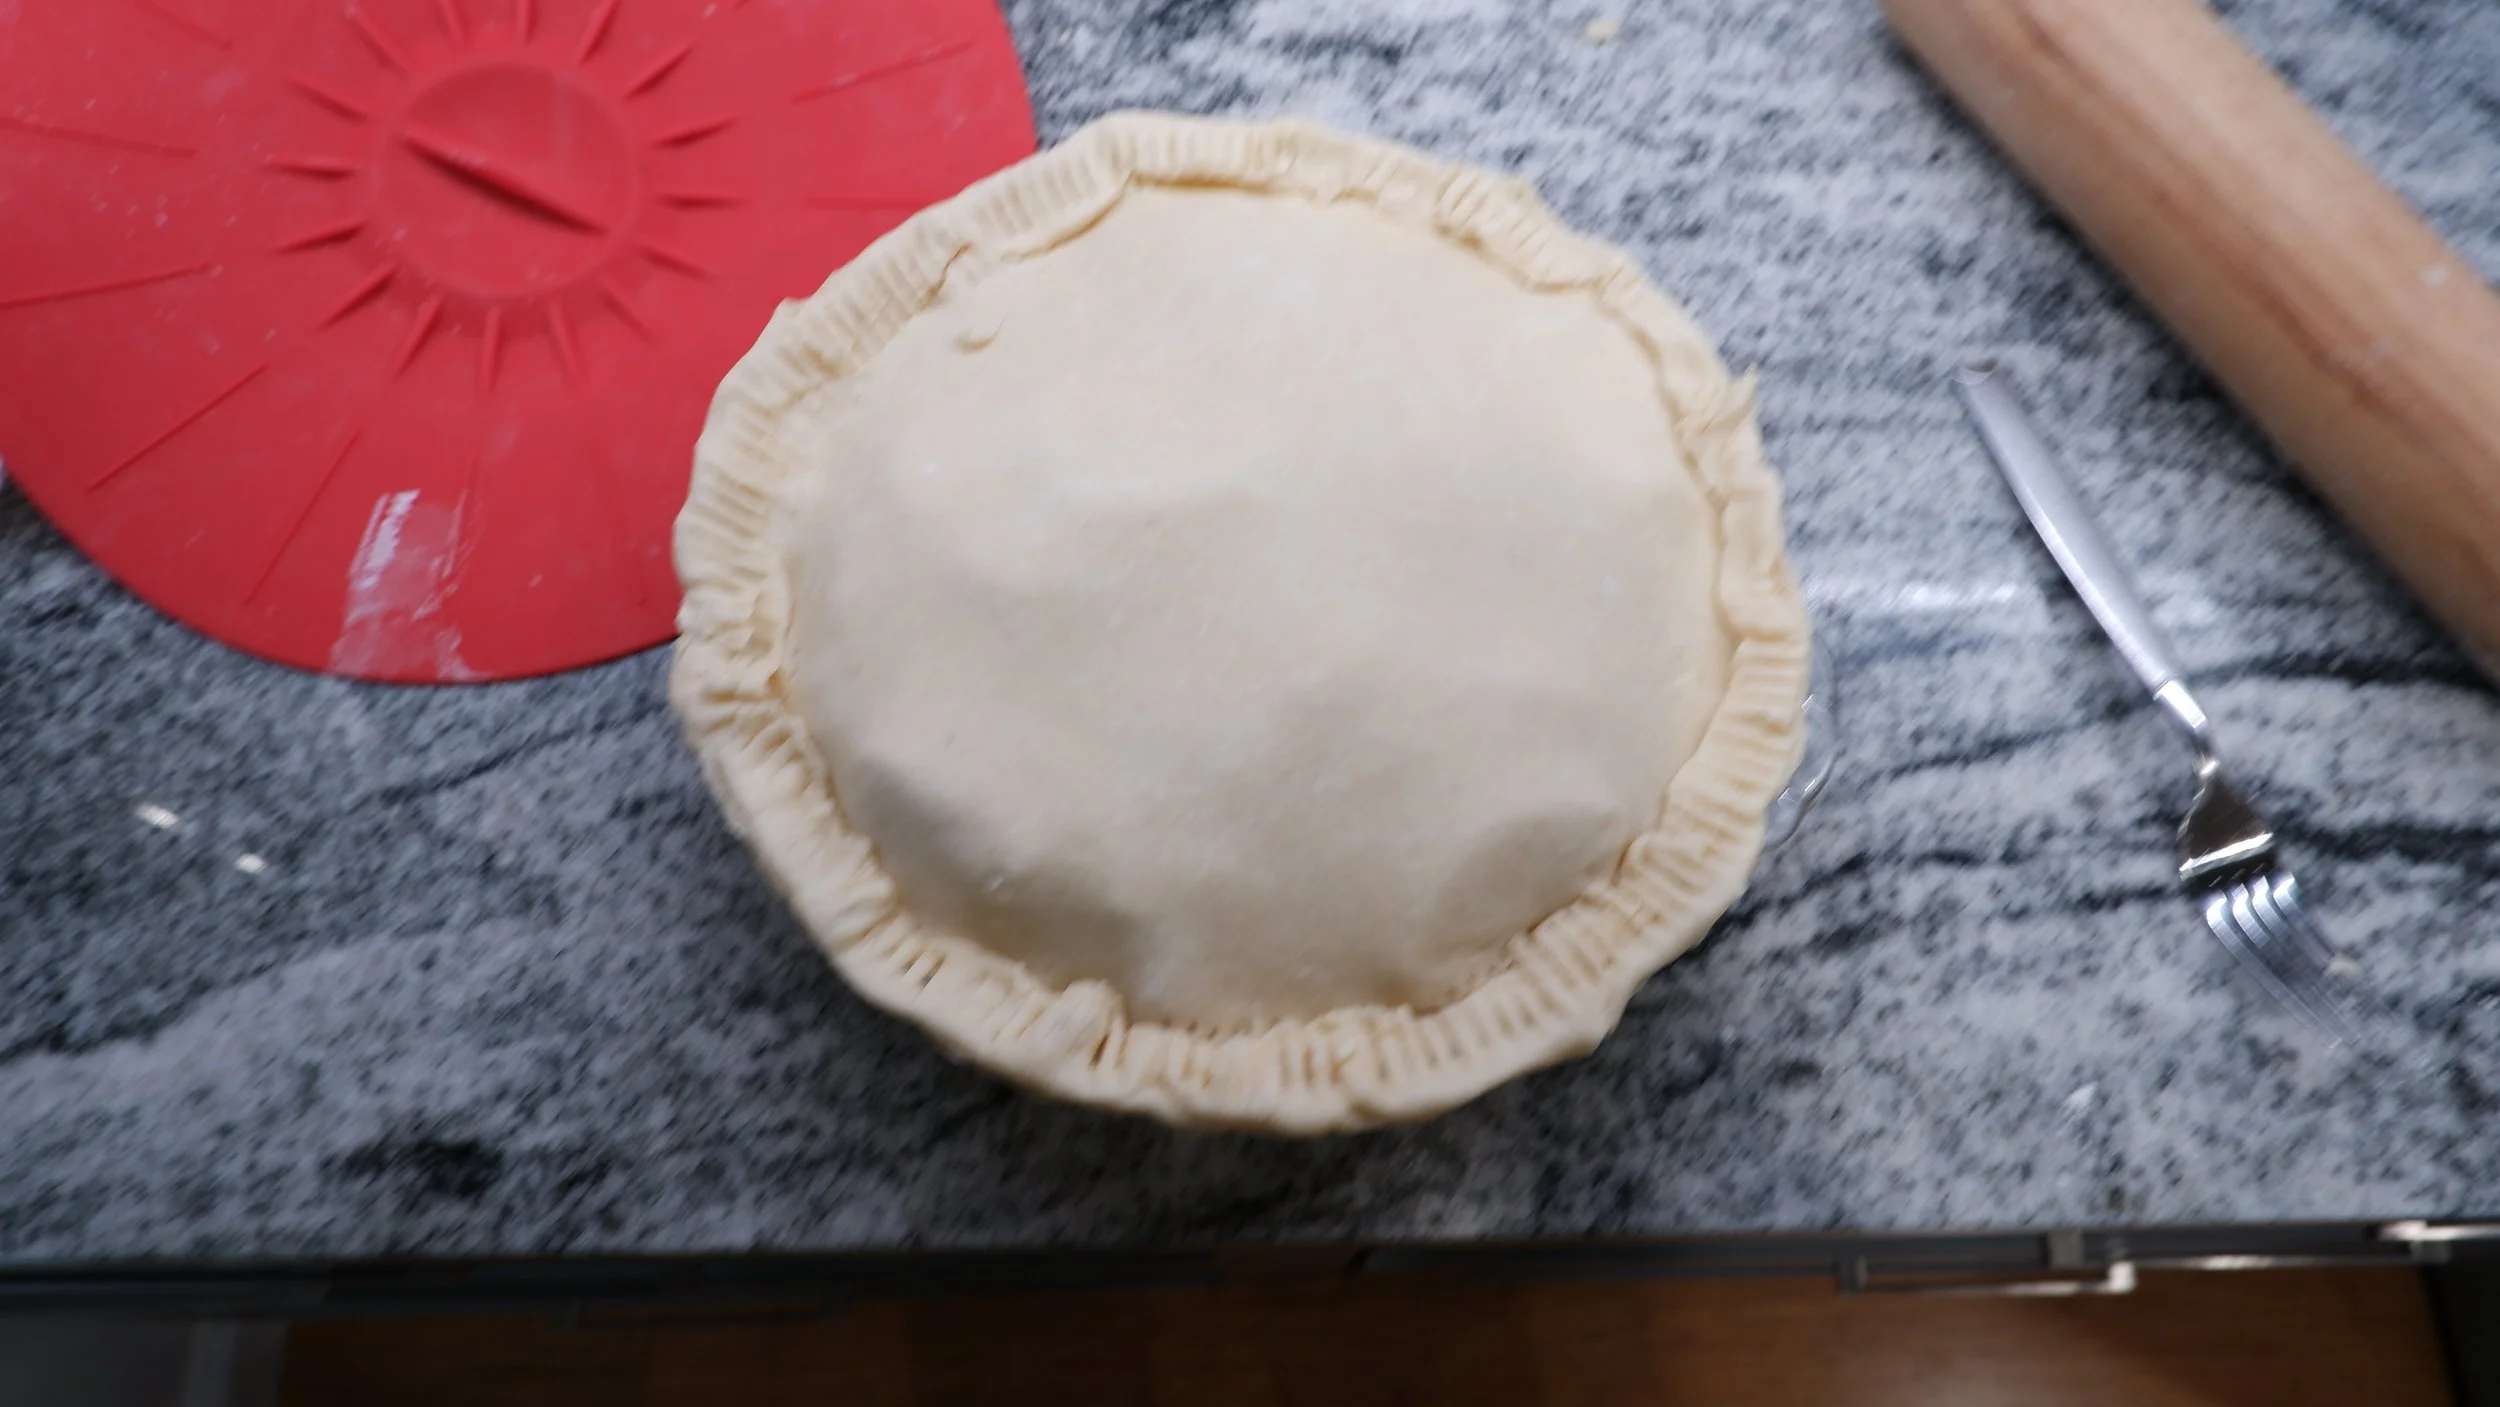
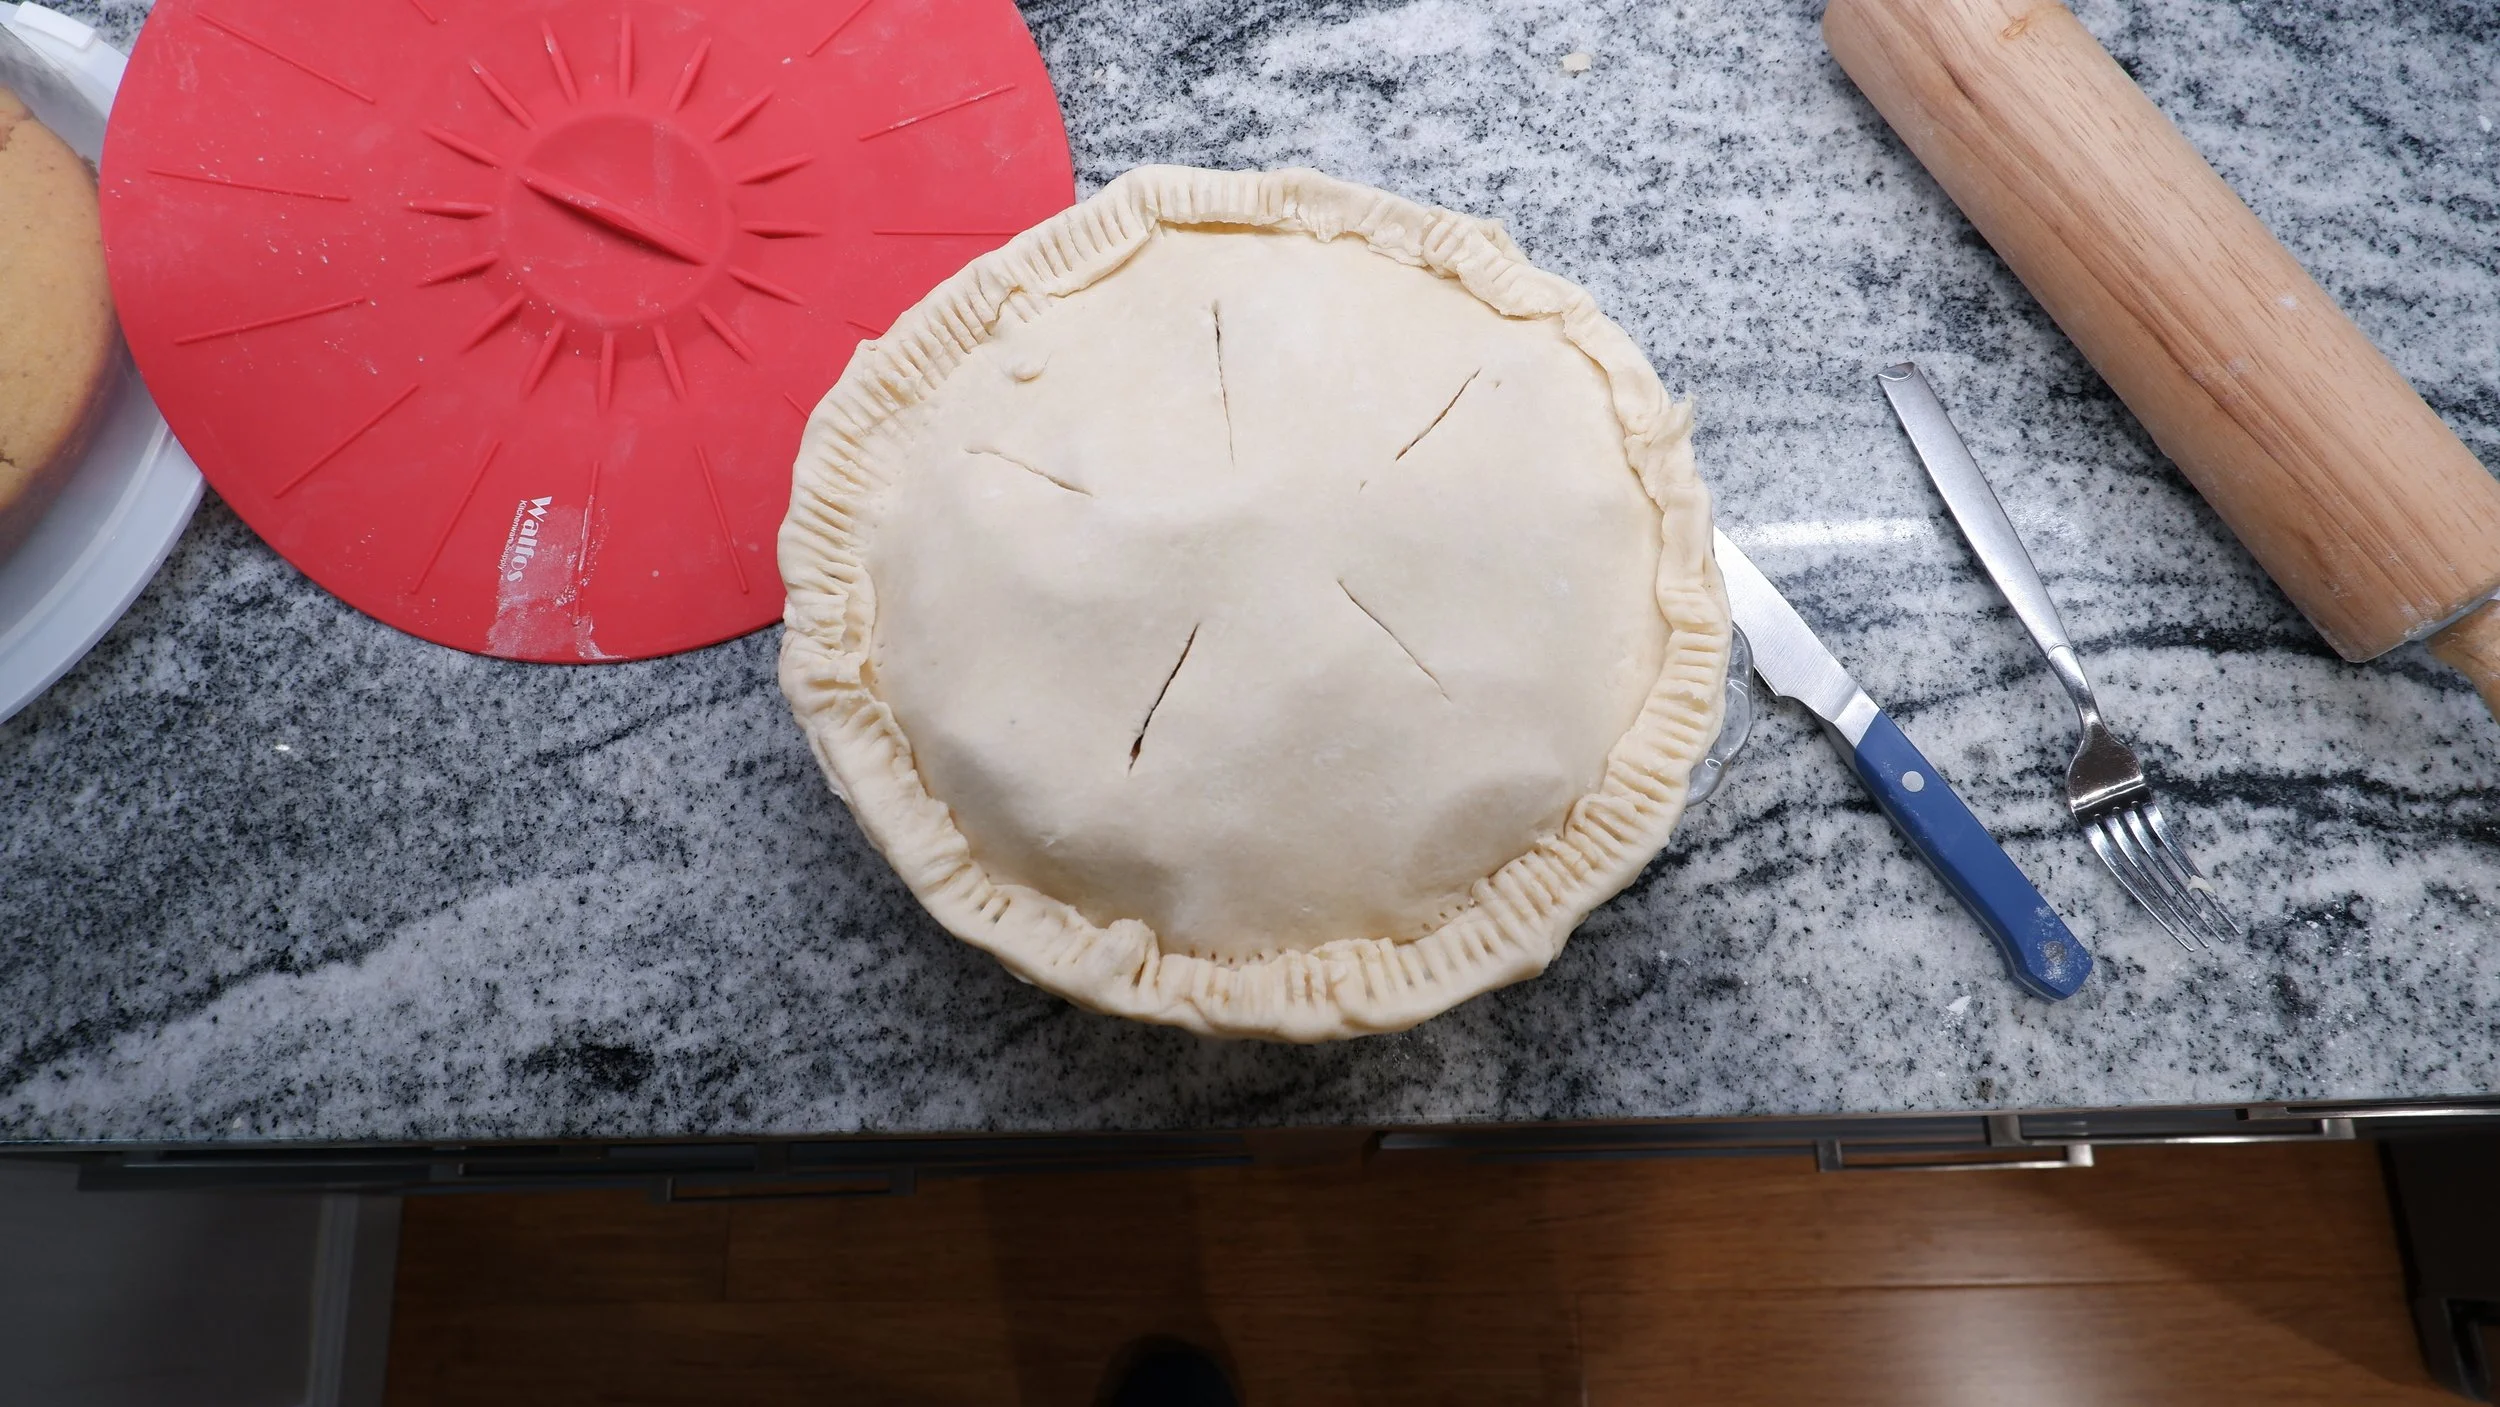
In a saucepan, I mixed the apple juice with some corn starch and heated it over medium heat. I stirred it constantly until it came to a boil and thickened significantly. I transferred it to a bowl to cool. Next, I put a colander over a bowl and drained the macerated apple juices. I got about half a cup of juices, which were then transferred to a microwave safe measuring cup along with the butter. I microwaved the butter and macerated juices for about 6 minutes, which left me with a reduced and caramelized syrup.The apples were tossed with come cornstarch until no dry traces were left, followed by the caramelized syrup.The syrup does harden quickly, but it will melt while baking the pie. The thickened apple juice was mixed in next before the apples were added to the pie crust. The other half of the pie crust was rolled out just like the bottom before moistening the edge of the bottom crust and placing the top over it. I tucked the top curst under the bottom crust and crimped it to seal it. Finally, I cut some slits in the top of the pie, covered it with plastic wrap, and refrigerated it for an hour.


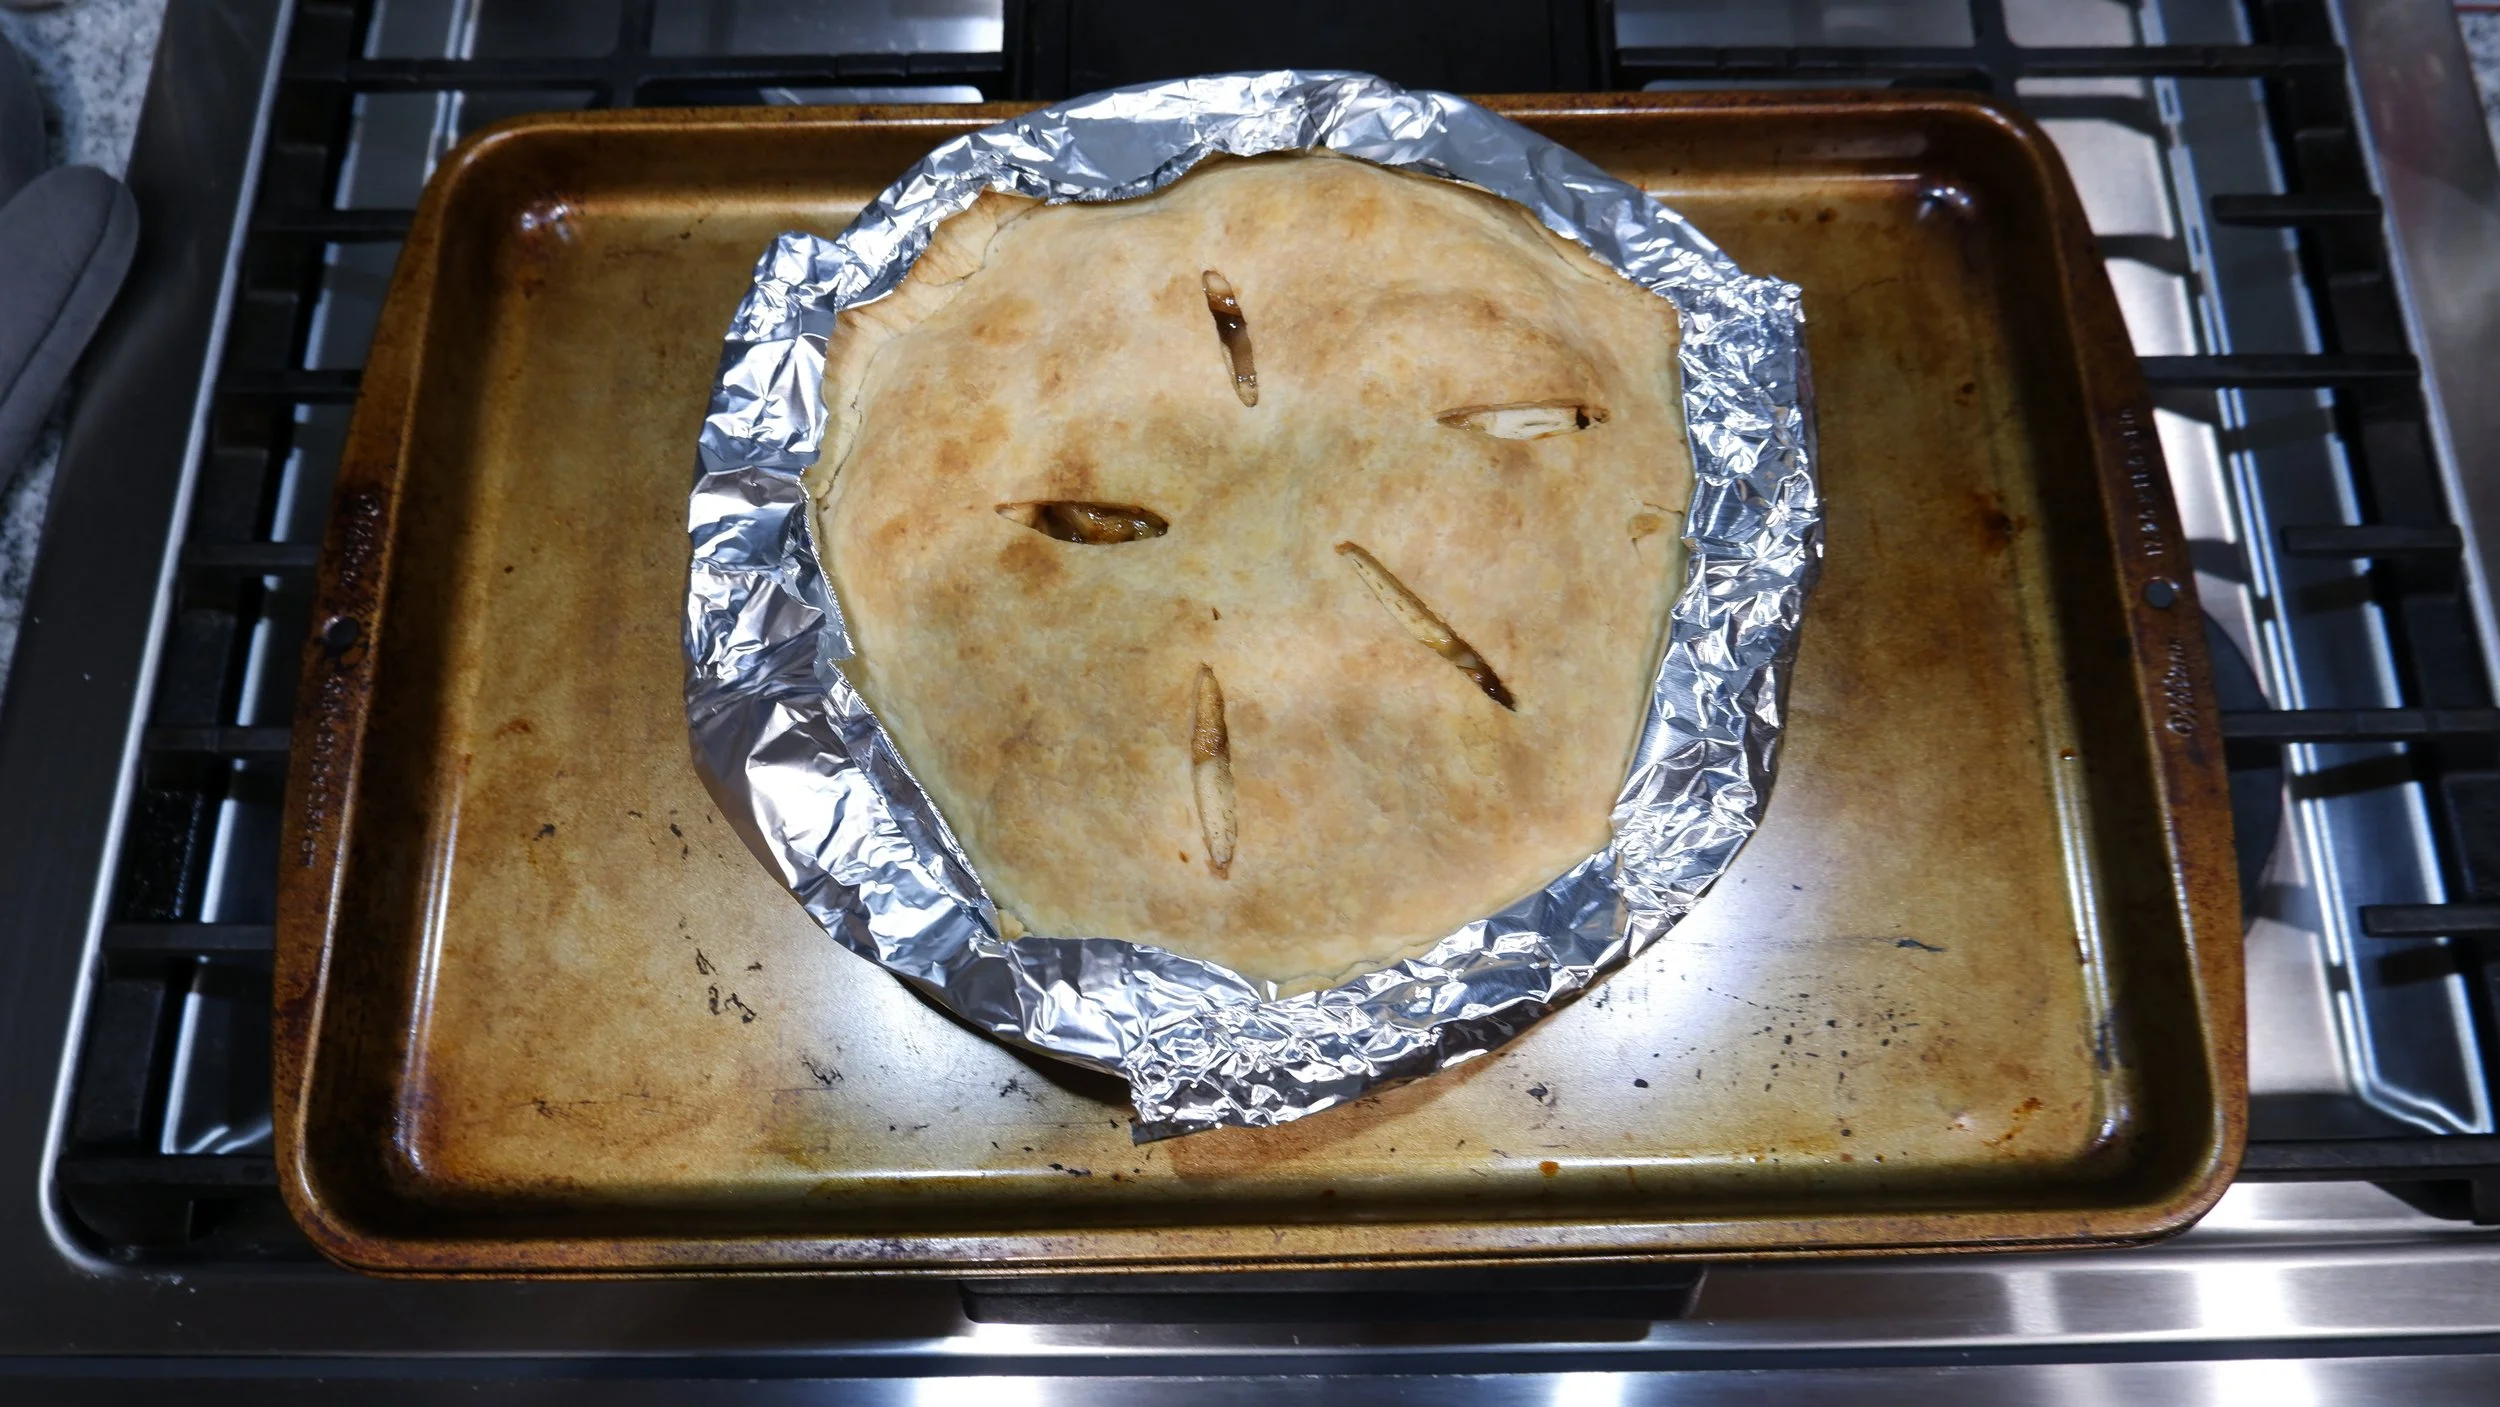
Baking: 1 Hour
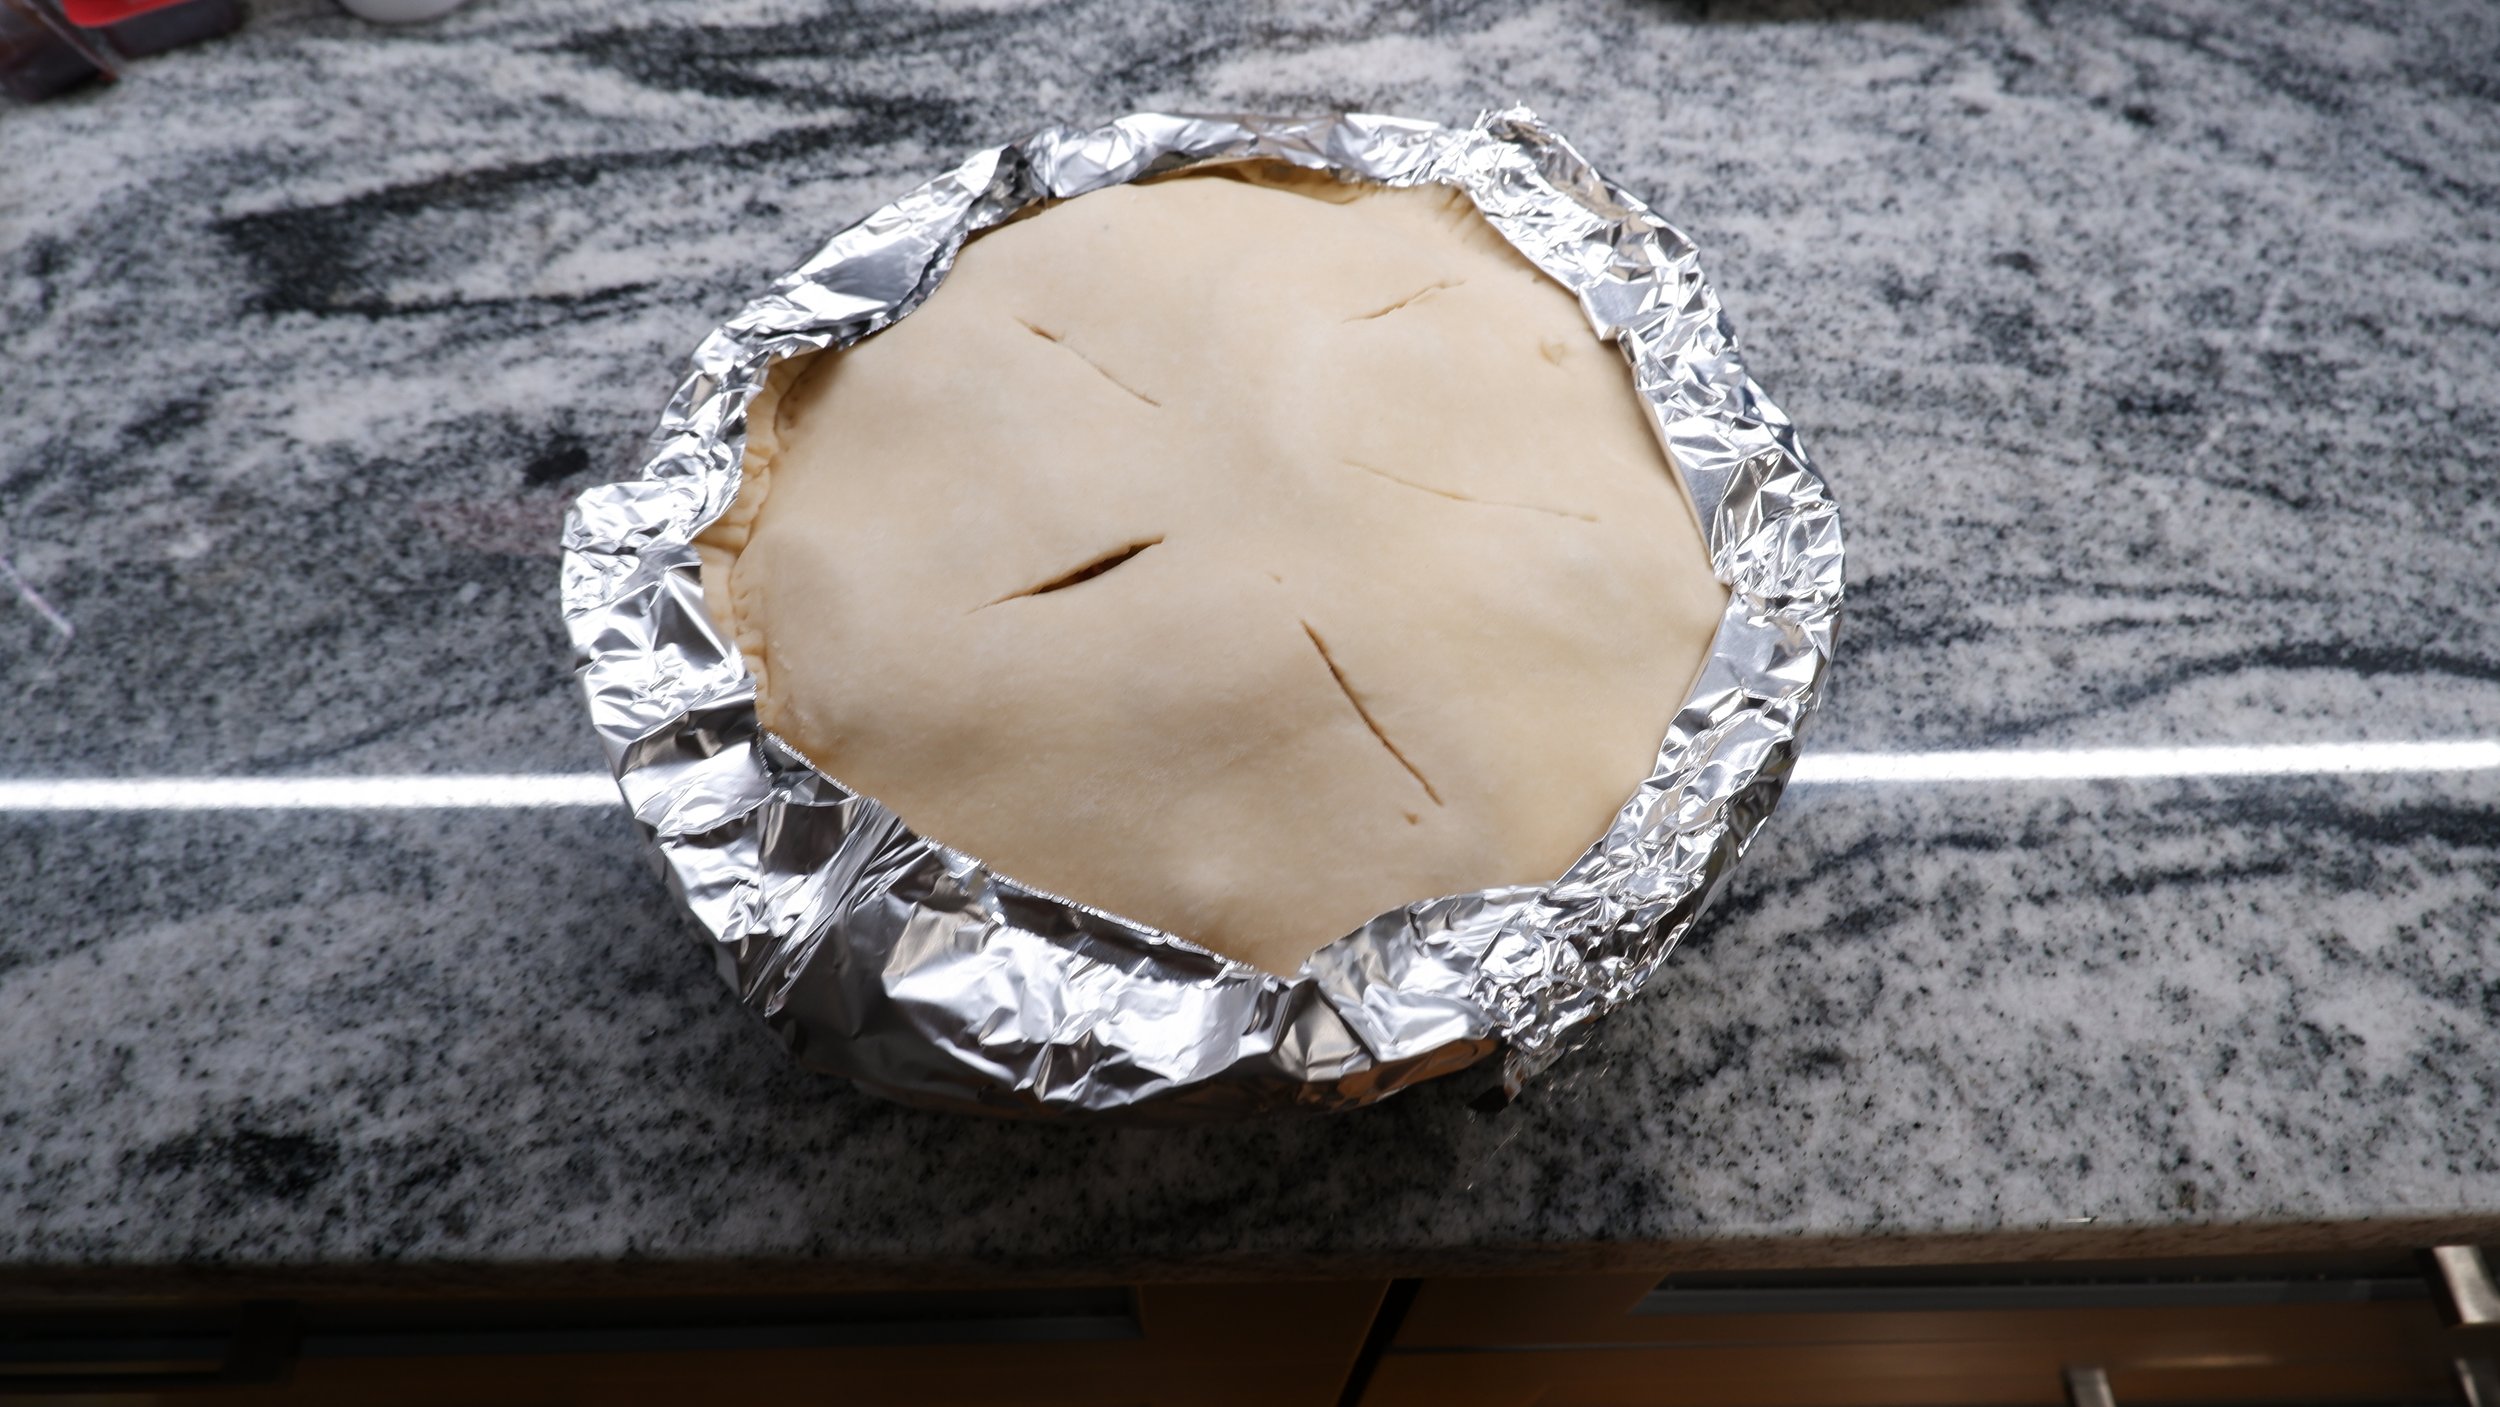
I baked the pie for 20 minutes with foil covering the edge of the crust. The pie was rotated and baked for another 40 minutes. At that time, juices could be seen bubbling out of the slits and the apples were tender. I let the pie cool completely before serving.
Analysis:
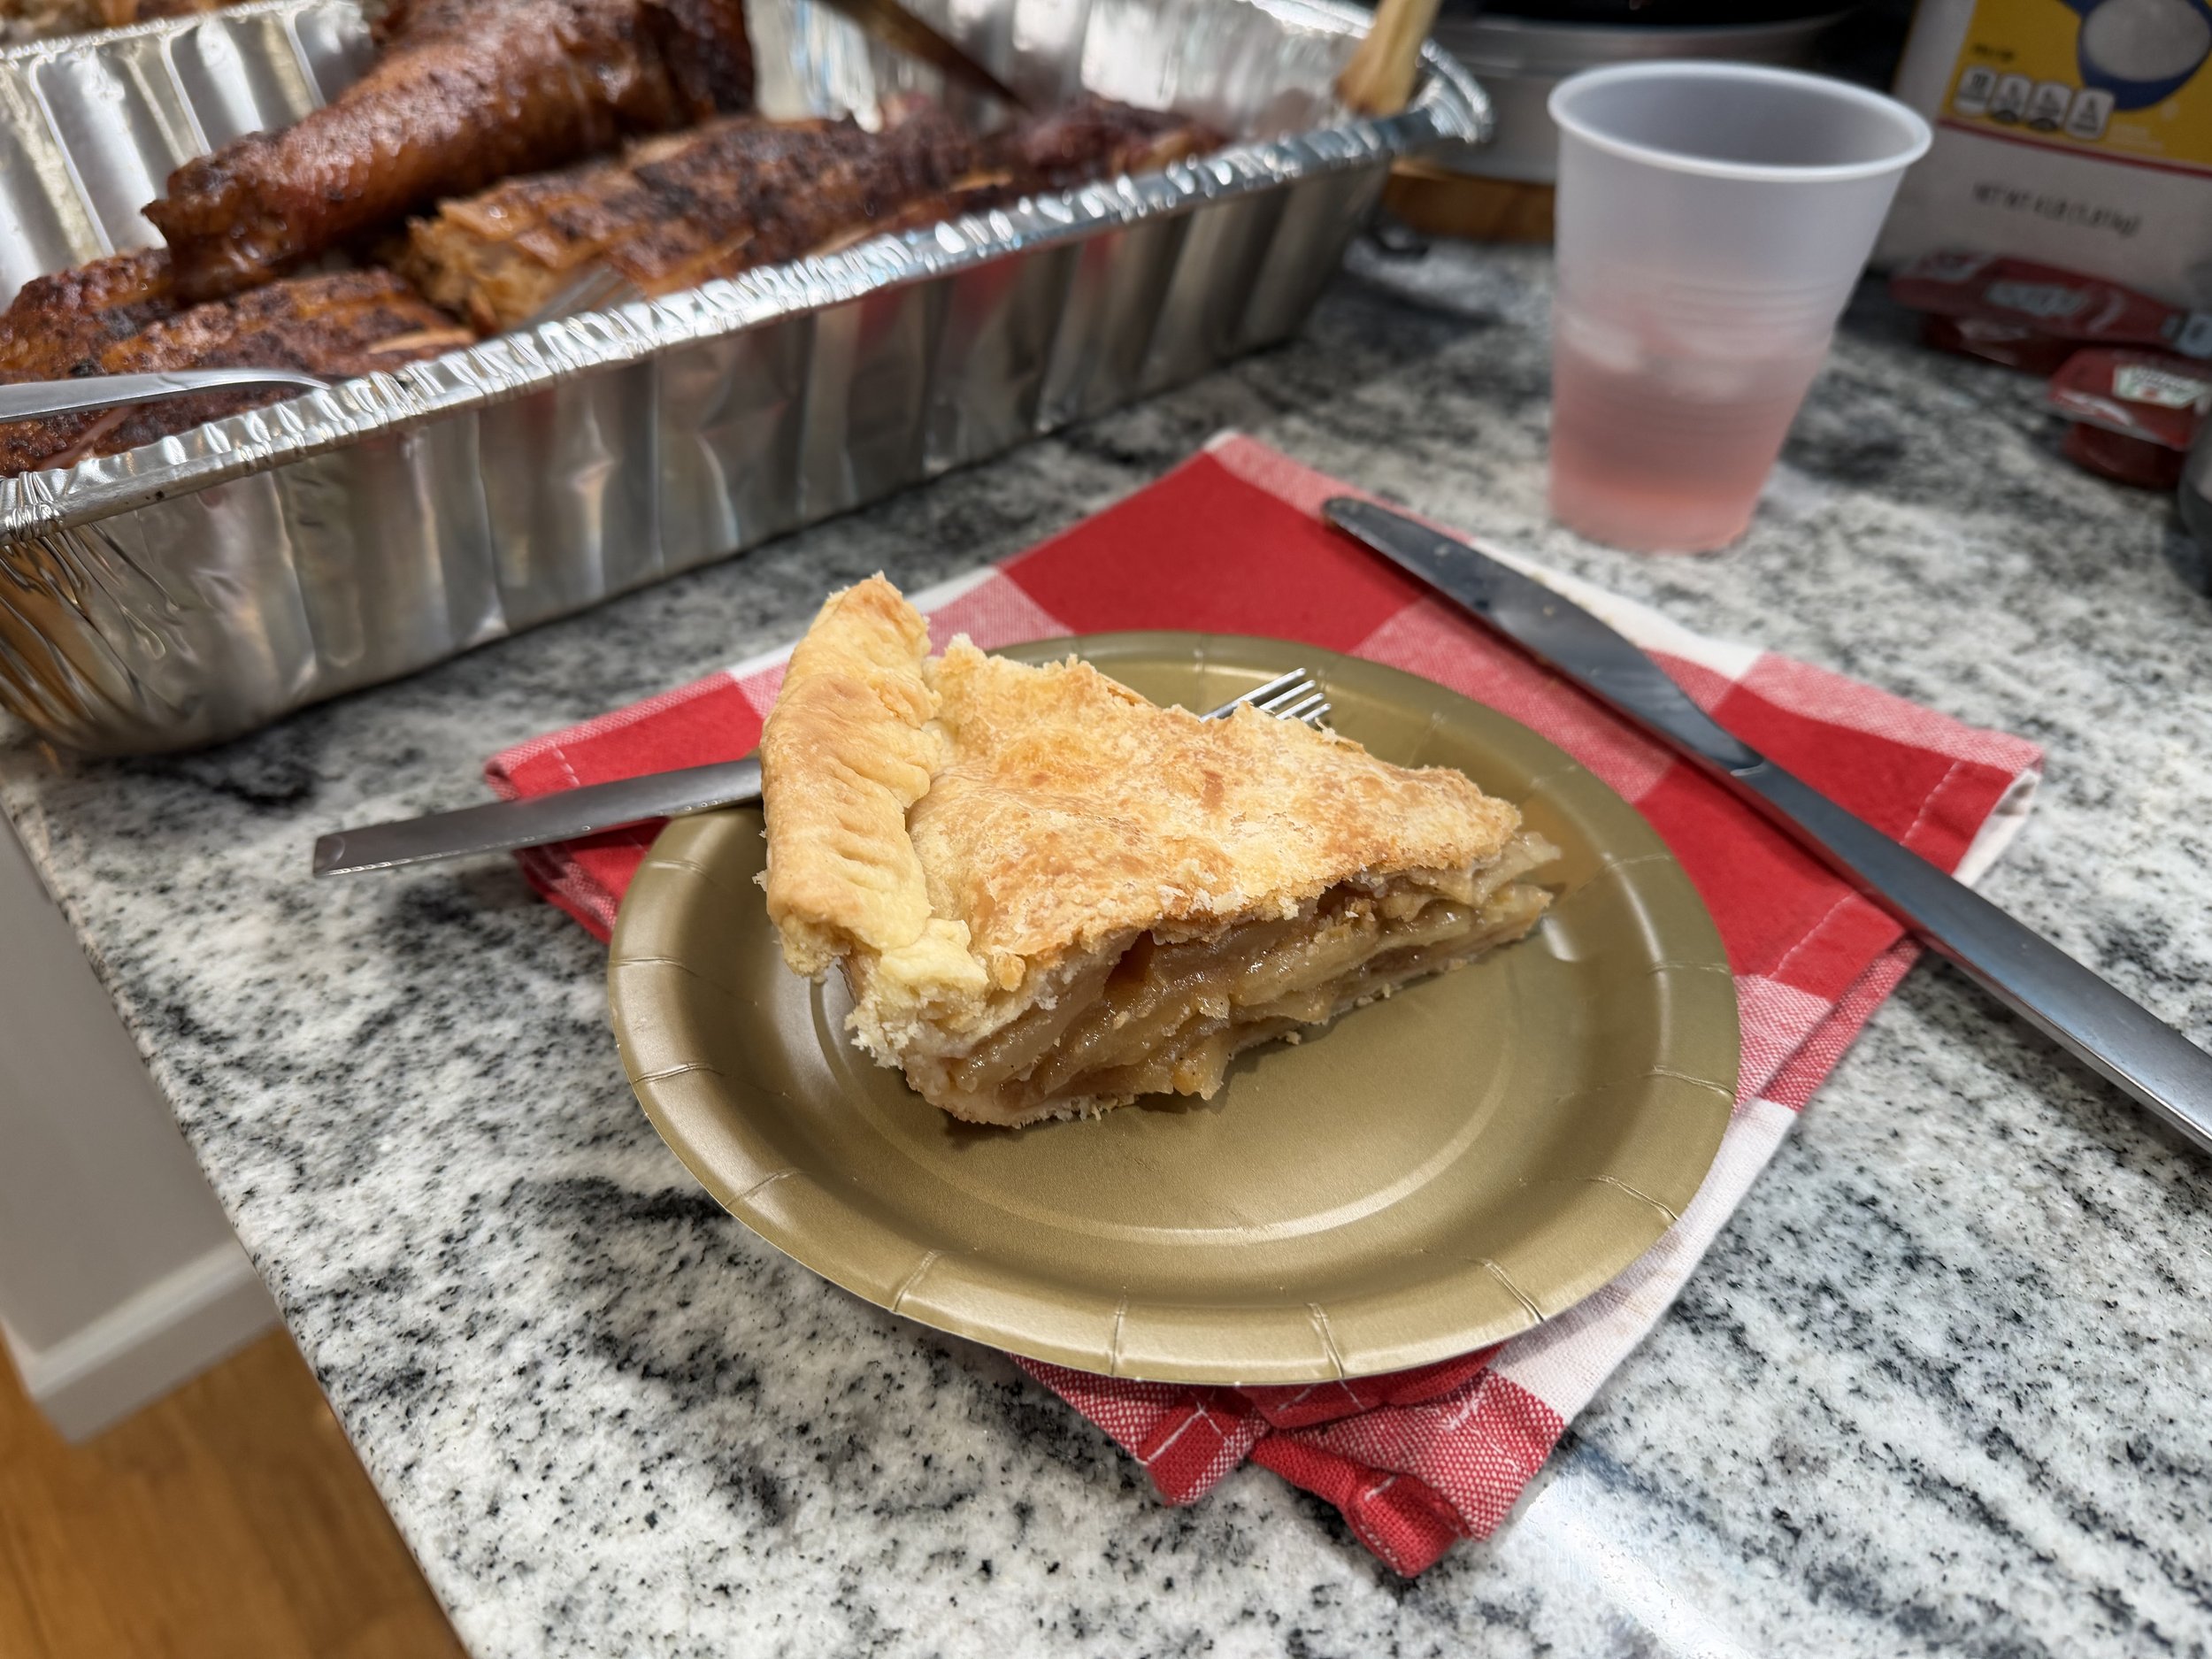
This pie wasn’t bad but it was disappointing. While the filling tasted pretty good, letting the sweetened apples shine with a hint of spices, the pie just felt like it was missing something. The recipe says you can use between 1/2 and 1 1/2 teaspoons of cinnamon depending on the quality and strength of it, but I just used 1 teaspoon. Maybe I should’ve used more. The pie crust was lacking flavor and I think that is what made this pie feel lacking the most. It wasn’t very buttery or toasty in flavor and really added nothing to the pie other than containment. I would give this pie a 6/10. It does take considerable time and effort to make this pie, even though it’s not necessarily difficult. I just don’t think it’s worth all of that time and effort.